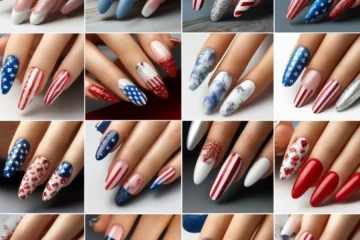
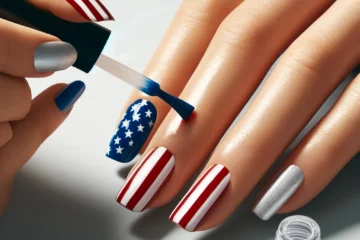
Welcome the summer season with patriotic flair on your toes!
Memorial Day is a special time. We honor those who served our country. Many people show their patriotism with red, white, and blue. Why not do the same with your nails?
Here’s what you can expect:
- Why Patriotic Nails?
- Show your love for your country.
- Add some fun to your look for Memorial Day.
- What Will We Cover?
- Different patriotic nail designs.
- Step-by-step tutorials.
Let’s get started with these stunning nail ideas!
Tools and Materials Needed
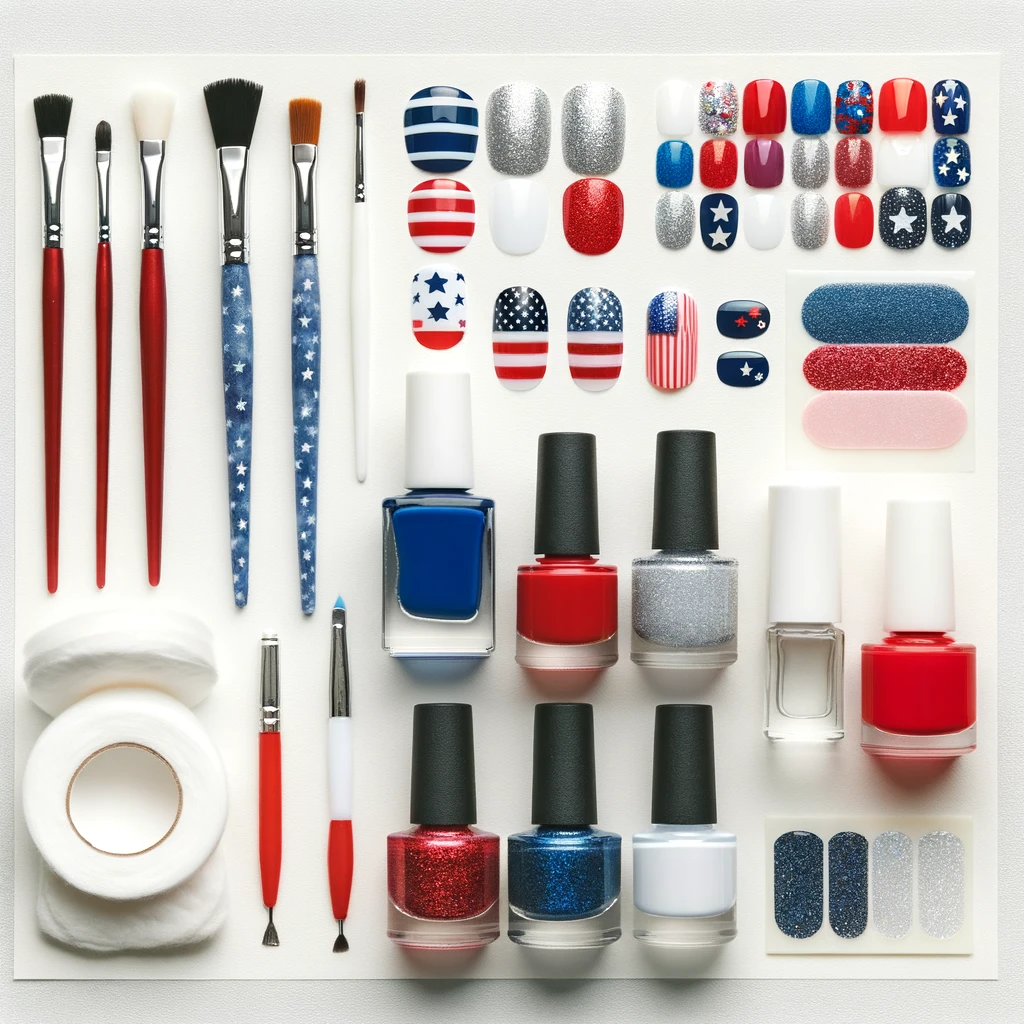
List of Materials:
- Nail polish: red, white, blue, and glitter
- Base coat and top coat
- Nail art brushes or dotting tools
- Nail polish remover and cotton pads
- Nail stickers or decals (optional)
- Nail tape or stencils (optional)
Preparation Tips:
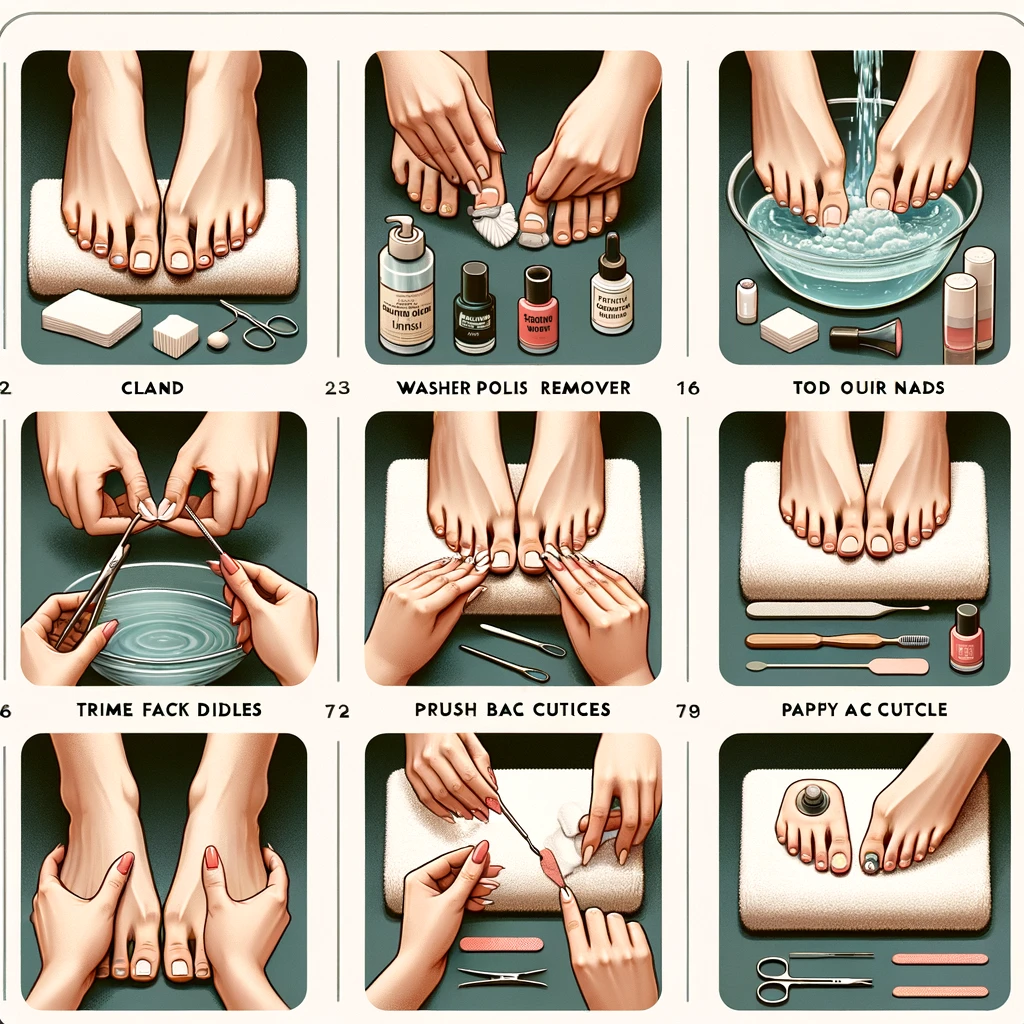
- Clean Your Nails:
- Remove old polish with nail polish remover and cotton pads.
- Wash your hands and dry them well.
- Prep Your Nails:
- Trim and file your nails to the desired shape.
- Push back cuticles gently with a cuticle stick.
- Apply a Base Coat:
- Use a base coat to protect your nails.
- This helps the polish stick better and last longer.
Classic Stars and Stripes Design
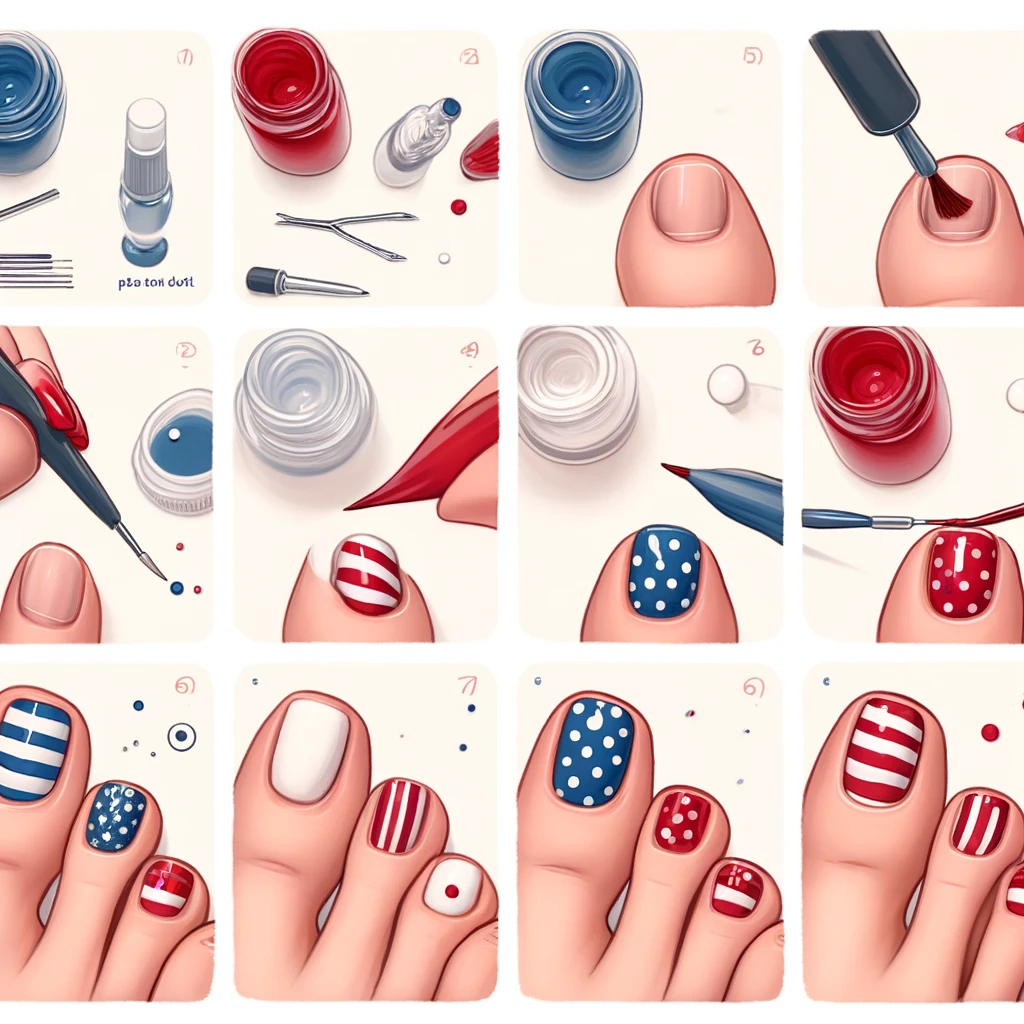
Step-by-Step Tutorial:
- Apply a Base Coat:
- Start with a clear base coat on all your nails.
- Let it dry completely.
- Paint with a White Base Color:
- Paint all your nails with white nail polish.
- Wait for it to dry.
- Create Red Stripes:
- Use nail tape to make stripes on some of your nails.
- Paint red polish over the taped areas.
- Remove the tape carefully.
- Add Blue Stars:
- Use a dotting tool or a small brush.
- Make blue stars on the nails without stripes.
- Apply a Top Coat:
- Finish with a clear top coat.
- This seals your design and adds shine.
Glittery Patriotic Design
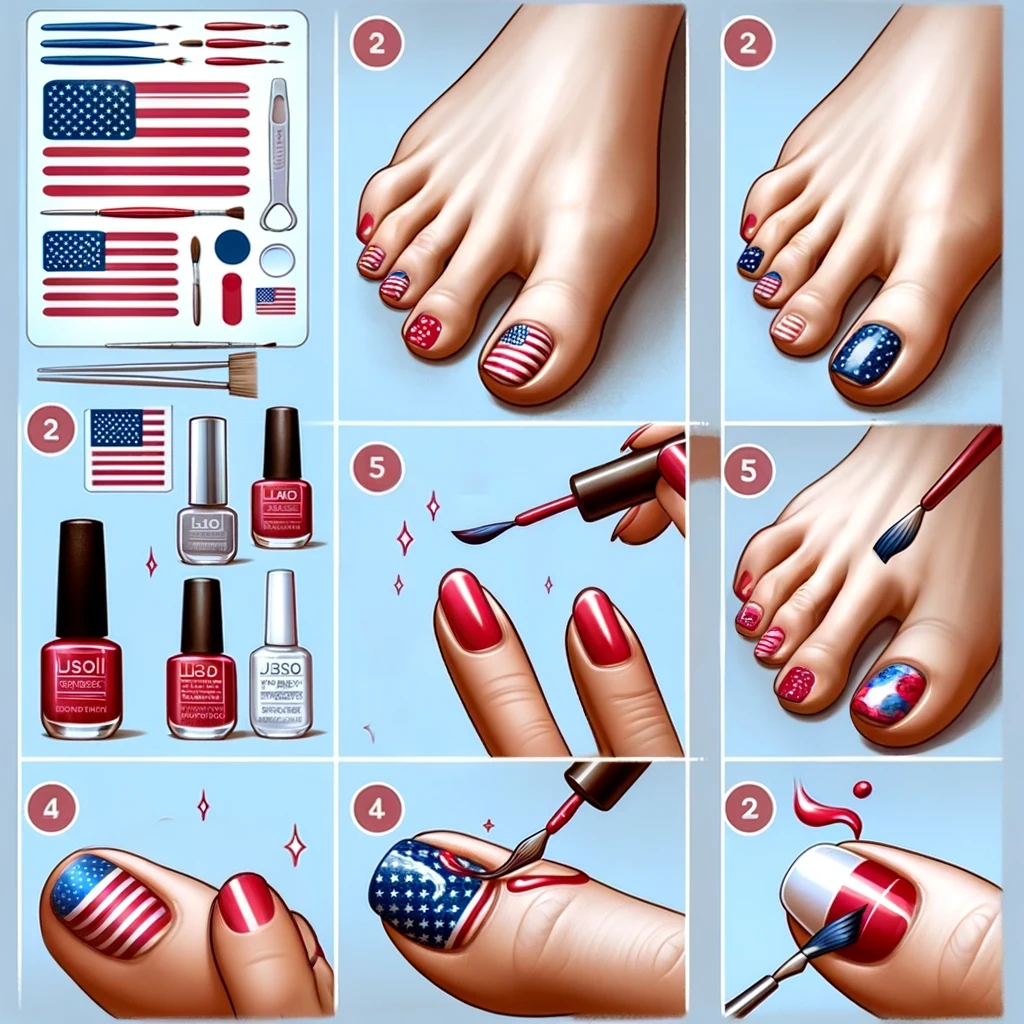
Step-by-Step Tutorial:
- Apply a Base Coat:
- Start with a clear base coat on all your nails.
- Let it dry completely.
- Paint with a Blue Base Color:
- Paint all your nails with solid blue nail polish.
- Wait for it to dry.
- Add Red Glitter Tips:
- Apply red glitter polish to the tips of your nails.
- Create a gradient effect by blending the glitter downward.
- Add White Stars:
- Use white nail polish and a dotting tool.
- Add small stars over the blue base.
- Apply a Top Coat:
- Finish with a clear top coat.
- This seals your design and adds shine.
Ombre Red, White, and Blue Design
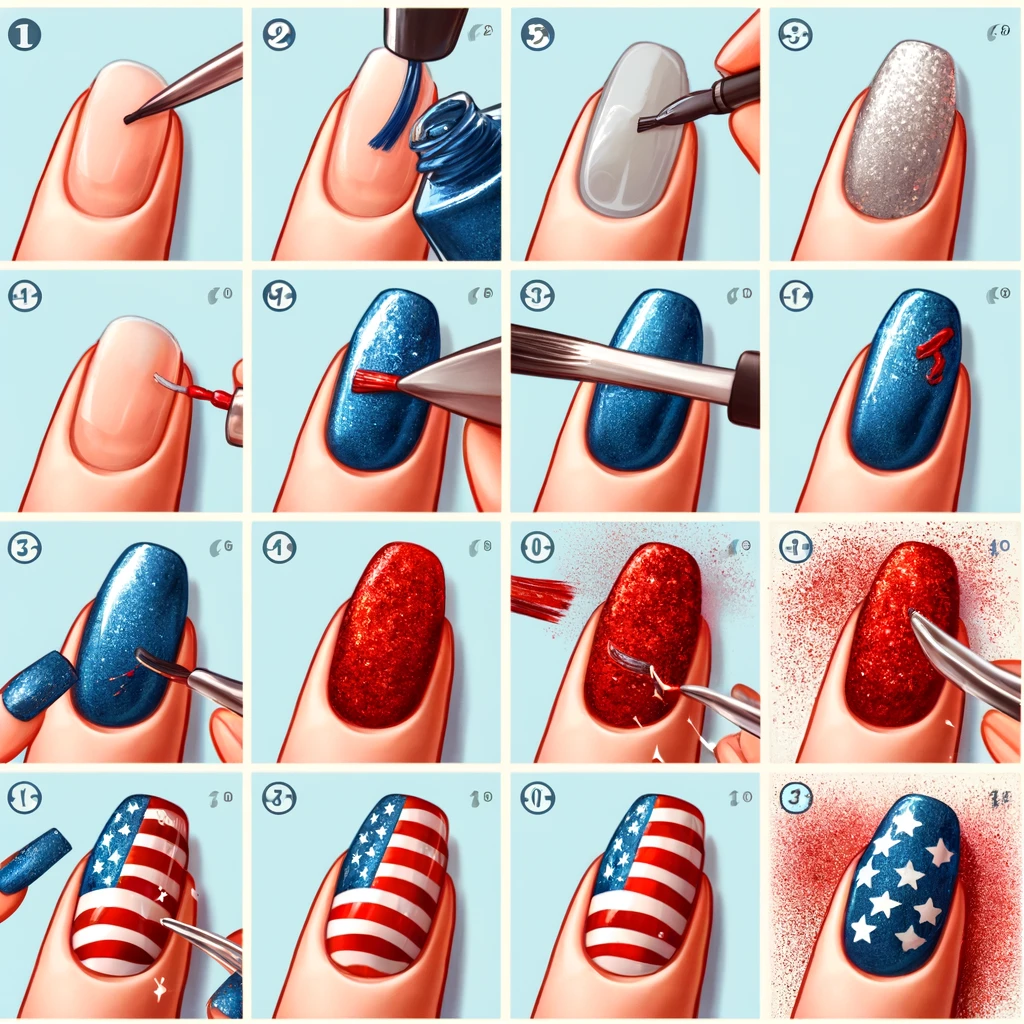
Step-by-Step Tutorial:
- Apply a Base Coat:
- Start with a clear base coat on all your nails.
- Let it dry completely.
- Create the Ombre Effect:
- Use a makeup sponge.
- Apply stripes of red, white, and blue polish on the sponge.
- Dab the Sponge:
- Gently dab the sponge on your nails.
- Blend the colors for a smooth ombre effect.
- Clean Up the Edges:
- Use a brush dipped in nail polish remover.
- Clean the edges around your nails.
- Apply a Top Coat:
- Finish with a clear top coat.
- This smooths out the design and adds shine.
Simple Patriotic Polka Dots
Step-by-Step Tutorial:
- Apply a Base Coat:
- Start with a clear base coat on all your nails.
- Let it dry completely.
- Paint with a Solid Color:
- Paint all your nails with a solid color (choose red, white, or blue).
- Wait for it to dry.
- Create Polka Dots:
- Use a dotting tool.
- Add polka dots in contrasting colors on each nail.
- Mix and Match Colors:
- Use red, white, and blue for the polka dots.
- Mix and match for a fun, patriotic look.
- Apply a Top Coat:
- Finish with a clear top coat.
- This seals your design and adds shine.
Patriotic Nail Stickers and Decals
How to Apply:
- Choose Your Stickers:
- Pick patriotic-themed nail stickers or decals.
- Apply a Base Color:
- Paint your nails with a base color.
- Let it dry completely.
- Place the Stickers:
- Carefully place the stickers or decals on each nail.
- Seal the Design:
- Finish with a clear top coat.
- This secures the stickers and adds shine.
Advantages of Using Stickers:
- Quick and Easy:
- Stickers are fast to apply.
- They save you time and effort.
- Professional Results:
- Get a polished look without advanced nail art skills.
- Perfect for beginners or busy schedules.
Conclusion
Recap:
- We covered several patriotic nail designs:
- Classic Stars and Stripes
- Glittery Patriotic
- Ombre Red, White, and Blue
- Simple Patriotic Polka Dots
- Patriotic Nail Stickers and Decals
- Try these fun and easy designs for Memorial Day.
- Enjoy showing your patriotic spirit through your nails.
- Follow us on social media for more nail art ideas.
- Share your Memorial Day nail designs with us. We’d love to see them!
Latest posts by Roshan sharma (see all)

