How to Create and Coordinate Mother-Child Matching DIY Costumes
It’s that time of year again, ghouls and goblins! The air is getting crisp, pumpkin spice is flowing, and the spooky season is calling. Are you looking for a way to make this Halloween extra special, creating memories that will last long after the last piece of candy is gone? 🎃
You might feel overwhelmed by the pressure to find the perfect costumes, and store-bought options can feel impersonal and expensive. Don’t let that stress haunt you! I’m Roshan Sharma, your friendly neighborhood Halloween fanatic, and I’m here to show you how to turn costume creation into the main event. 🎉
This guide will walk you through creating incredible mother-child matching DIY costumes, a project that’s all about bonding, creativity, and pure Halloween magic. Let’s get crafting! ✨
Activity At-a-Glance 📊
- Best For 👨👩👧👦: Mother-child bonding, Halloween parties, trick-or-treating, memorable photo ops
- Time ⏳: Approx. 2-8 hours (depending on complexity)
- Budget Level 💰: Low-Cost / Moderate
- Spookiness Level 👻: Low
What You’ll Need for Your DIY Matching Costumes 📋
Here’s a general checklist for your crafting cauldron. Remember to adjust it based on your chosen theme!
- Fabric (felt, cotton, fleece are great no-fray options!) ✂️
- Thread and needle (or a sewing machine, if you have one) 🧵
- Fabric glue (a no-sew lifesaver!)
- Sharp scissors and a measuring tape 📏
- Craft foam sheets in various colors
- A trusty hot glue gun and extra glue sticks 🔥
- Non-toxic acrylic or fabric paint and brushes 🎨
- Fun embellishments (glitter, sequins, pom-poms, googly eyes) ✨
- Old clothes for repurposing (t-shirts, leggings, sweatshirts) 👕
Preparation & Setup: Creating Your Crafting Space 🕸️
Before you dive in, let’s set the mood! Turn your craft area into a Halloween haven. Dim the lights and add some orange or purple string lights to create a spooky glow. I always put on a playlist of my favorite Halloween movie soundtracks—it gets the creative energy flowing! Clear a large table and lay down some old newspaper or a plastic tablecloth to protect it from glue and paint.
> Pro Tip 💡: Create a “costume creation station”! Organize all your materials in labeled bins or trays. This not only keeps things tidy but also makes your child feel like they’re in a real workshop, which gets them super excited to help.
How to Lead the DIY Costume Creation: Step-by-Step Guide 🚀
Step 1: Brainstorming & Theme Selection
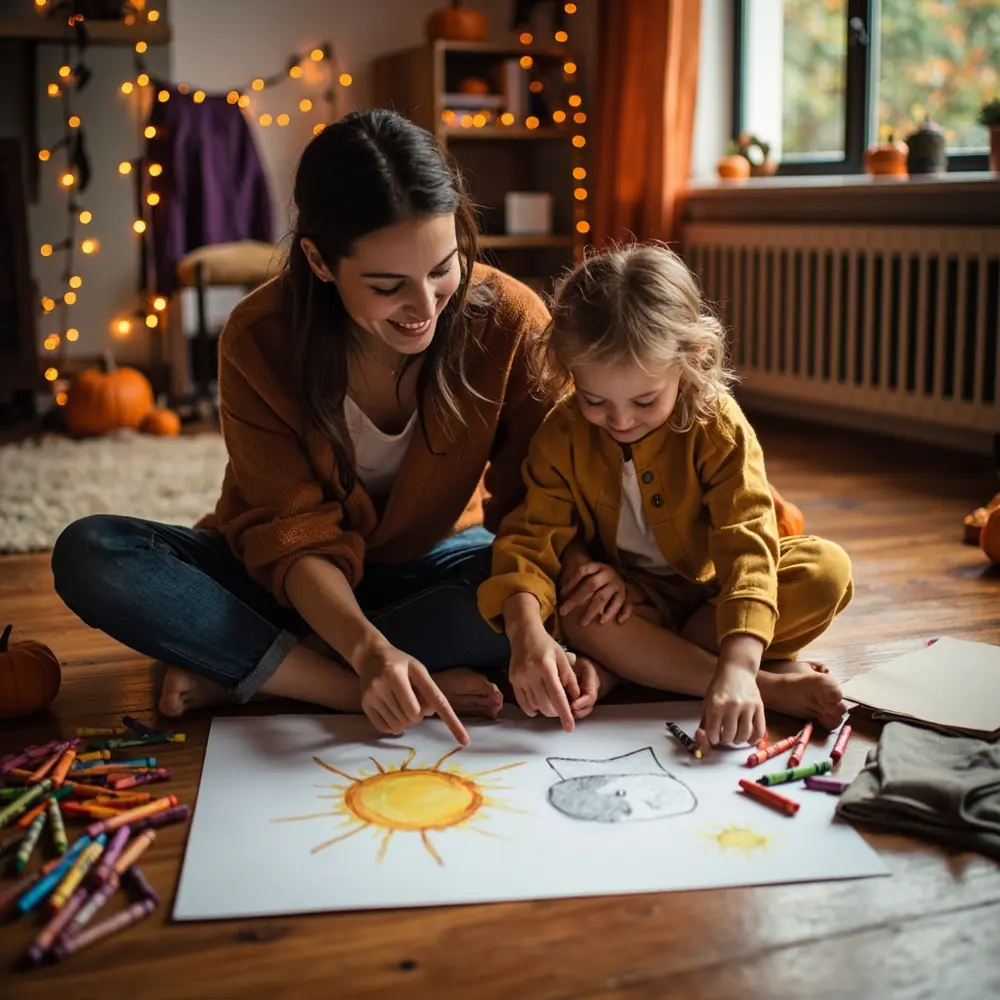
This is where the magic begins! Sit down with your little one and brainstorm ideas. The key is to find a theme that excites you both. Think about your child’s current obsessions. Do they love space? Animals? A particular food? Start there! I find that the best matching themes aren’t always identical outfits but complementary pairs, like a gardener and their favorite flower or a baker and a gingerbread cookie. Talk about what colors you’ll use and what parts each of you will be.
Image-1: A cozy, warm-lit photo of a mother and her young child sitting on the floor, surrounded by colorful crayons and paper. They are both smiling and pointing at a drawing of a sun and moon costume idea they’ve sketched together.
Step 2: Planning & Material Gathering
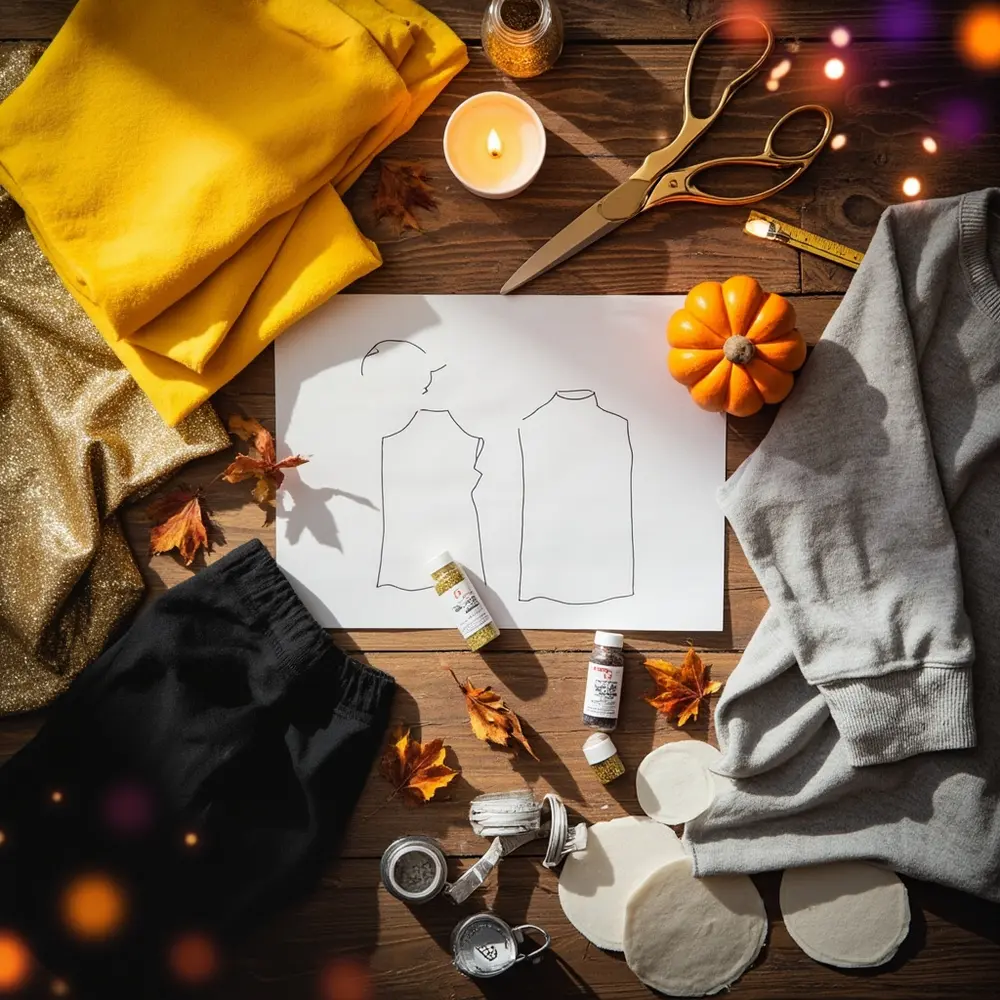
Once you have your theme, break it down. For our “sun and moon” example, you’d list:
- Sun (Mom): Yellow t-shirt, gold glitter, yellow felt for sun rays, headband.
- Moon (Child): Grey sweatshirt, silver fabric paint, white felt for craters, black leggings.
Sketch a simple design of each costume. It doesn’t have to be a masterpiece! This visual plan helps you see what you need and how it will all come together. From my experience helping families plan party themes, having a list prevents that frantic, last-minute trip to the craft store.
> Caution ⚠️: Safety first! Always choose child-safe materials. This means non-toxic glue and paints. For toddlers and very young children, avoid small, detachable parts like sequins or beads that could be a choking hazard. Make sure the final costume won’t have any long, dangling pieces they could trip on.
Image-2: A top-down, flat-lay shot of neatly organized craft supplies on a wooden table. On one side, there’s yellow felt, a gold t-shirt, and glitter. On the other, a grey sweatshirt, silver paint, and white felt. A simple hand-drawn sketch of the sun and moon costumes lies in the center.
Step 3: Basic Construction & Assembly
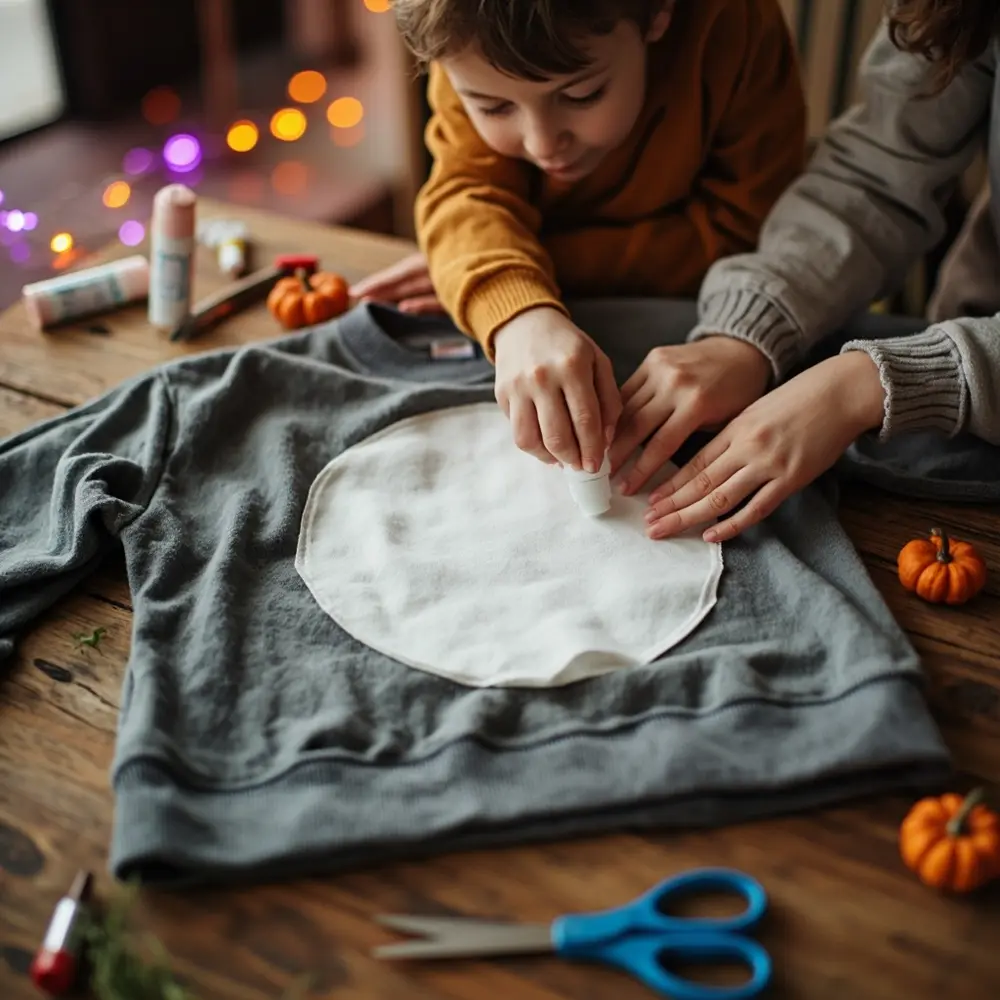
Now it’s time to build! Start with the largest pieces of your costumes. This is usually cutting out the main shapes from fabric or foam. If you’re making sun rays, cut the triangles from felt. If you’re creating moon craters, cut circles from the white felt. Use fabric glue or a hot glue gun to attach these main components to your base clothing (the t-shirts or sweatshirts). Tackle these big, foundational steps first to see your costumes start taking shape.
Image-3: A close-up action shot showing a mother’s hands guiding her child’s hands as they carefully apply fabric glue to the back of a large, white felt circle before placing it onto a grey sweatshirt.
Step 4: Adding Details & Personalization
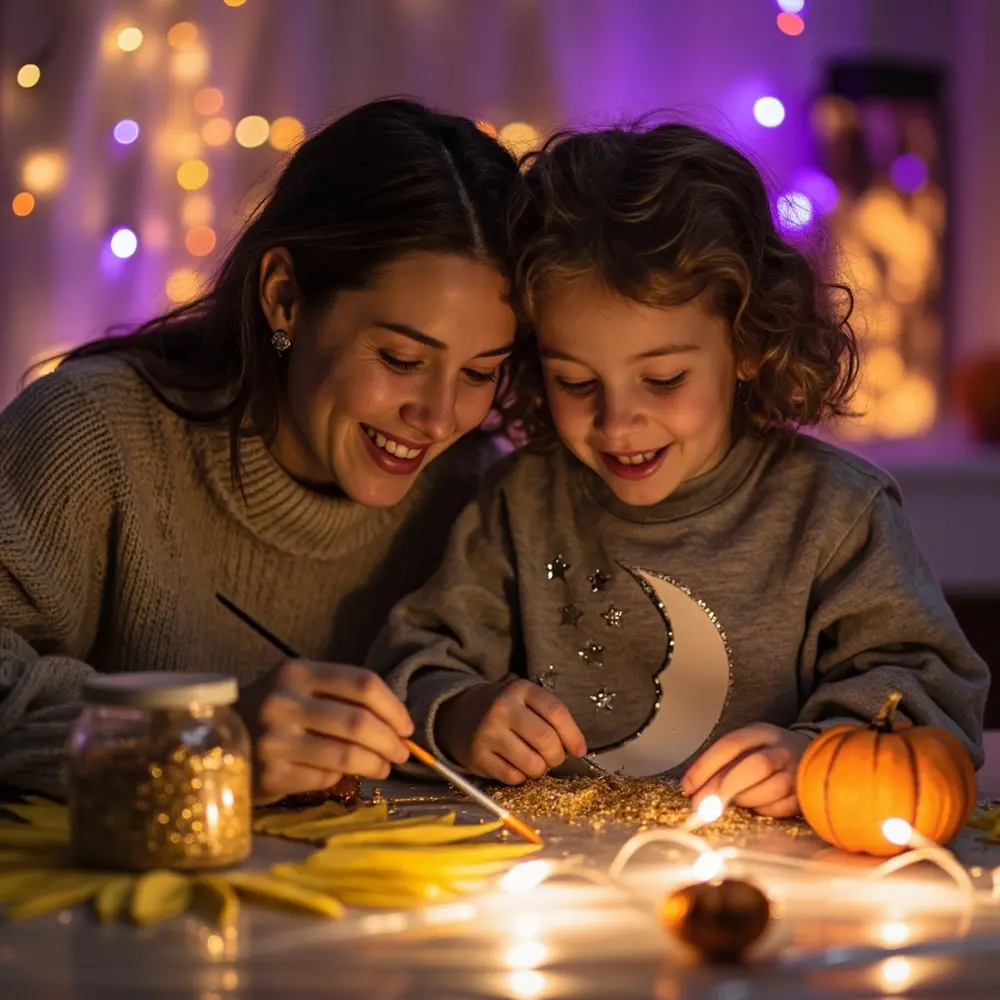
This is my favorite part! Once the main structures are secure, bring your costumes to life with details. Let your little one help with age-appropriate tasks. They can paint on stars, sprinkle glitter (with supervision!), or place pom-pom “planets” on your cosmic creations. These personal touches are what make DIY costumes so special and unique. Last year, my niece insisted on adding googly eyes to her ghost costume, and honestly, it was the best decision we made!
Image-4: An eye-level shot of the mother and child working together at the craft table. The mother is carefully painting silver details onto the grey sweatshirt, while the child is happily adding gold glitter to a yellow felt sun ray.
Step 5: The Final Touches & Fit Check
Your masterpieces are almost complete! Double-check that every piece is securely glued or sewn down. Now, for the moment of truth: the fit check! Have your child try on their costume. Can they walk, run, and raise their arms comfortably for candy-grabbing? Make any necessary adjustments for comfort and mobility. The best costume is one they’ll be happy to wear all night long.
Image-5: A bright, cheerful photo of the mother and child trying on their nearly finished costumes in a living room. The mom is adjusting the sun-ray headband on her head, and the child is giggling while wearing the moon sweatshirt, pointing at one of the craters.
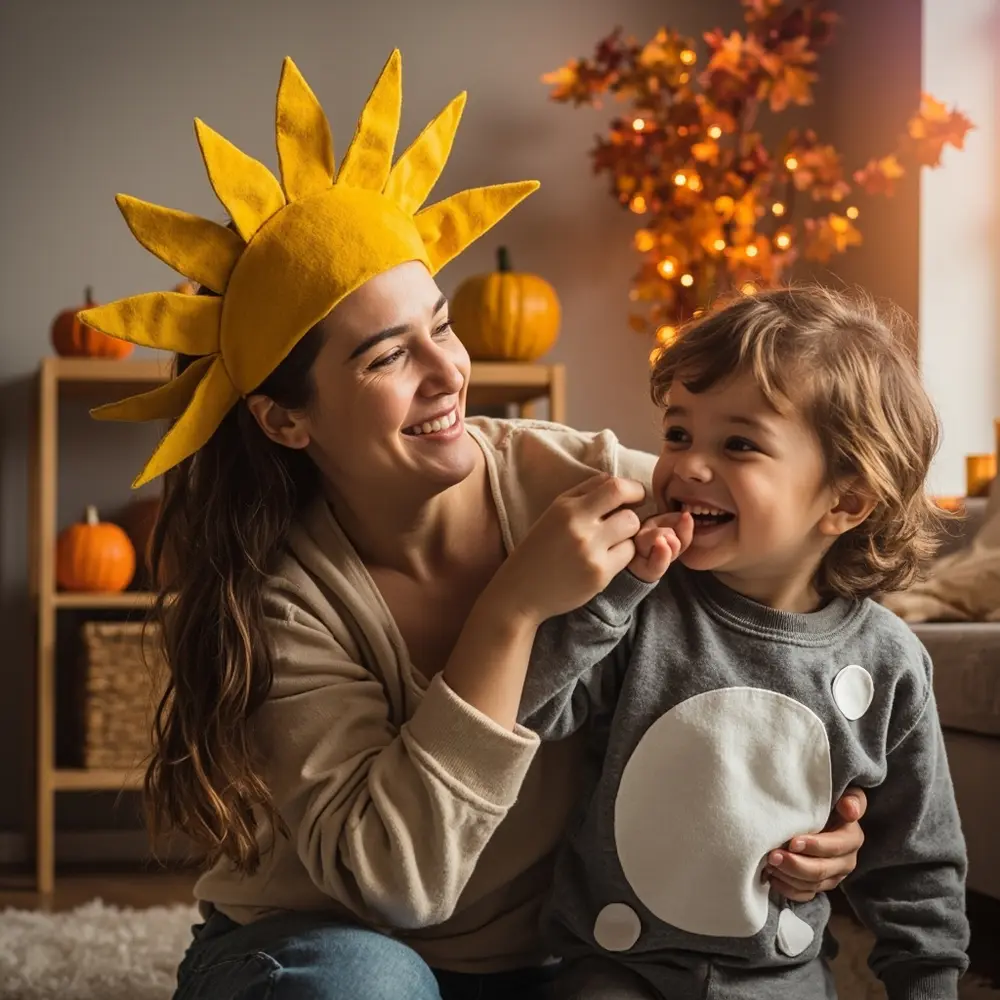
Finding Your Perfect Match: Theme Inspiration & Coordination Secrets 🌟
Creating a coordinated look is about more than just wearing the same thing. It’s about telling a story together! Here are some of my favorite themes to get your ideas flowing:
- Food Pairings 🍕: Milk and a cookie, avocado and a piece of toast, a slice of pizza and a parmesan shaker. These are always a huge hit!
- Classic Duos 🦇: A vampire and their bat, a wizard and an owl, a mad scientist and their monster.
- Nature’s Wonders 🌦️: A rainbow and a pot of gold, a storm cloud and a lightning bolt, a garden gnome and a mushroom.
- Storybook Adventures 📚: Where the Wild Things Are (Max and a Wild Thing), The Very Hungry Caterpillar and his butterfly transformation.
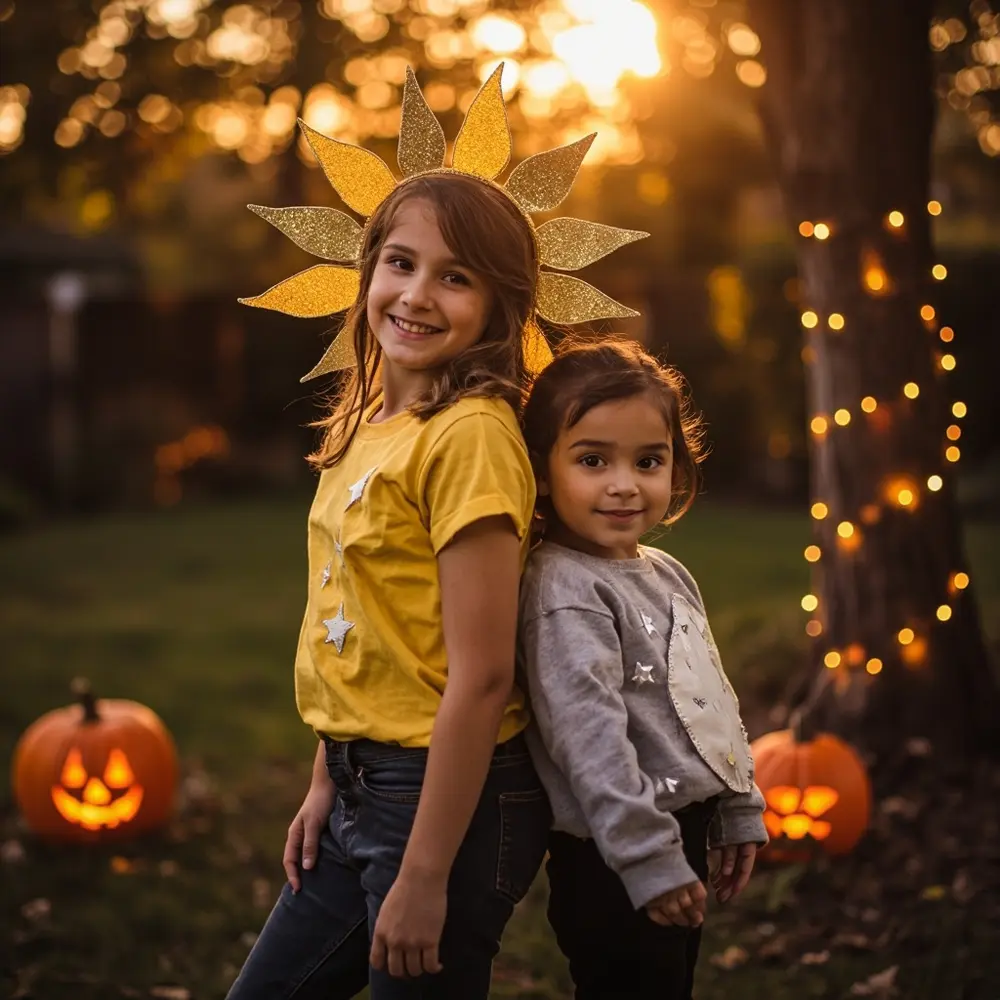
The secret to great coordination is using a shared color palette, repeating motifs (like stars on both a sun and moon costume), or having complementary elements that clearly belong together.
Image-6: A beautiful, slightly zoomed-out shot of the finished mother-child sun and moon costumes. They are standing back-to-back in their yard at dusk, smiling at the camera. The costumes look complete, vibrant, and perfectly coordinated, showcasing the magical final effect.
Variations & Customizations to Haunt Your House 👻
- No-Sew Zone: Rely entirely on fabric glue, safety pins, and a hot glue gun. Felt is your best friend here!
- Baby Carrier Chic: Adapt your theme for a baby! Mom can be a tree, and the baby in the carrier can be a little owl peeking out.
- Accessory Power: If full costumes are too much, create matching accessories like witch hats, superhero capes, or animal ears and tails.
- Recycle & Reuse: Turn cardboard boxes into robot bodies or old sheets into classic ghosts. It’s budget-friendly and great for the planet!
> Theme Twist 🎭: Go for an “opposites attract” theme! Think day and night, fire and ice, or an angel and a little devil. These complementary costumes are super creative and fun to design.
Halloween Activity FAQs ❓
Q1: How can I make sure the costumes are comfortable for my child to wear all night?
Start with a base of soft, familiar clothing like a t-shirt or leggings. Avoid anything itchy or restrictive. Do a “test run” at home before the big night to make sure they can move freely and that nothing is poking or rubbing them.
Q2: What if I’m not good at sewing? Can I still do DIY matching costumes?
Absolutely! When I first started making costumes for my YouTube channel, I was a total no-sew fanatic. Fabric glue and hot glue are incredibly effective. You can create amazing, durable costumes without a single stitch.
Q3: How do I store our DIY costumes for future use or keepsakes?
Gently spot-clean them and let them air dry completely. Store them in a garment bag or a sealed plastic bin in a cool, dry place like a closet or under the bed. Adding a label with the year is a sweet way to turn it into a cherished keepsake.
Time to Show Off Your Spooky Style!
You did it! You’ve not only created one-of-a-kind costumes but also crafted some truly magical Halloween memories with your little one. The time spent together, laughing and creating, is the real treat. I am so excited for you to step out this Halloween, holding hands, and showing off the amazing costumes that you brought to life as a team. From my haunted house to yours, have a wonderfully spooky and creative Halloween!
What amazing costume duo are you and your child planning this year? Let me know in the comments below! 🎃👇

