Looking for the Perfect Memorial Day Nail Designs for Summer?
Do you love decorating your nails for special occasions? Memorial Day is a great time to try new nail designs. This holiday marks the start of summer, so your nails can show off bright, fun colors.
Understanding Memorial Day Nail Designs
Have you ever thought about why we decorate our nails for Memorial Day? This holiday is about remembering and honoring those who served in the military.
Many people use red, white, and blue colors to show their patriotism. You can get creative with these colors to make stunning nail designs.
I remember last Memorial Day; I painted my nails with tiny flags. It was so much fun, and my kids loved helping me pick out the designs.
This small act made the holiday feel even more special.
What You Will Read
- Ideas for patriotic nail designs
- Tips for using summer colors
- Easy steps for creating your own nail art
How can you make your nails stand out this Memorial Day? Let’s explore some fun and easy designs!
Why Memorial Day Nail Designs?
Why Choose Themed Nail Designs?
Themed nail designs are very popular. People love to match their nails to special occasions. This trend is fun and shows off your personal style.
How Can Nail Art Show Patriotism?
For Memorial Day, many choose red, white, and blue nail art. This shows love for our country. It’s a small way to honor those who served.
What Makes Nail Art Fun and Creative?
Designing nails is like painting tiny canvases. You can use stars, stripes, and flags. It’s a fun activity to do alone or with friends. Plus, it adds a festive touch to your look.
Ready to try some Memorial Day nail designs? Let’s get started!
Top Memorial Day Nail Design Ideas
1. Classic American Flag Nails
What Do They Look Like?
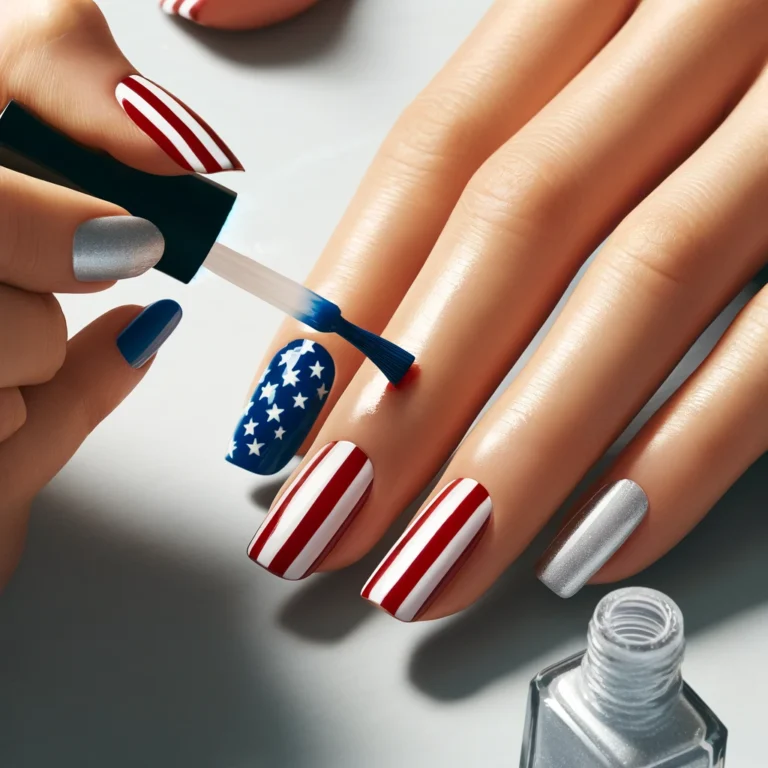
These nails have a blue base with white stars on some nails. Others have red and white stripes. They look just like the American flag!
Tips for Success:
- Use nail stickers for perfect stars and stripes.
- Try accent nails: make one nail the flag and keep the others simple.
2. Patriotic Colors
What Are They?
This design uses red, white, and blue polish. Each nail can be a different color. You can mix and match to create a fun look.
Tips for Success:
- Alternate colors on each nail.
- Add a glossy top coat to make them shine.
3. Stars and Stripes
What Is the Design?
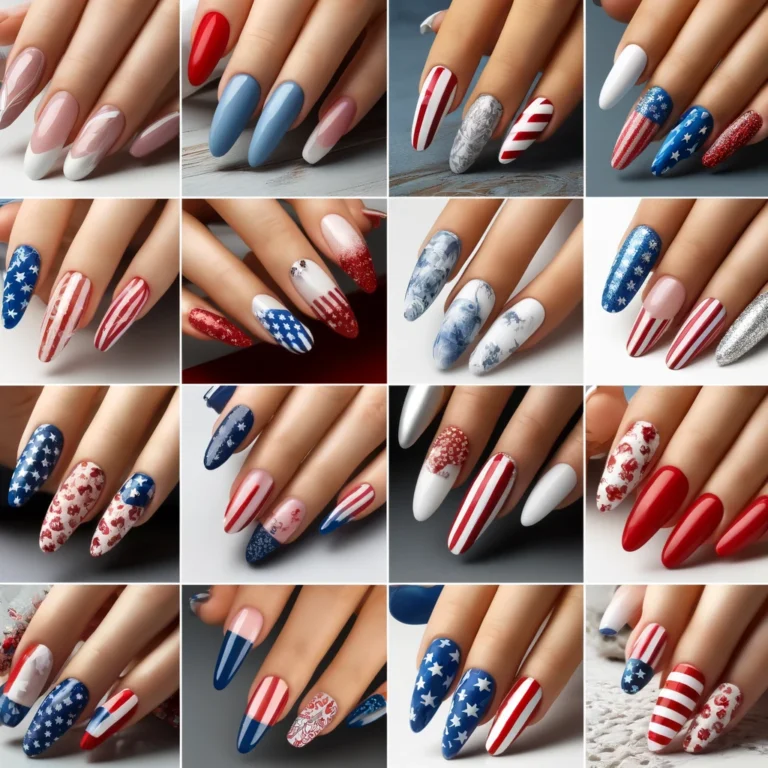
These nails have red and white stripes on some nails. One or two nails can be blue with white stars. It’s a mix of patterns.
Tips for Success:
- Use striping tape to get clean lines for the stripes.
- A dotting tool helps make perfect stars.
4. Camouflage Patterns
How Do They Look?
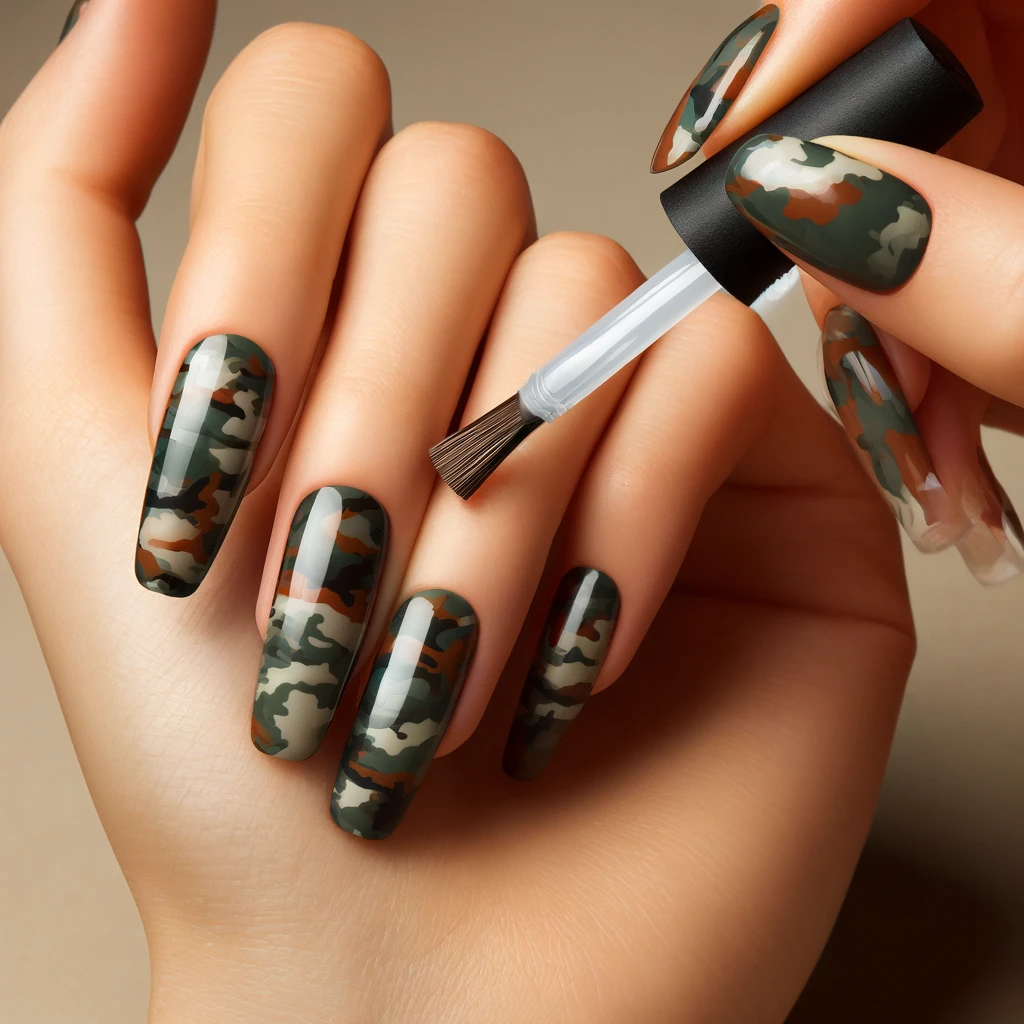
These nails have green, brown, and black patterns. They look like military camouflage. It’s a cool and unique design.
Tips for Success:
- Use a sponge to blend the colors.
- Practice the pattern on paper before doing your nails.
5. Poppy Flowers
What’s Special About Them?
These nails have delicate poppy flowers. Poppies are a symbol of remembrance, perfect for Memorial Day.
Tips for Success:
- Use a thin brush to paint the flower details.
- Add a matte top coat for a soft, elegant finish.
6. Glitter and Rhinestones
How Do They Sparkle?
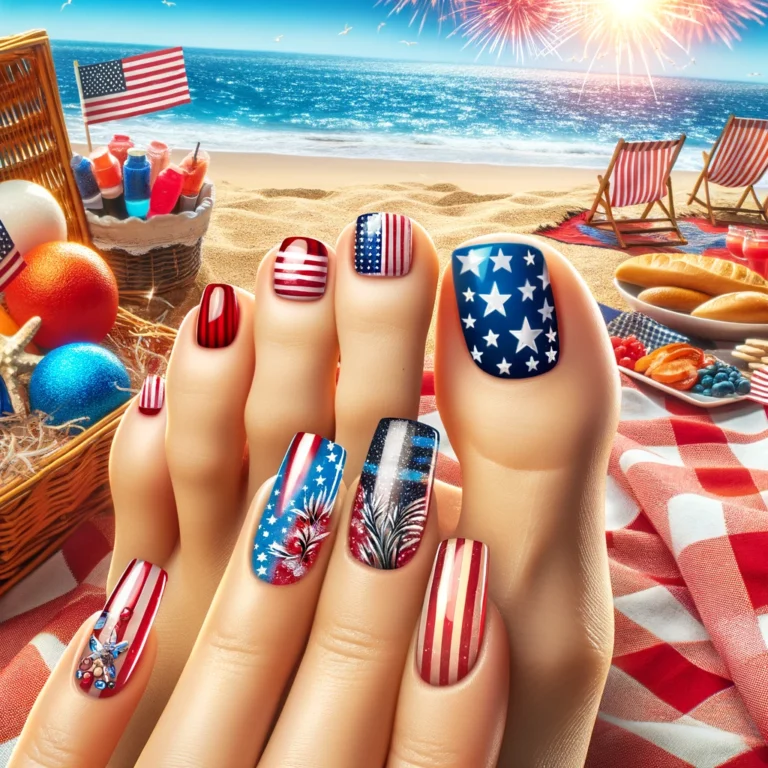
These nails use glitter and rhinestones. You can choose patriotic colors like red, blue, and silver. They add sparkle to your look.
Tips for Success:
- Use nail glue to attach rhinestones securely.
- Apply glitter polish over a base color for extra shine.
7. Military Insignia
What Are They?
These nails have symbols like the American eagle or military medals. They honor the military in a unique way.
Tips for Success:
- Use nail art stickers or decals for detailed symbols.
- A fine brush helps paint small details.
Which design will you try this Memorial Day? These ideas are fun and easy to do at home. Get creative and show off your patriotic spirit!
Step-by-Step Tutorials
How to Create Classic American Flag Nails
What You Need:
- Red, white, and blue nail polish
- White star stickers or a fine nail brush
- Striping tape or nail art tape
- Clear top coat
Steps to Follow:
- Prepare Your Nails: Start with clean, dry nails. Apply a base coat to protect them.
- Paint the Base Colors: Paint your thumb and ring finger nails blue. Paint the rest of your nails white.
- Add the Stars: Place white star stickers on the blue nails. If you don’t have stickers, use a fine nail brush to paint small white stars.
- Create the Stripes: Use striping tape to mark off stripes on the white nails. Paint the exposed areas red.
- Remove the Tape: Carefully peel off the tape to reveal red and white stripes.
- Finish with a Top Coat: Apply a clear top coat to seal your design and add shine.
Tips for Success:
- Let each layer dry completely before moving to the next step.
- Use thin coats of polish to avoid smudging.
How to Create Camouflage Pattern Nails
What You Need:
- Green, brown, and black nail polish
- A makeup sponge
- Clear top coat
Steps to Follow:
- Prepare Your Nails: Start with clean, dry nails. Apply a base coat to protect them.
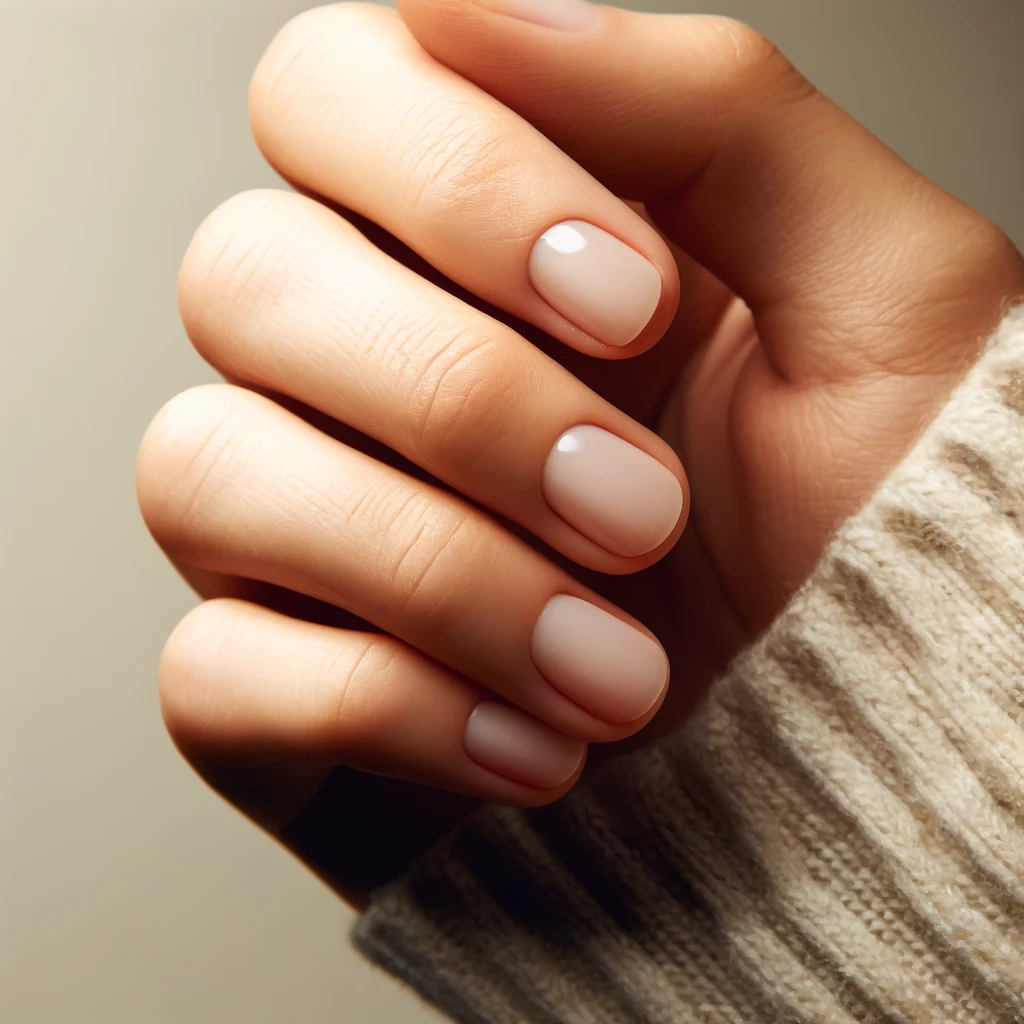
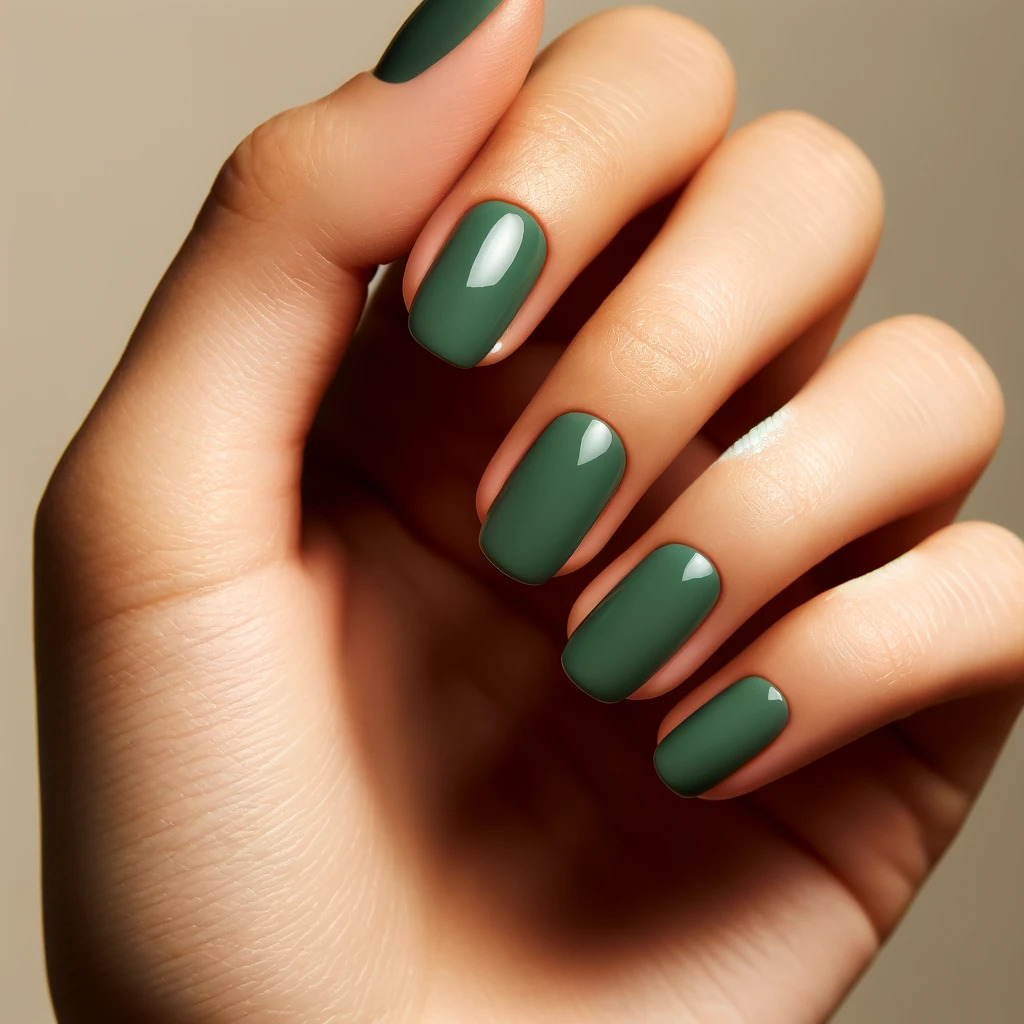
- Paint the Base Color: Paint your nails green. Let them dry completely.
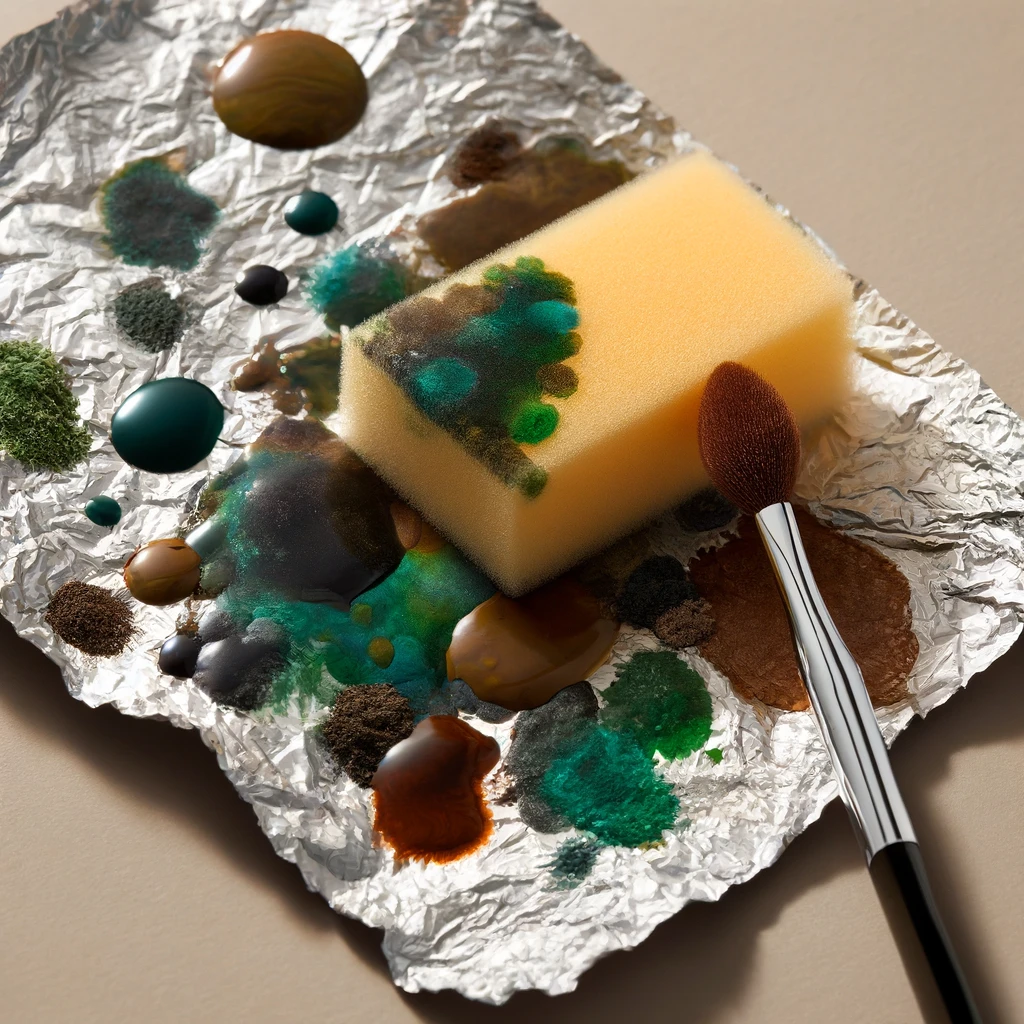
- Prepare the Sponge: On a piece of foil, place small blobs of green, brown, and black polish. Dab the sponge into the colors.
- Apply the Camouflage Pattern: Lightly press the sponge onto your nails to create a random, blended pattern.
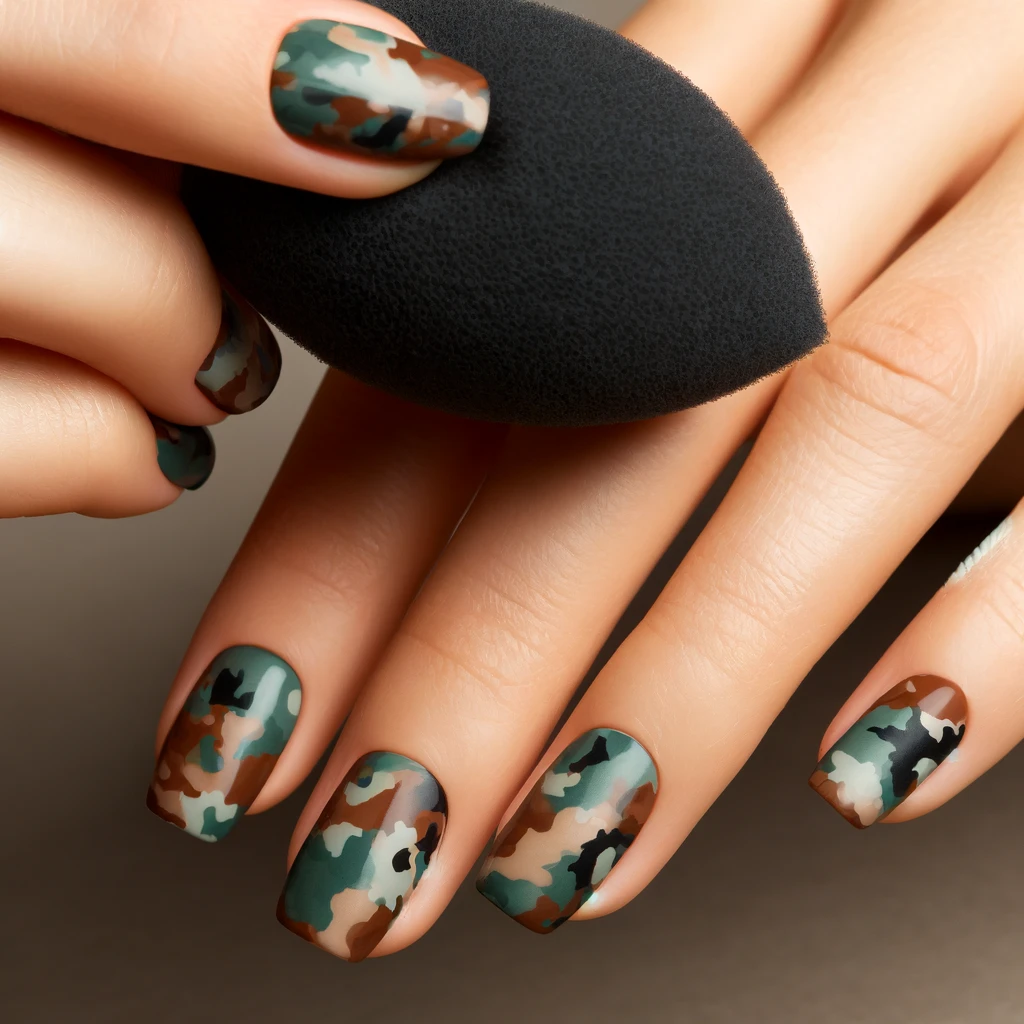
- Blend the Colors: Repeat the dabbing process until you get the desired camouflage effect.
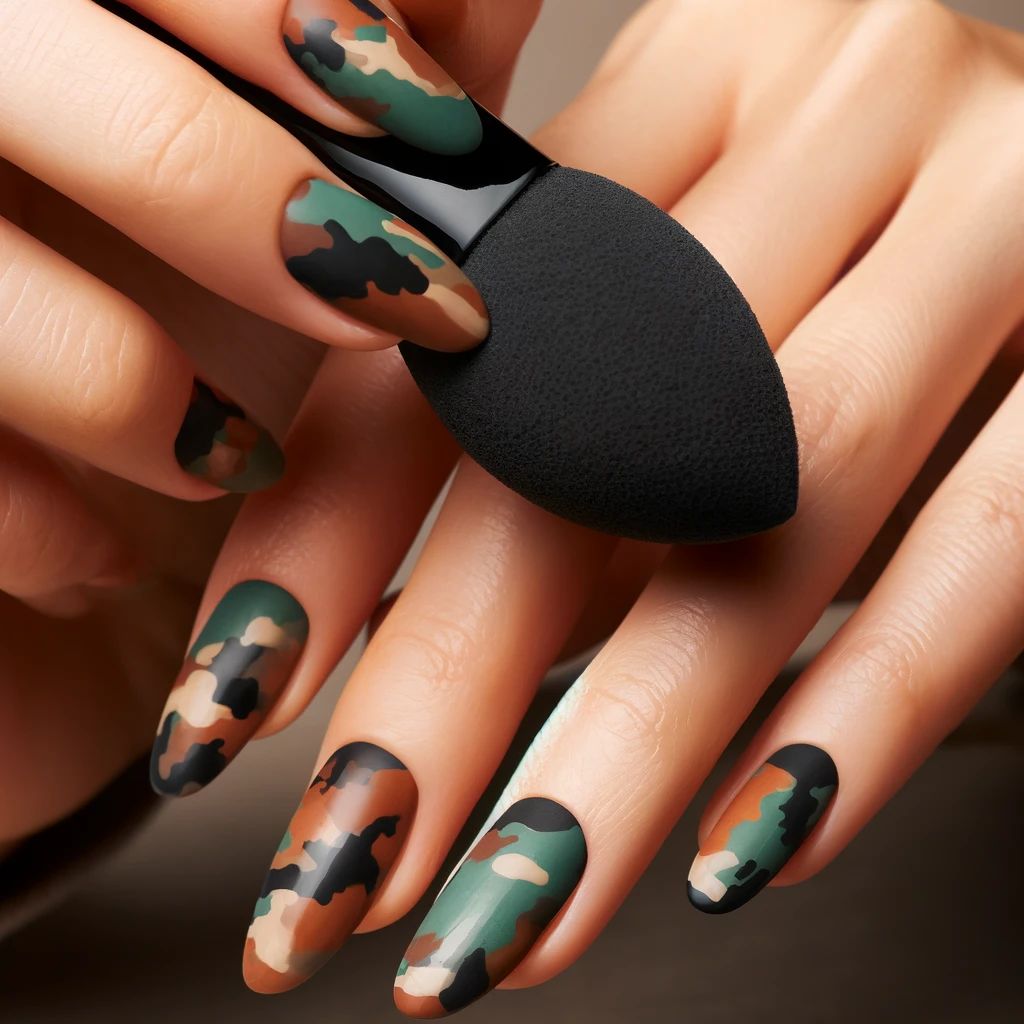
- Finish with a Top Coat: Apply a clear top coat to seal your design and add shine.
Tips for Success:
- Practice the sponging technique on paper before applying it to your nails.
- Use small amounts of polish on the sponge to avoid making the pattern too thick.
Ready to try these fun nail designs? With these steps, you can have professional-looking nails at home. Happy decorating!
Nail Care Tips
How Do You Prepare Your Nails?
Start with clean, dry nails. Remove any old polish with a gentle nail polish remover. Trim and file your nails to your desired shape. Push back your cuticles with a cuticle stick.
This gives you a smooth surface for your designs. Apply a base coat to protect your nails from staining.
How Do You Maintain Your Nail Art?
After creating your nail design, use a clear topcoat. This helps your design last longer. Reapply the topcoat every few days to keep your nails looking fresh and shiny.
Be careful with your hands. Avoid activities that might chip your polish, like scrubbing dishes without gloves.
What Are the Best Topcoats and Protective Layers?
Choose a high-quality clear topcoat for a glossy finish. Look for one that promises long-lasting wear. A matte topcoat can give your nails a different look. Always use gloves when doing chores to protect your nail art.
Taking these steps will help your nail designs look great and last longer. Ready to show off your beautiful nails?
Product Recommendations
| Category | Product | Details | Where to Buy |
| Best Nail Polish Brands | OPI | Known for vibrant, long-lasting colors. | Amazon, Ulta, Target |
| Essie | Offers bright and durable polishes. | Amazon, Ulta, Target | |
| Sally Hansen | Great for bold reds, blues, and whites. | Amazon, Walmart, CVS | |
| Nail Art Kits and Tools | Sally Hansen Nail Art Kit | Includes striping tape, dotting tools, and brushes. | Amazon, Ulta |
| PUEEN Nail Art Brushes Set | Precision brushes for detailed designs. | Amazon, PUEEN website | |
| Patriotic Nail Stickers/Decals | AIFAFA | Offers stars, stripes, and flag designs. | Amazon |
| TailaiMei | Various patriotic designs for nails. | Amazon | |
| Handmade Decals | Unique, handmade options for special designs. | Etsy |
Using these recommended products will help you achieve beautiful, professional-looking nail art. Ready to get creative with your nails? Happy decorating!
Conclusion
Will You Try These Designs?
Memorial Day is a great time to show off your nail art skills. Try out these fun and patriotic designs. Don’t forget to share your nail art on social media! Use the hashtag #MemorialDayNails so we can see your creations.
Stay tuned for upcoming posts on summer nail designs. We’ll share more ideas to keep your nails looking fabulous all season.
What design will you try first? We can’t wait to see your amazing nail art!

