Fun with Food: Using Cookie Cutters for Pumpkin Shaped Cheese & Crackers
It’s that time of year again, ghouls and goblins! The air is getting crisp, the leaves are turning, and my pumpkin spice coffee consumption is officially off the charts. 🎃
Are you scrambling for a festive Halloween snack that doesn’t involve a hot oven or a complicated recipe? I hear you! The pressure to create spooky, fun treats for parties or just for your little monsters at home can feel like a real haunt, especially when you’re short on time. 😫
Well, you can put the kitchen witches’ cauldron away! Your friendly neighborhood Halloween fanatic, Roshan Sharma, is here with the ultimate solution: a no-bake, super-fast, and ridiculously fun snack that looks like you spent hours on it. Let’s make some spooky pumpkin-shaped cheese and crackers! 🎉
Activity At-a-Glance
- Best For 👨👩👧👦: Family snack time, Halloween party platters, quick festive treats
- Time Required ⏳: Approx. 10-15 minutes
- Budget Level 💰: Low-Cost
- Spookiness Level 👻: Low (All fun, no frights!)
What You’ll Need for Your Pumpkin Shaped Cheese & Crackers 📋
- Sliced Cheese (Cheddar, Provolone, or Monterey Jack work great – pre-sliced is your best friend here!) 🧀
- Various Crackers (rounds, squares, rectangles – variety adds to the fun!) 🔳
- Pumpkin-shaped cookie cutters (small to medium size works best) 🎃
- A festive serving platter or board 🍽️
- Optional: A small knife or toothpick for adding little details ✏️
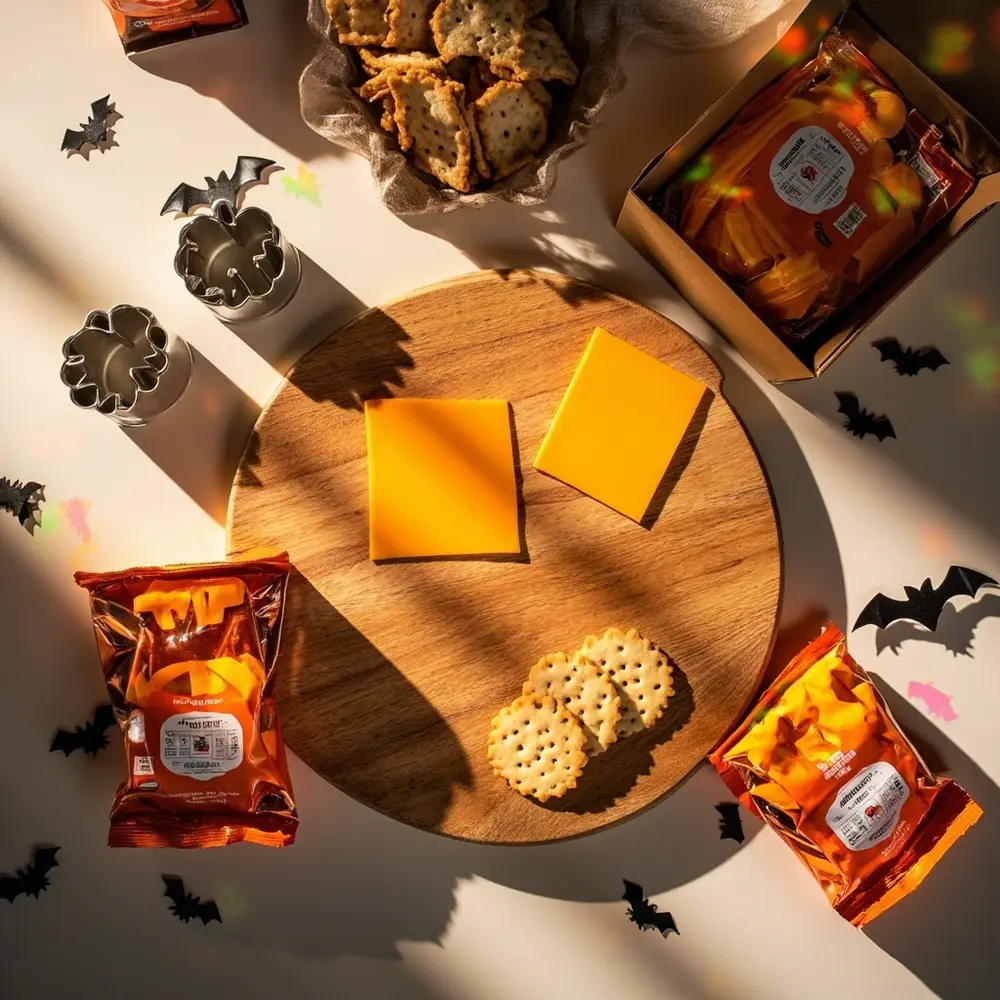
Image-1: A bright, overhead shot of all the supplies neatly arranged on a countertop: a package of sliced cheddar cheese, a box of assorted crackers, two different-sized pumpkin cookie cutters, and a rustic wooden serving board.
Preparation & Setup: Creating the Spooky Scene
This is the best part—the setup is practically non-existent! All you need to do is clear a small space on your kitchen counter or table. This will be your “creation station.”
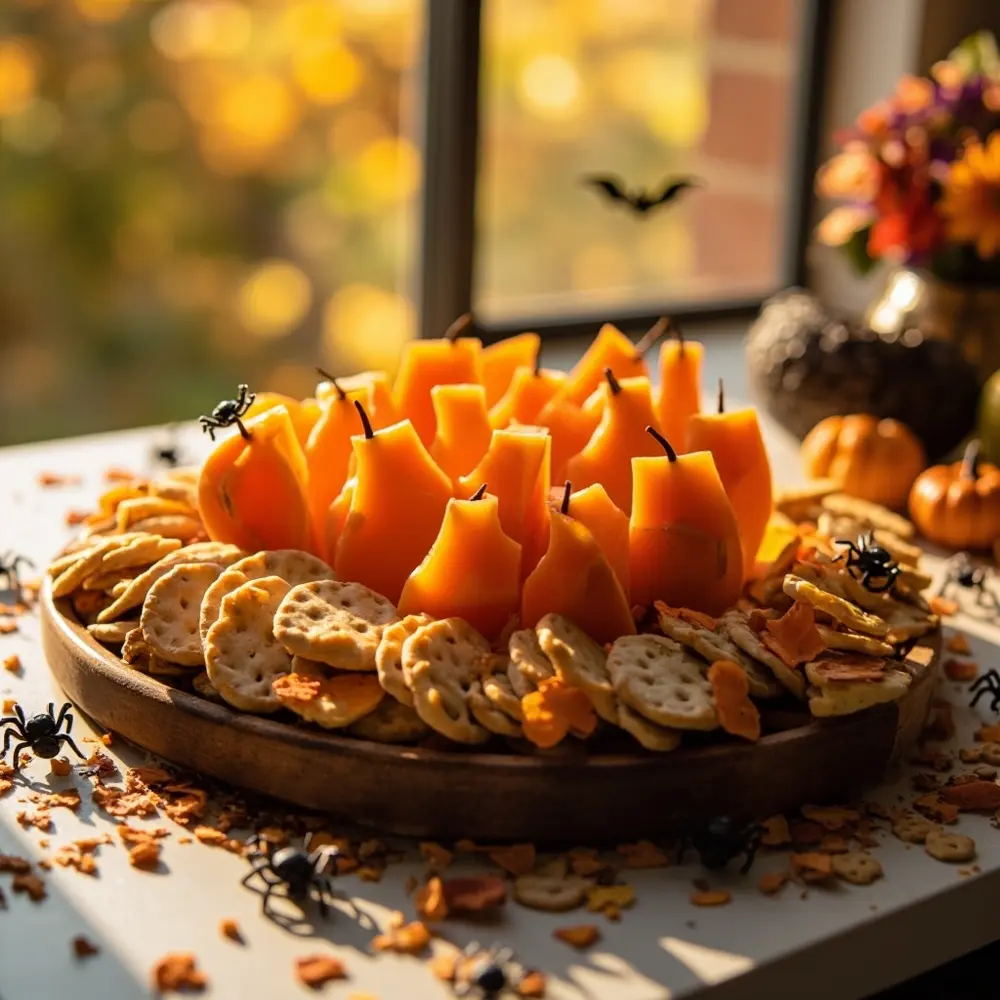
Unbox your crackers and arrange them on your serving platter, leaving space in the middle for the main attraction. The beautiful orange of the cheddar cheese pumpkins will create its own festive scene right on the board, so you don’t need to go crazy with decorations. The food is the decor!
Pro Tip 💡: For an extra pop of spookiness, scatter a few small plastic spiders or bat confetti around the base of your serving platter. It’s a super simple touch that makes the whole display look instantly more festive, just be sure to keep them off the food itself!
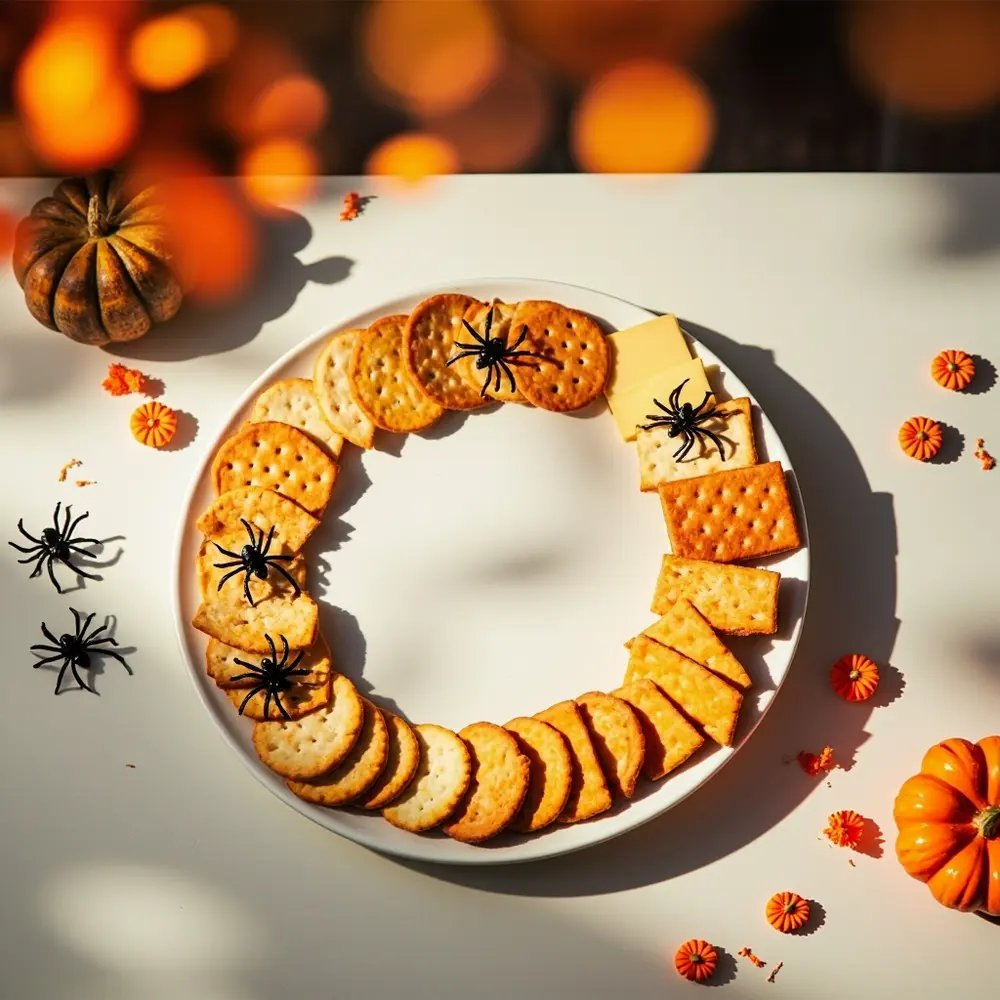
Image-2: A shot of the clean workspace with the serving platter already arranged with a border of different types of crackers, ready for the cheese.
How to Lead the Pumpkin Shaped Cheese & Crackers: Step-by-Step Guide 🚀
Step 1: Gather Your Supplies
First things first! Lay out your cheese slices, crackers, and pumpkin cookie cutters on your clean, flat surface. Having everything within arm’s reach makes this activity go from “easy” to “effortless.” I like to unwrap the cheese slices and lay them out individually so they’re ready for the magic to happen.
Image-3: A close-up shot of several individual cheese slices laid flat on a cutting board next to the cookie cutters.
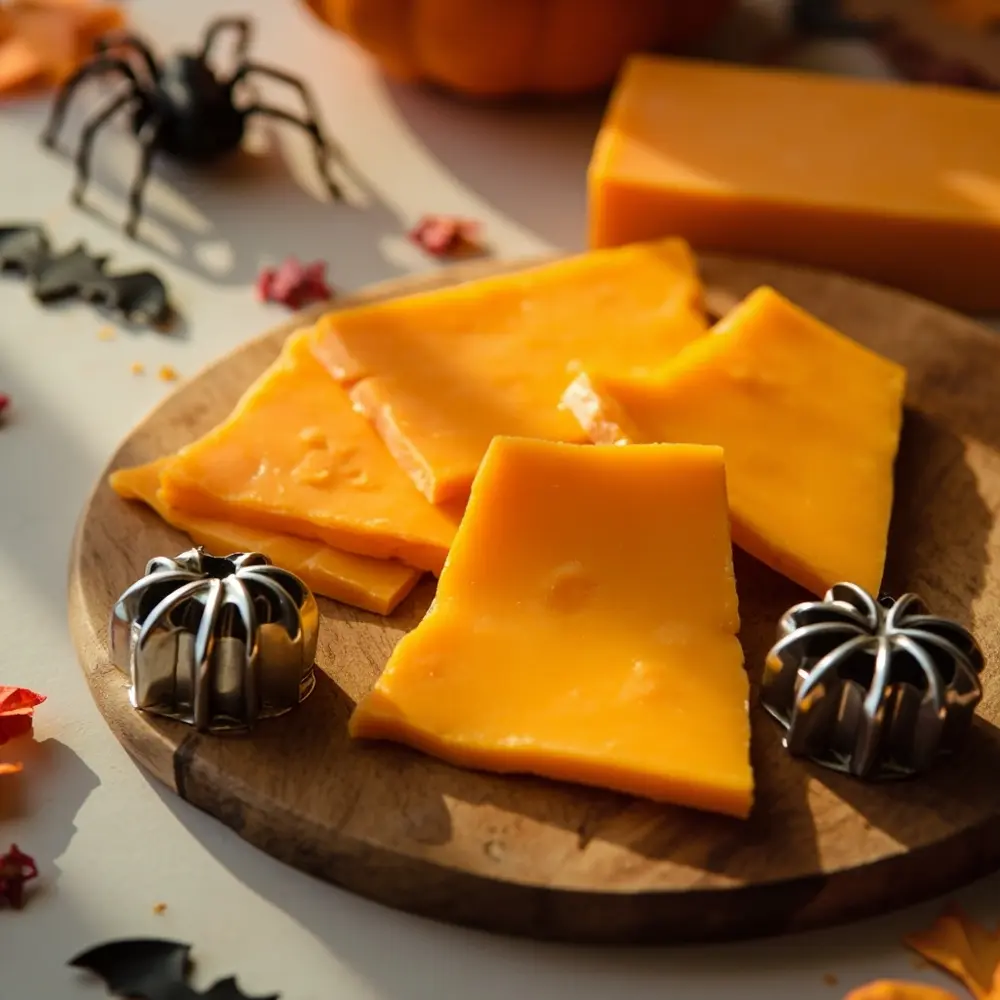
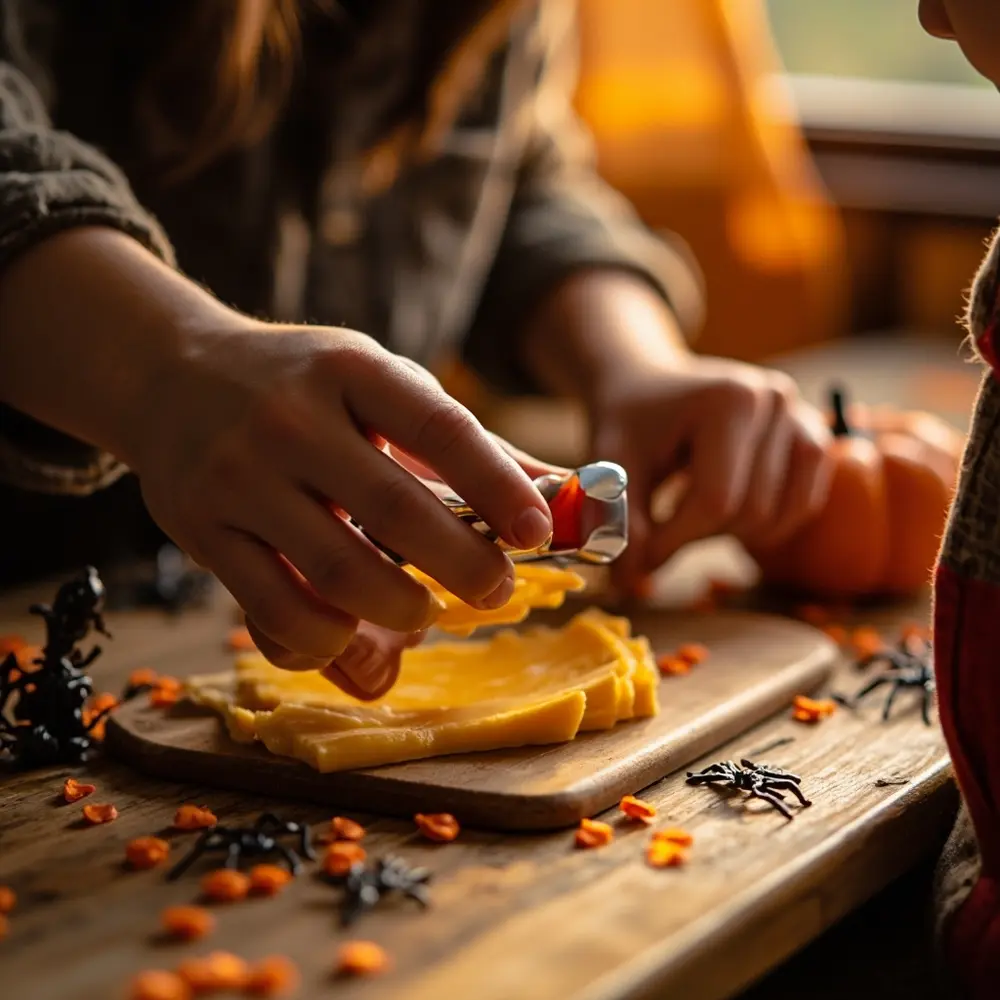
Image-4: An action shot of a child’s hands and an adult’s hands working together, showing the easy, family-friendly nature of the activity.
Step 2: Cut Your Cheese
Now for the fun part! Take your pumpkin-shaped cookie cutter and press it firmly into a slice of cheese. You want to press down just enough to get a clean, sharp cut. Gently peel away the extra cheese from the outside of the cutter, then carefully push the perfect little pumpkin shape out. Repeat for all your cheese slices!
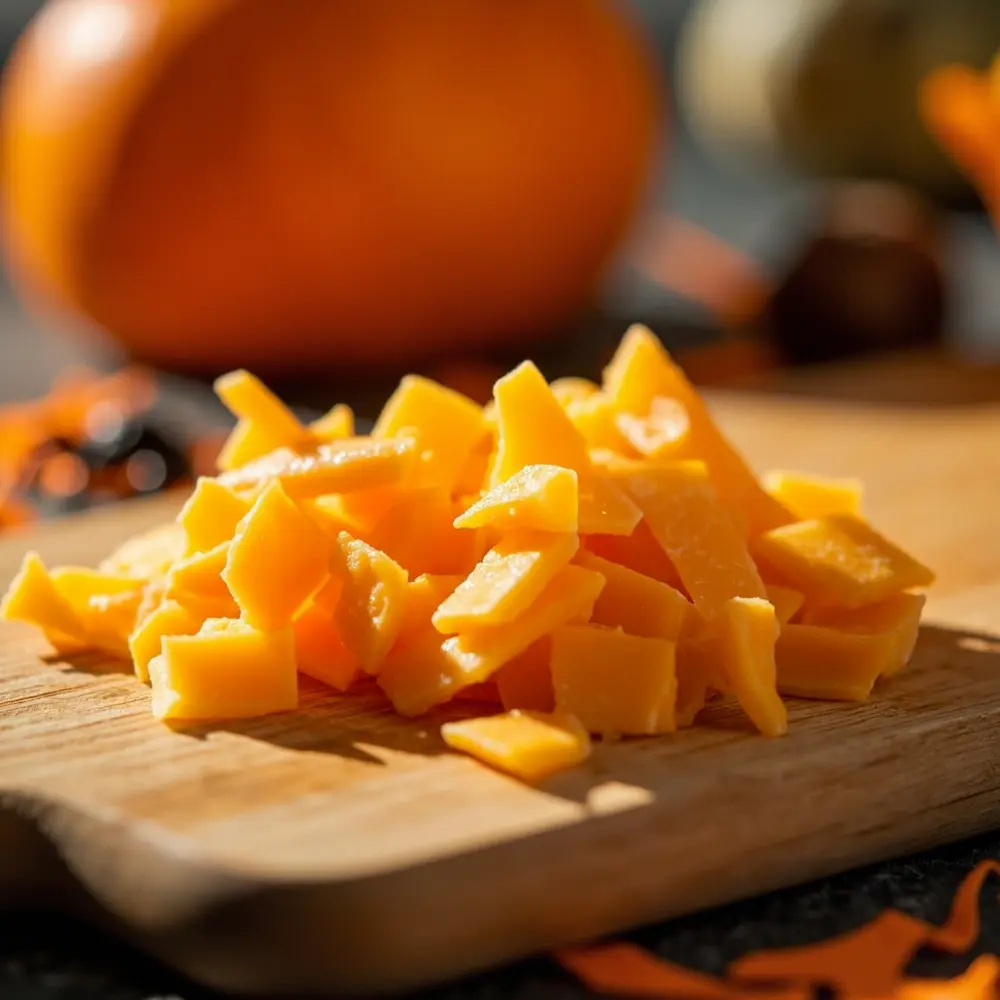
Don’t throw away those cheese scraps! I always tell my niece they’re “monster snacks,” and we nibble on them while we work. You can also save them for melting on toast or in an omelet later. No cheese left behind!
Caution ⚠️: Adult supervision is recommended for young children when using cookie cutters, especially if they have sharp edges. A gentle but firm press is all that’s needed.
Image-5: A close-up action shot of a hand pressing a metal pumpkin cookie cutter into a bright orange slice of cheddar cheese.
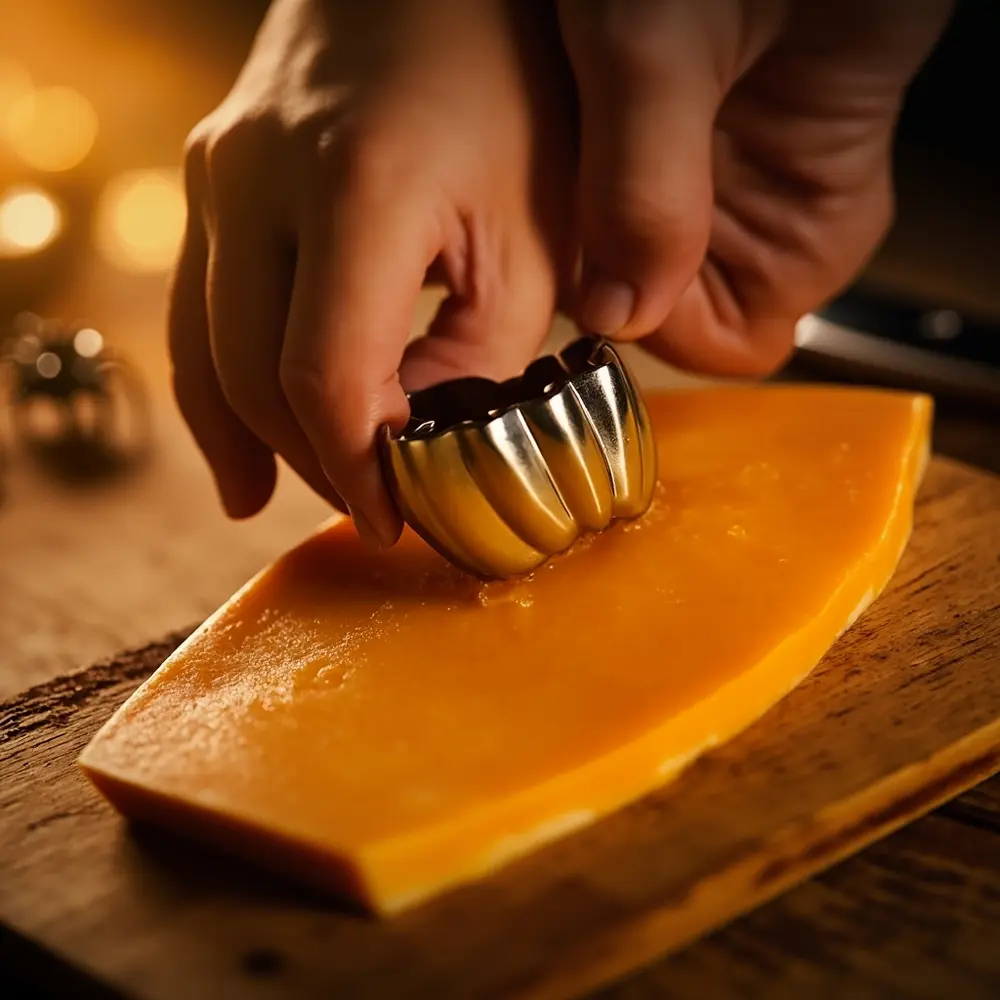
Image-6: A photo showing a perfectly cut-out cheese pumpkin sitting next to the cookie cutter, highlighting the clean edges.
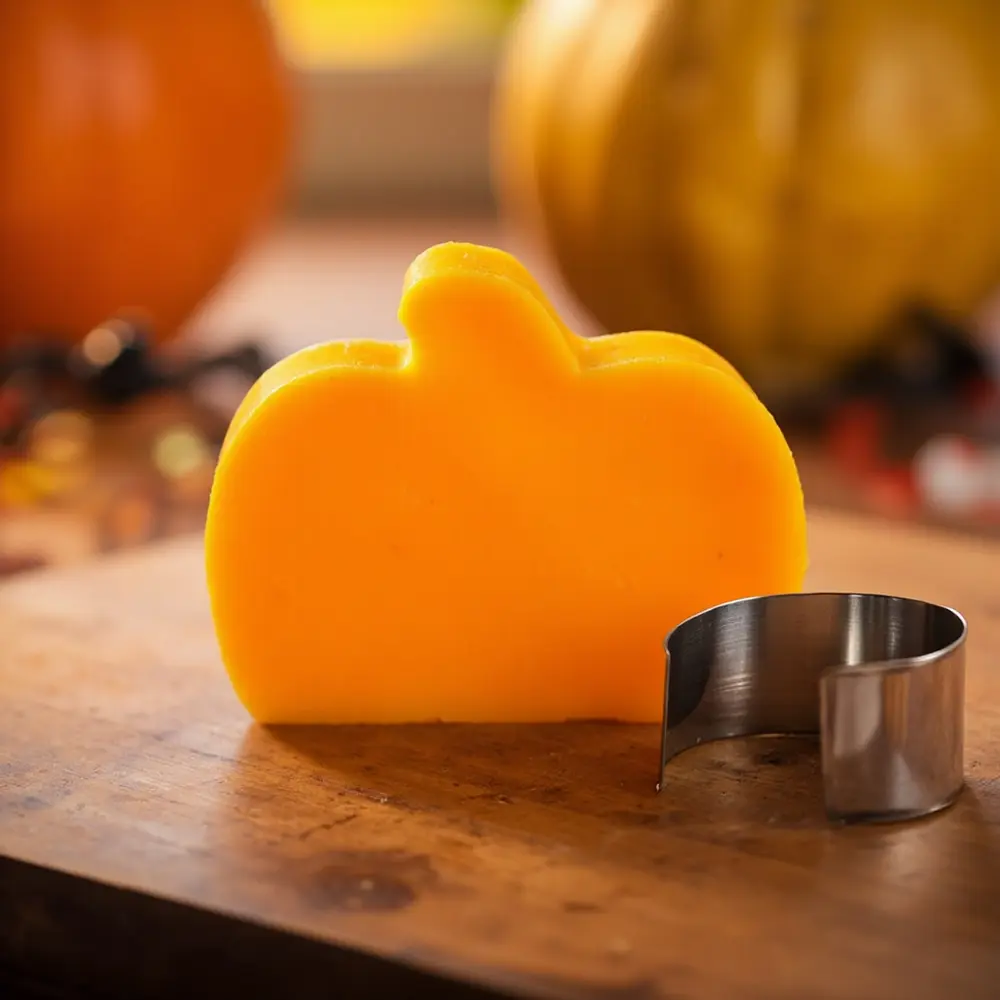
Image-7: A small, fun shot of the leftover cheese “scraps” in a little pile, ready to be snacked on.
Step 3: Arrange & Serve
Time to assemble your masterpiece! Take your adorable pumpkin cheese cutouts and place them artfully on your platter. You can place one on top of each cracker, or you can create a “pumpkin patch” in the center of the board for everyone to grab from. I love overlapping them a little to create a sense of abundance. That’s it—you’re ready to serve your spooky snack!
Image-8: A photo showing the serving platter about halfway complete, with some pumpkin cheese shapes arranged beautifully with the crackers, demonstrating the process.
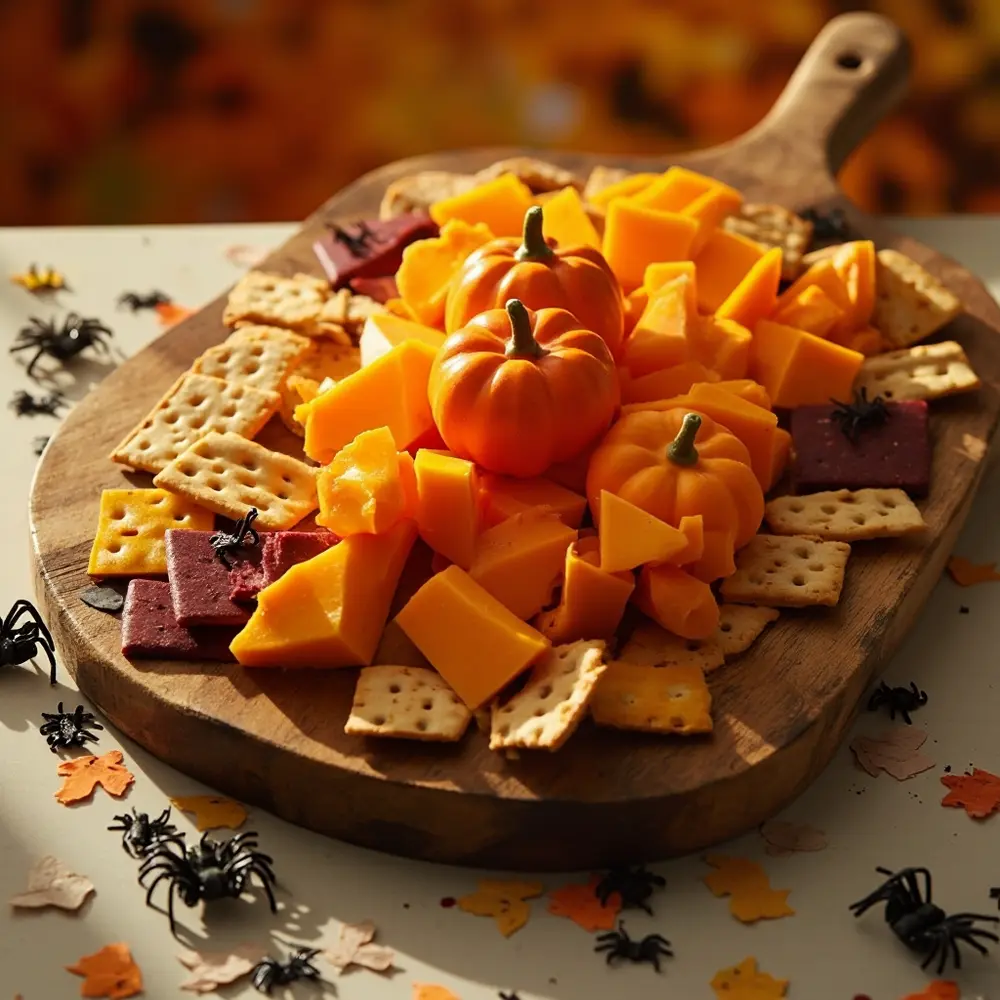
Image-9: The final “hero shot” of the completed, festive platter, loaded with crackers and pumpkin-shaped cheese, ready for a party.
The Easiest No-Bake Halloween Snack Solution
Let’s be real: sometimes the best Halloween activities are the ones that deliver maximum fun for minimal effort. This is that activity! It’s the perfect solution for a last-minute party contribution or when your kids want to do something festive right now. There’s virtually no mess, it’s incredibly fast, and it works for toddlers and adults alike. It’s a simple, stress-free way to bring a little Halloween magic to your table without breaking a sweat.
Variations & Customizations to Haunt Your House
Want to take your cheesy creations to the next level? I’ve got you covered!
- Shape Shifters 👻: Use other Halloween cookie cutters like ghosts (with provolone cheese!), bats, or skulls for a spooky snack medley.
- Cheese Variety 🎨: Experiment with different types of sliced cheese like Swiss or Colby Jack for varied flavors and colors.
- Edible Embellishments 🌿: Use a tiny piece of chive, a pretzel stick, or a sliver of black olive as a “stem” for your pumpkins. You can even use tiny bits for a jack-o’-lantern face!
- Dip It Good 🥑: Serve your platter with a spooky-colored dip! Green guacamole becomes “monster mash,” and an orange cheese spread or hummus is a perfect pairing.
- Sweet & Savory 🍎: Add some healthy balance by using mini cookie cutters on thin apple slices.
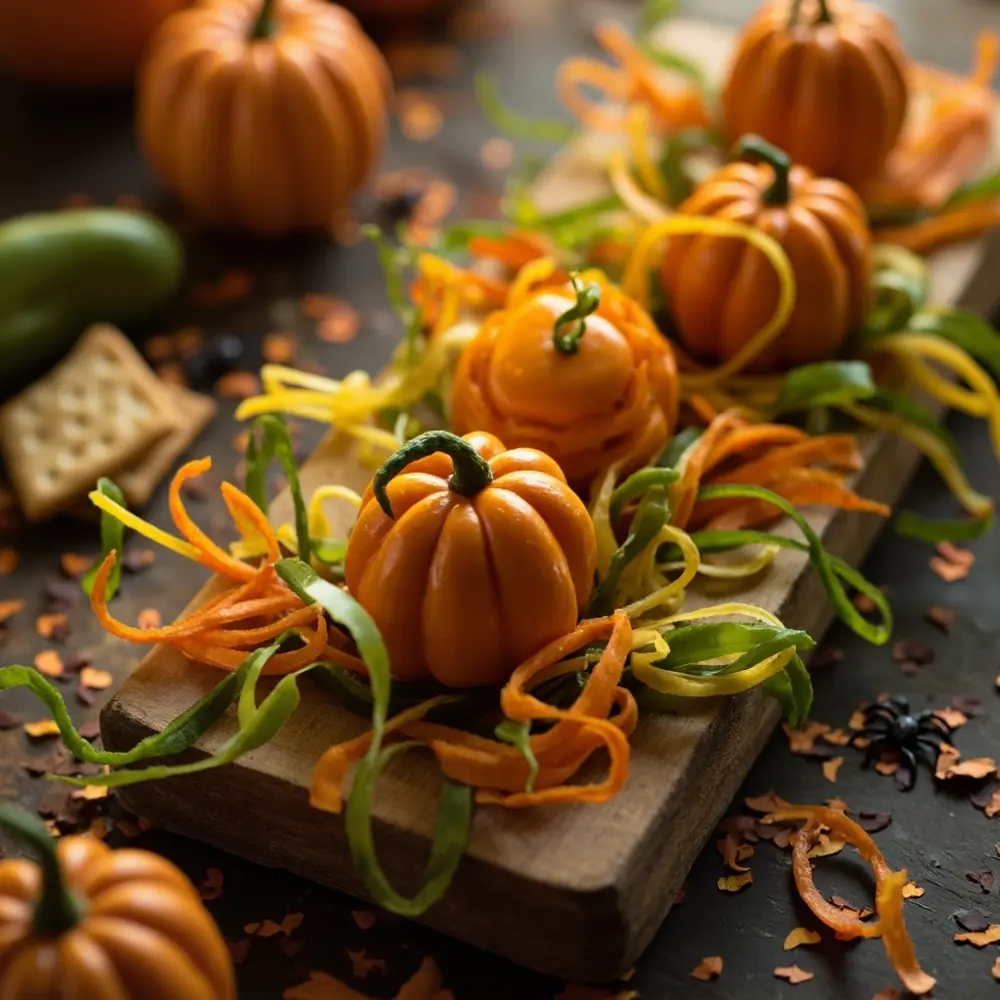
Theme Twist 🎃: Create a “Harvest Patch” theme! Arrange your cheese pumpkins in the center of the board and use thin strips of green bell pepper or ribbons of cucumber to create “vines” snaking around them.
Image-10: A shot showcasing the “Theme Twist” with green bell pepper “vines” weaving around the cheese pumpkins on the platter.
Halloween Activity FAQs ❓
#### Q1: Can I use block cheese instead of sliced cheese?
Absolutely! You’ll just need to slice the block of cheese into thin, even pieces, about 1/8-inch thick. Pre-sliced cheese is just my go-to shortcut for making this as fast as possible!
#### Q2: How far in advance can I make these cheese shapes?
You can cut the cheese shapes a day or two in advance. Just store them in an airtight container in the fridge with a small piece of parchment paper between the layers to prevent sticking. Assemble them on the crackers right before serving to keep the crackers crisp.
#### Q3: What if I don’t have pumpkin cookie cutters?
No problem! You can use the rim of a small glass to cut out circles and then use a small knife to carefully carve a little stem shape at the top. You can also use any other fall-themed or simple shapes you have on hand, like leaves or stars!
Conclusion
And there you have it—a perfectly festive, frightfully easy Halloween snack that everyone will love. Making these little cheese pumpkins is one of my favorite simple traditions because it proves you don’t need a complicated plan to create wonderful holiday memories. It’s all about the fun of creating something together and, of course, enjoying a delicious treat afterward.
I hope you and your family have a blast making (and eating!) these. It’s a small, simple way to make the season feel extra special. Now go on and get your spooky snack on!
What’s your go-to easy Halloween snack? Drop a comment below—I’m always looking for new ideas for my party playbook! 🦇
