10 Fun Halloween Process Art Ideas for Preschool (Sensory!)

Spark open-ended joy! Explore 10 halloween crafts preschool process art ideas with tape-resist webs, fork-printed monsters, and zero-mess sensory setups. 🎃
💬 The Real Mom Question (from Reddit’s r/ECEProfessionals):
“Whenever we do open-ended pumpkin or monster painting with toddlers, they mix every color together until every canvas turns into dark muddy brown sludge. How do you encourage free process art while keeping the artwork vibrant and colorful?”Nancy’s Quick Reassurance: The secret is the ‘Curated Analogous Palette’! You don’t have to put out 12 competing colors. Set out 2 or 3 harmonious shades that naturally blend together—like sunny yellow, warm orange, and bright red for pumpkins, or lime green and purple for monsters. When children swirl and blend these shades freely, every single combination results in gorgeous layered gradients with zero mud!
10 Fun Halloween Process Art Ideas for Preschool (Sensory!)
⚡ The Quick Mom Skim (TL;DR)
- Curate the Palette: Limit colors to 2 or 3 analogous shades per activity to keep open-ended painting bright and vibrant.
- Heavyweight Foundations: Use 140lb watercolor paper or uncoated paper plates so heavy toddler paint applications won’t warp or soak through.
- De-Tack Your Tape: Lightly press blue painter’s tape against your jeans before taping paper to ensure a clean 180-degree peel without tearing.
- Unconventional Texture Tools: Swap traditional brushes for kitchen forks, salad spinners, cotton balls, and bubble wrap to spark sensory discovery.
🏆 Nancy’s Top 3 Quick Picks for Halloween Preschool Process Art
| Pick Category | Recommended Supply & Link | Real-Mom Why |
|---|---|---|
| Best Heavyweight Paper | Strathmore 300 Series Heavyweight Watercolor Paper (9×12) | Ultra-durable 140lb cold-press paper that holds heavy washes, wet tempera, and sensory squish paint without buckling. |
| Best Toddler Dot Markers | Do A Dot Art! Markers 6-Pack Rainbow Washable Paint | Easy-grip chunky bottles with spill-free sponge tips that give little hands instant circular stamping satisfaction. |
| Best Clean-Peel Tape | ScotchBlue Original Multi-Surface Painters Tape (2 Inch) | Professional low-tack blue tape that seals sharp spiderweb resist lines and releases cleanly from dry paper fibers. |
🧺 Nancy’s Real-Mom Supply Swap Table
| Craft Requirement | If You Don’t Have It | Use This Pantry / Household Swap | What Happens / Nancy’s Take |
|---|---|---|---|
| Specialty Texture Brushes | Kitchen sponge or craft dabber | Plastic dinner fork or potato masher | Pressing fork tines creates incredible spiky monster fur and grass textures! |
| Centrifugal Salad Spinner | Kitchen salad spinner | Shallow cardboard box with a rolling marble | Rolling a paint-dipped marble across black paper creates mesmerizing web tracks! |
| Bubble Wrap Sheets | Packaging bubble wrap | Waffle-textured paper towels or citrus mesh produce bags | Produce bags dipped in paint create gorgeous scaly reptile and monster textures. |
| Ziploc Freezer Bags | Clear gallon storage bag | Clear plastic sheet protector taped closed on 3 sides | Allows toddlers to squish and blend paint with bare hands with zero cleanup! |
10 Exciting Halloween Preschool Process Art Projects
1. Tape-Resist Watercolor Spiderweb Canvas
⏱️ Active & Dry Time: 15 mins active (+ 20 mins dry) | 🧼 Mess Level: 2/5 | 👶 Age Adaptation: Ages 2+ (toddlers love peeling tape) | 💰 Est. Cost: ~$0.85 per painting
💬 Real Mom Question (from Reddit’s r/preschoolers): “Why does our painter’s tape tear through the paper fibers when we peel it off our spiderweb art?”
Nancy’s Fix: Never peel while the paper is damp! Let the watercolor wash dry 100% until the paper feels warm to the touch. Then, pull the tape back flat against itself at a sharp 180-degree angle rather than pulling upward. The tape releases like butter, leaving crisp white spiderwebs!
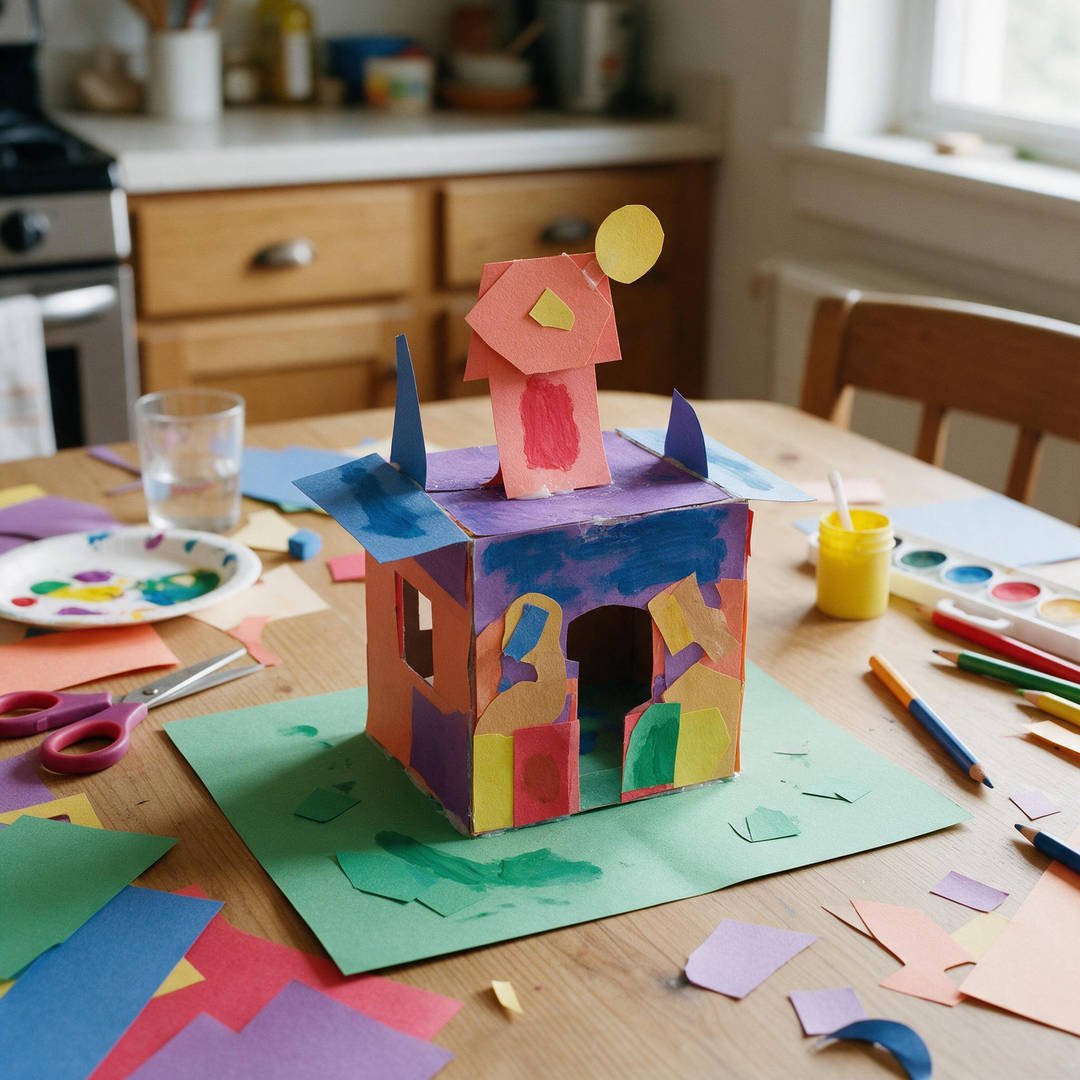
Tape-resist art is the ultimate magical reveal for young children. They can scribble and splash watercolor paint wildly across the entire paper, and when the tape is pulled away, an intricate geometric spiderweb appears like magic.
Celebrate the unique way your child lays down their tape lines—asymmetrical, quirky webs have the most personality.
How to Craft It:
- De-tack strips of ScotchBlue painter’s tape by sticking them once against your shirt to reduce adhesive strength.
- Press tape strips crisscrossing across a sheet of Strathmore 140lb watercolor paper to form radiating spiderweb spokes and crossbars.
- Provide cups of water and rich liquid watercolor or washable tempera paint in purple, royal blue, and black.
- Let your preschooler paint freely over the entire paper, watching the wet colors bleed and swirl across the tape barriers.
- Once the paper is completely bone-dry, help your child slowly peel away the tape at a 180-degree angle to reveal the bright white spiderweb!
Amazon Craft Materials You Should Buy:
| Material Name | Where to Buy |
|---|---|
| ScotchBlue Original Multi-Surface Painters Tape (2 Inch) | Buy on Amazon ➔ |
| Strathmore 300 Series Heavyweight Watercolor Paper (9×12) | Buy on Amazon ➔ |
👉 Watch the Best Halloween Crafts for Kids on YouTube
2. Kitchen Fork Printed Silly Monster Faces
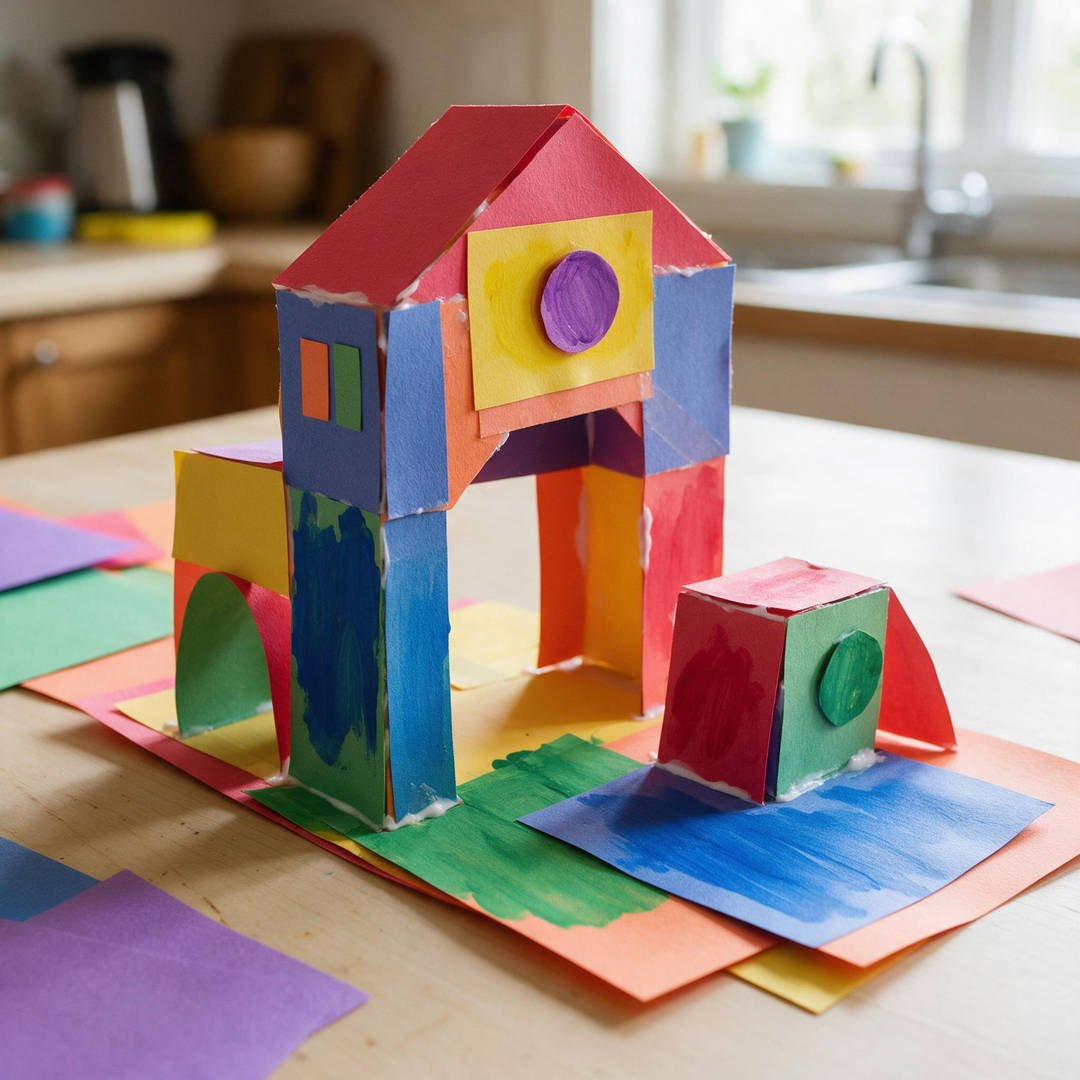
⏱️ Active & Dry Time: 15 mins active | 🧼 Mess Level: 2/5 | 👶 Age Adaptation: Ages 2+ | 💰 Est. Cost: ~$0.60 per monster
💬 Real Mom Question (from Reddit’s r/toddlers): “My 2-year-old just smears paint into flat circles. How do we get that spiky fur texture?”
Nancy’s Fix: Use a disposable plastic kitchen fork! Dip only the back curve of the tines into shallow paint, and show your child how to stamp down and lift straight up. The 4 tines create instant spiky monster fur with zero smearing!
Ditching standard paintbrushes for ordinary kitchen utensils sparks instant wonder and curiosity in preschoolers.
Children love pressing dozens of spiky fork prints radiating outward to build wild, fuzzy monster bodies in lime green, vivid orange, and neon purple.
How to Craft It:
- Squeeze shallow pools of Crayola washable kids paint (neon green, orange, and purple) onto an uncoated paper plate palette.
- Dip the curved tines of a plastic dinner fork into the paint, coating the tips evenly.
- Stamp the fork tines repeatedly in a circular radiating pattern on white cardstock to create a dense, spiky monster body.
- Let your child choose where to place two, three, or four self-adhesive googly eyes in different sizes on their creature.
- Use a black marker or paint stick to draw funny zigzag mouths, silly fangs, or goofy monster horns!
Amazon Craft Materials You Should Buy:
| Material Name | Where to Buy |
|---|---|
| Crayola Washable Kids Paint Set (12 Count) | Buy on Amazon ➔ |
| FEBSNOW 200Pcs Googly Wiggle Eyes (Self-Adhesive) | Buy on Amazon ➔ |
👉 Watch the Utensil Printing Process Art Tutorial on YouTube
3. Salad Spinner Splatter Spiderwebs
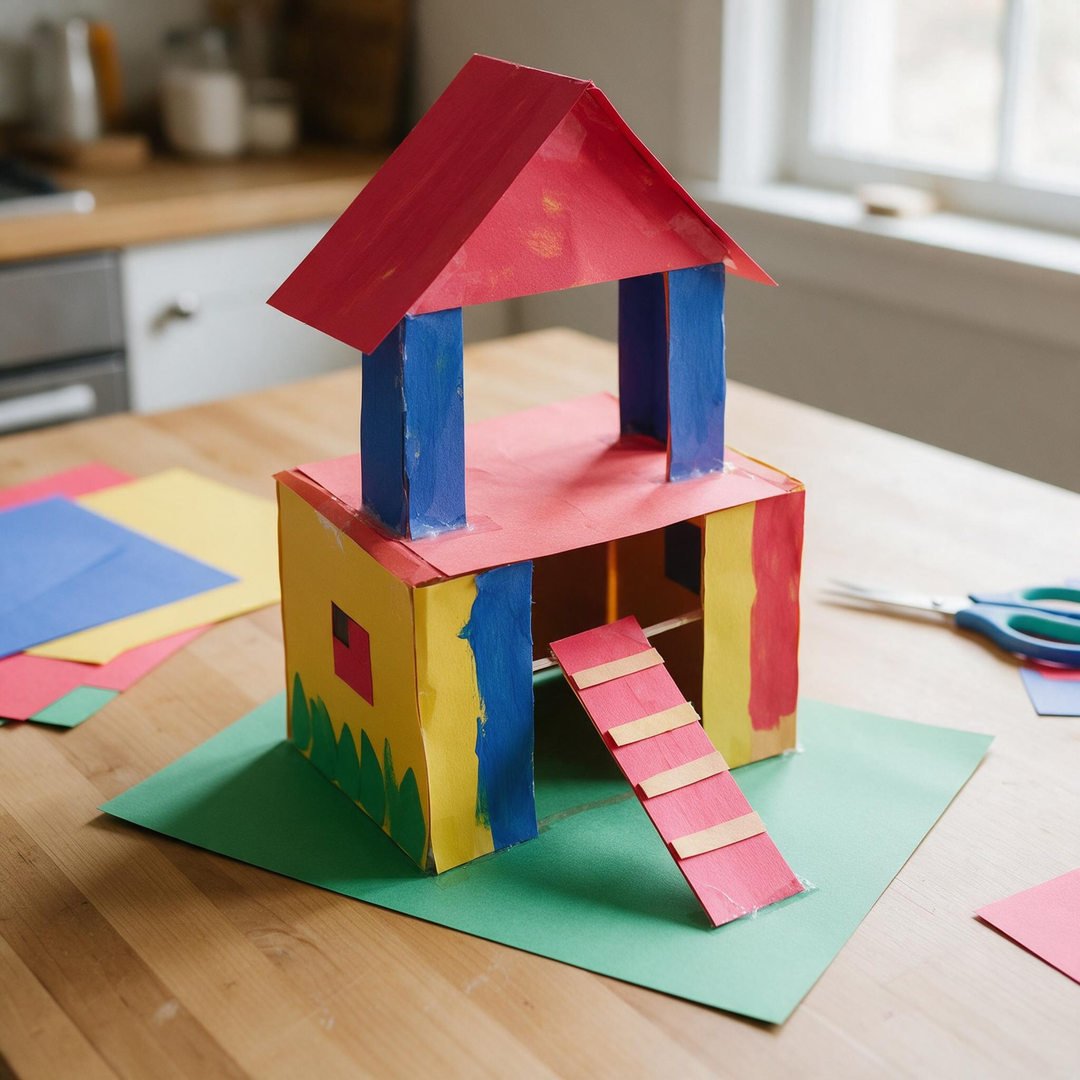
⏱️ Active & Dry Time: 10 mins active | 🧼 Mess Level: 1/5 (contained in spinner) | 👶 Age Adaptation: Ages 3+ | 💰 Est. Cost: ~$0.45 per web
💬 Real Mom Question (from Reddit’s r/Parenting): “How do you do splatter paint with preschoolers without paint flying onto ceilings and walls?”
Nancy’s Fix: Put the paper inside an old kitchen salad spinner! Squeeze a few drops of paint in the center, snap the clear lid on tight, and let your preschooler pump the spin handle. 100% of the paint splatters are contained inside the bowl!
This centrifugal physics experiment produces explosive, cosmic spiderwebs that look like professional abstract gallery art.
Toddlers are fascinated by watching through the clear spinner lid as centrifugal force flings the paint droplets outward in dynamic radiating streaks.
How to Craft It:
- Cut a circular disc from black Crayola construction paper to fit neatly inside the bottom basket of a salad spinner.
- Secure the paper disc with a tiny loop of tape in the center so it doesn’t shift during high-speed spinning.
- Squeeze 4 to 6 generous drops of white, lime-green, and orange washable paint onto the center of the paper.
- Lock the spinner lid in place and let your child pump the handle vigorously to spin the basket at top speed.
- Remove the lid to reveal a breathtaking, explosive splatter spiderweb, and glue a tiny plastic spider onto the web!
Amazon Craft Materials You Should Buy:
| Material Name | Where to Buy |
|---|---|
| Crayola Washable Kids Paint Set (12 Count) | Buy on Amazon ➔ |
| Crayola Construction Paper Bulk Pack (480 Sheets) | Buy on Amazon ➔ |
👉 Watch the 9 Easy Halloween Crafts on YouTube
4. Bubble Wrap Textured Autumn Harvest Pumpkin
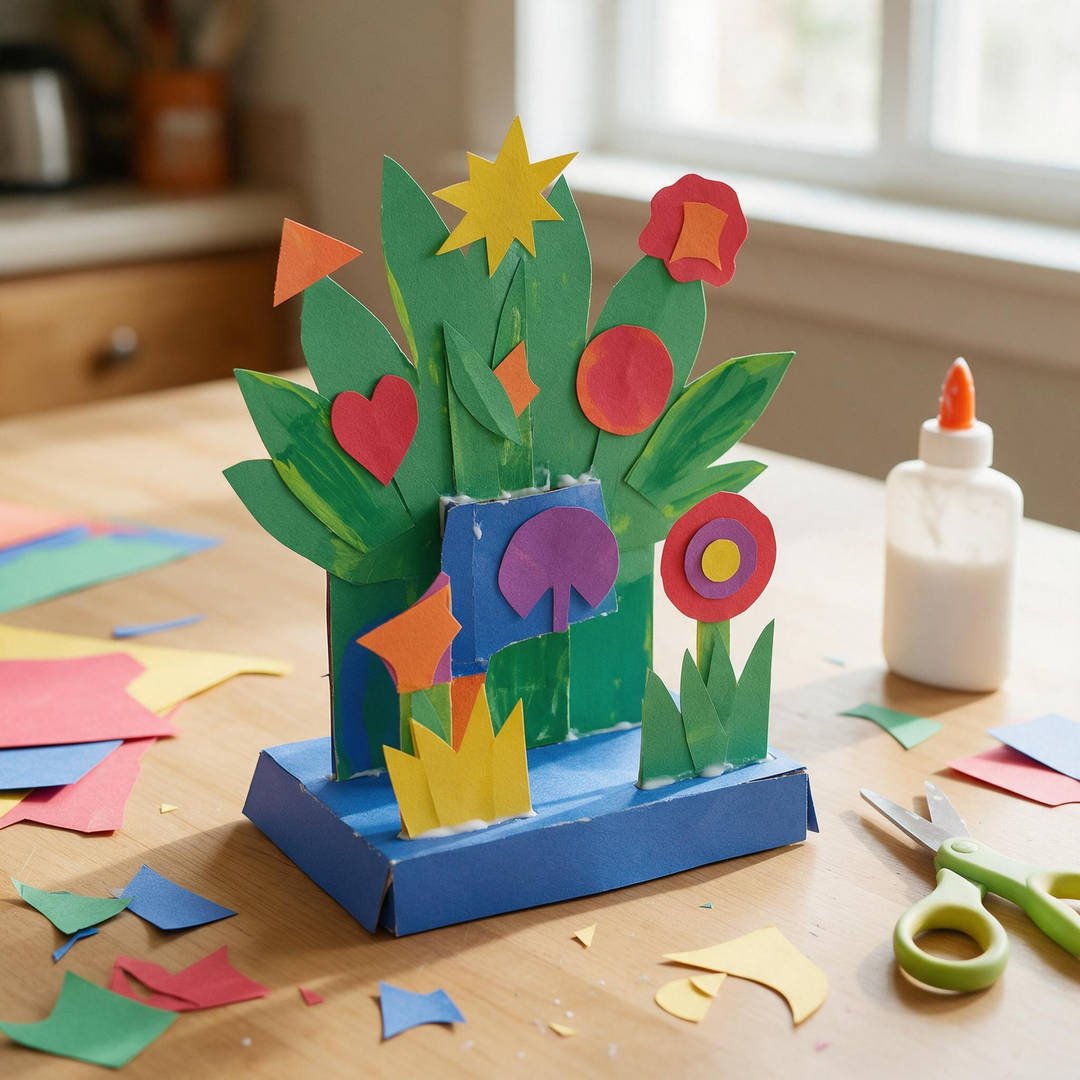
⏱️ Active & Dry Time: 15 mins active | 🧼 Mess Level: 2/5 | 👶 Age Adaptation: Ages 2+ | 💰 Est. Cost: ~$0.40 per pumpkin
💬 Real Mom Question (from Reddit’s r/preschoolers): “How do you keep bubble wrap printmaking from slipping around and smudging the print?”
Nancy’s Fix: Tape the bubble wrap around a rolling pin or wooden block! It gives small toddler hands a solid grip to press straight down like a giant rubber stamp without any accidental slipping or sliding!
Reusing packaging bubble wrap teaches preschoolers about eco-friendly repurposing while exploring textured printmaking.
The raised circular bubbles create a charming honeycombed cobblestone texture that mimics the organic bumpy skin of harvest heirloom pumpkins.
How to Craft It:
- Cut a pumpkin silhouette out of a sturdy uncoated paper plate or heavy cardstock sheet.
- Cut a square piece of bubble wrap (bubble side facing up).
- Have your child paint the raised bubbles using wide sponge brushes coated in orange and marigold yellow tempera paint.
- Flip the painted bubble wrap centered over the pumpkin cutout, pressing firmly across the back with two hands.
- Peel the bubble wrap off to reveal thousands of textured circular paint dots, and top with a green construction paper stem!
Amazon Craft Materials You Should Buy:
| Material Name | Where to Buy |
|---|---|
| Crayola Washable Kids Paint Set (12 Count) | Buy on Amazon ➔ |
| Amazon Basics 9″ Uncoated White Paper Plates (100 Count) | Buy on Amazon ➔ |
👉 Watch the Preschool Halloween Craft Ideas on YouTube
5. Mess-Free Ziploc Bag Sensory Ghost Squish Painting
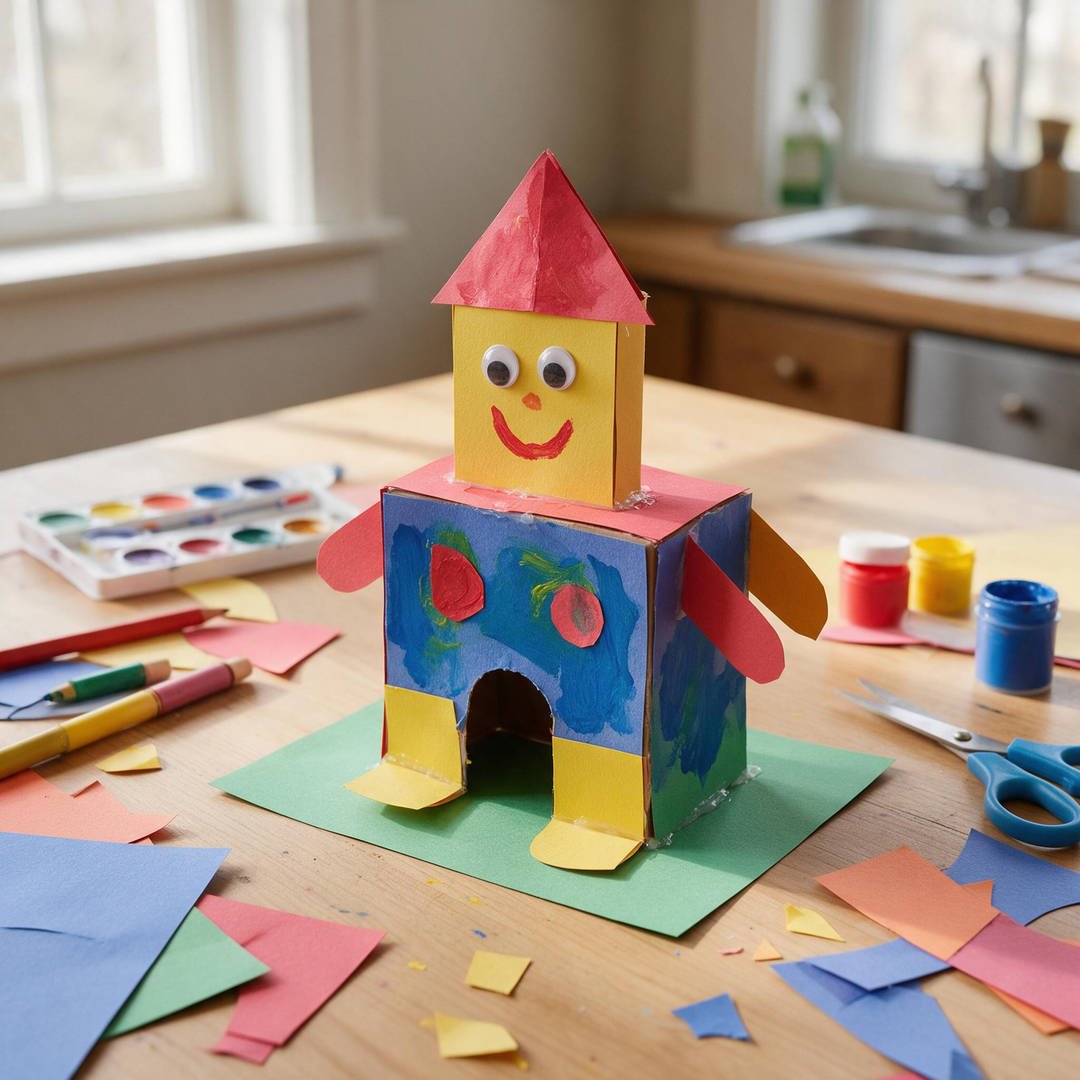
⏱️ Active & Dry Time: 10 mins active | 🧼 Mess Level: 0/5 (100% mess-free) | 👶 Age Adaptation: Babies & Toddlers (Ages 1+) | 💰 Est. Cost: ~$0.50 per bag
💬 Real Mom Question (from Reddit’s r/toddlers): “I have a 14-month-old who puts everything in his mouth. How can he participate in Halloween art safely?”
Nancy’s Fix: Squish painting inside a sealed freezer bag! Squirt washable white paint inside a heavy-duty gallon Ziploc bag, tape all four edges to a highchair tray with painter’s tape, and let your baby squish the paint over a black paper cutout with zero mess or ingestion risk!
This is my absolute favorite first-art project for babies and sensory-sensitive toddlers who dislike sticky paint on their hands.
Little fingers can push, squish, slide, and swirl the paint around the transparent ghost window with endless sensory delight.
How to Craft It:
- Cut a large ghost silhouette cutout window out of the center of a black construction paper sheet.
- Slide the cutout sheet into a heavy-duty gallon freezer bag.
- Squeeze three large dollops of thick white washable paint directly into the center of the ghost window.
- Press out all excess air and seal the zip-top securely, taping all four perimeter edges down to your table with painter’s tape.
- Let your baby or toddler press, knead, and squish the cold paint around the ghost silhouette completely mess-free!
Amazon Craft Materials You Should Buy:
| Material Name | Where to Buy |
|---|---|
| Crayola Washable Kids Paint Set (12 Count) | Buy on Amazon ➔ |
| Strathmore 300 Series Heavyweight Watercolor Paper (9×12) | Buy on Amazon ➔ |
👉 Watch the Easy Ghost Halloween Craft on YouTube
6. Do-A-Dot Marker Candy Corn Gradient Pyramid
⏱️ Active & Dry Time: 10 mins active | 🧼 Mess Level: 1/5 | 👶 Age Adaptation: Ages 2+ | 💰 Est. Cost: ~$0.35 per sheet
💬 Real Mom Question (from Reddit’s r/preschoolers): “What is the best art activity to build hand grip and color sequencing for preschoolers?”
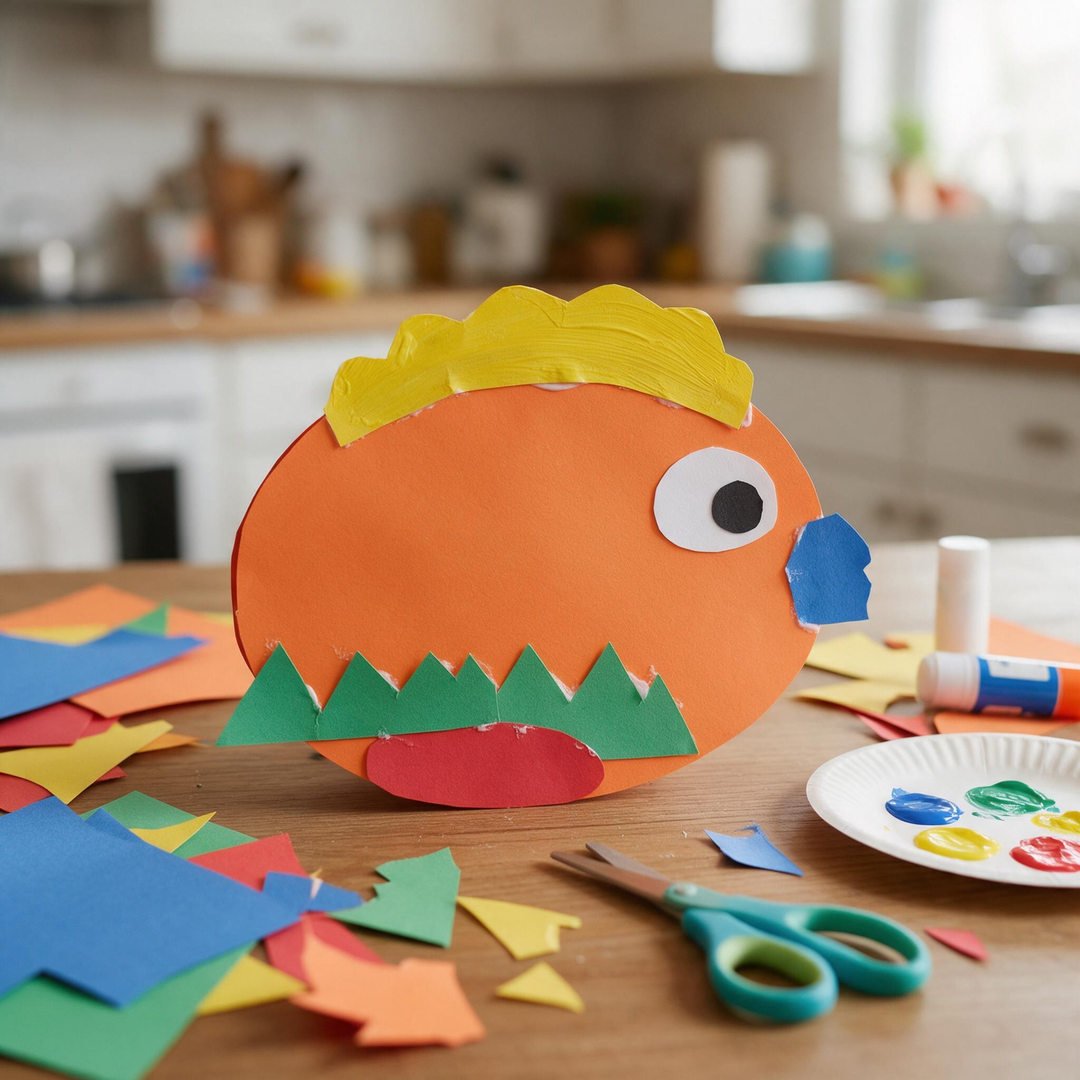
Nancy’s Fix: Chunky dot markers! Stamping circular dots builds crucial palm arch and pincher strength, while filling in the three candy corn tiers reinforces color sequencing: yellow on bottom, orange in the middle, and white at the tip!
Chunky sponge-tipped daubers provide instant gratification for toddlers who love rhythmic stamping sounds on heavy paper.
There are no mistakes—overlapping dots, clustered dots, and scattered dots all create a joyful pointillist holiday masterpiece.
How to Craft It:
- Draw a large bold triangle divided into three horizontal tiers on a sheet of heavyweight watercolor paper.
- Hand your child a sunny yellow Do-A-Dot marker and encourage them to stamp dots across the wide bottom tier.
- Switch to a pumpkin orange dot marker to fill in the middle section.
- Leave the top section white or stamp with white tempera daubers or white gel pens.
- Cut out the finished candy corn triangle and hang it proudly on your autumn art gallery wall!
Amazon Craft Materials You Should Buy:
| Material Name | Where to Buy |
|---|---|
| Do A Dot Art! Markers 6-Pack Rainbow Washable Paint | Buy on Amazon ➔ |
| Strathmore 300 Series Heavyweight Watercolor Paper (9×12) | Buy on Amazon ➔ |
👉 Watch the Spooky Halloween Craft Ideas on YouTube
7. Sponge-Dabbed Glowing Full Moon Silhouette Art
⏱️ Active & Dry Time: 15 mins active | 🧼 Mess Level: 2/5 | 👶 Age Adaptation: Ages 3+ | 💰 Est. Cost: ~$0.55 per painting
💬 Real Mom Question (from Reddit’s r/Crafts): “How do you paint a glowing full moon on black paper without it looking like a solid harsh yellow circle?”
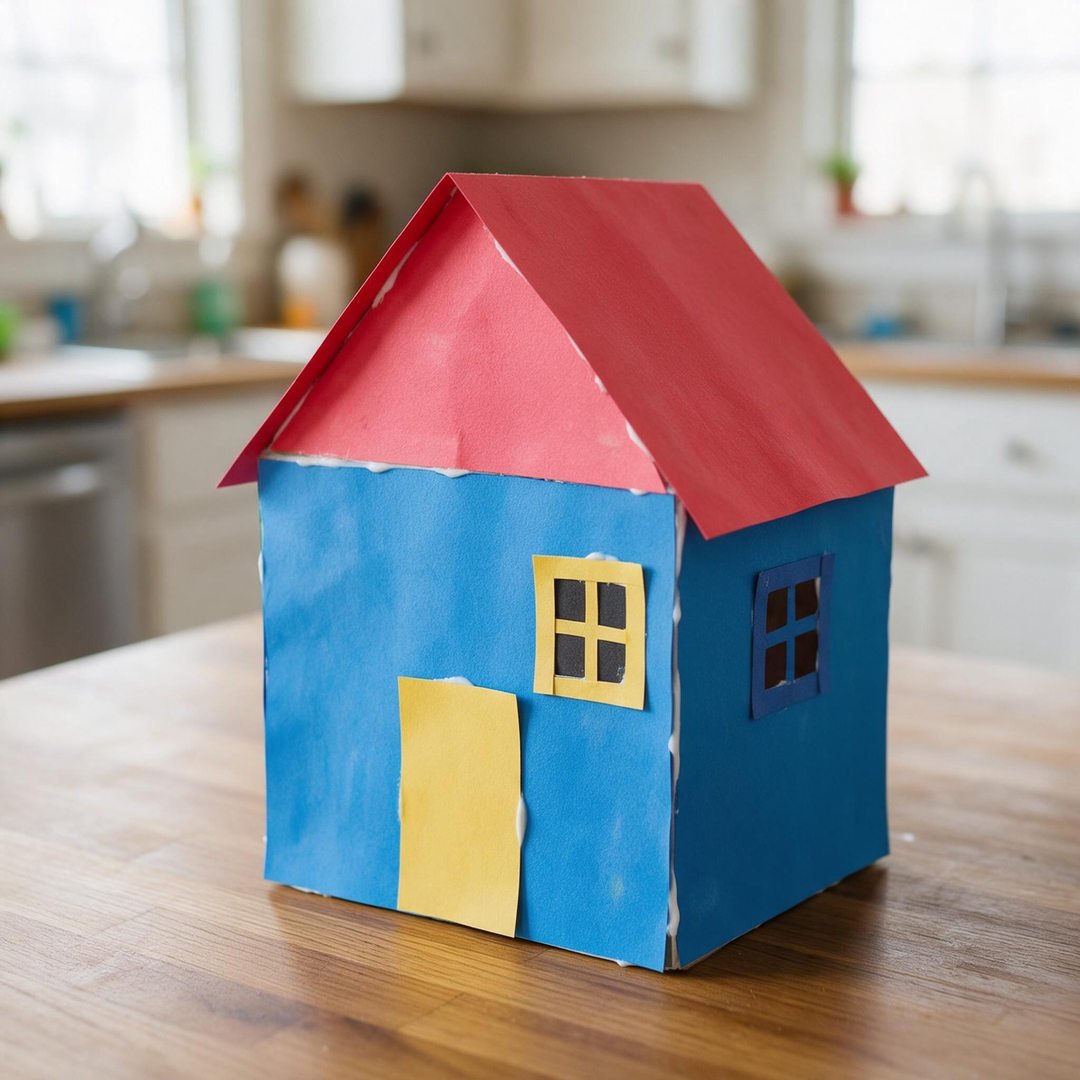
Nancy’s Fix: Reverse sponge stippling! Tape a round cardboard disc in the center of black cardstock, and have your child dab yellow and white paint around the outside rim of the circle with a damp sponge. When you lift the mask, the negative space creates a breathtaking glowing aura!
The tactile squish of a damp sea sponge dipped in warm yellow paint is wonderfully soothing for energetic preschool crafters.
Lifting the circular paper mask off the black cardstock produces gasps of delight as the glowing autumn moon silhouette appears.
How to Craft It:
- Cut a 4-inch circle from scrap paper and attach it lightly to the center of black construction paper with a rolled tape loop.
- Pour small pools of yellow and white washable paint onto a paper plate.
- Have your child dip a damp kitchen sponge into the paint and dab rhythmically all around the perimeter of the circular paper mask.
- Gently peel away the paper circle mask to reveal the crisp, dark moon silhouette surrounded by a glowing painted halo.
- Glue pre-cut black paper bats fluttering across the glowing moon surface!
Amazon Craft Materials You Should Buy:
| Material Name | Where to Buy |
|---|---|
| Crayola Washable Kids Paint Set (12 Count) | Buy on Amazon ➔ |
| Crayola Construction Paper Bulk Pack (480 Sheets) | Buy on Amazon ➔ |
👉 Watch the Spooky Craft Ideas for Kids on YouTube
8. Cotton Ball Stamped Fluffy White Ghost Swarm
⏱️ Active & Dry Time: 12 mins active | 🧼 Mess Level: 1/5 | 👶 Age Adaptation: Ages 2+ | 💰 Est. Cost: ~$0.40 per painting
💬 Real Mom Question (from Reddit’s r/toddlers): “How can toddlers stamp paint without their fingers getting coated in sticky tempera?”
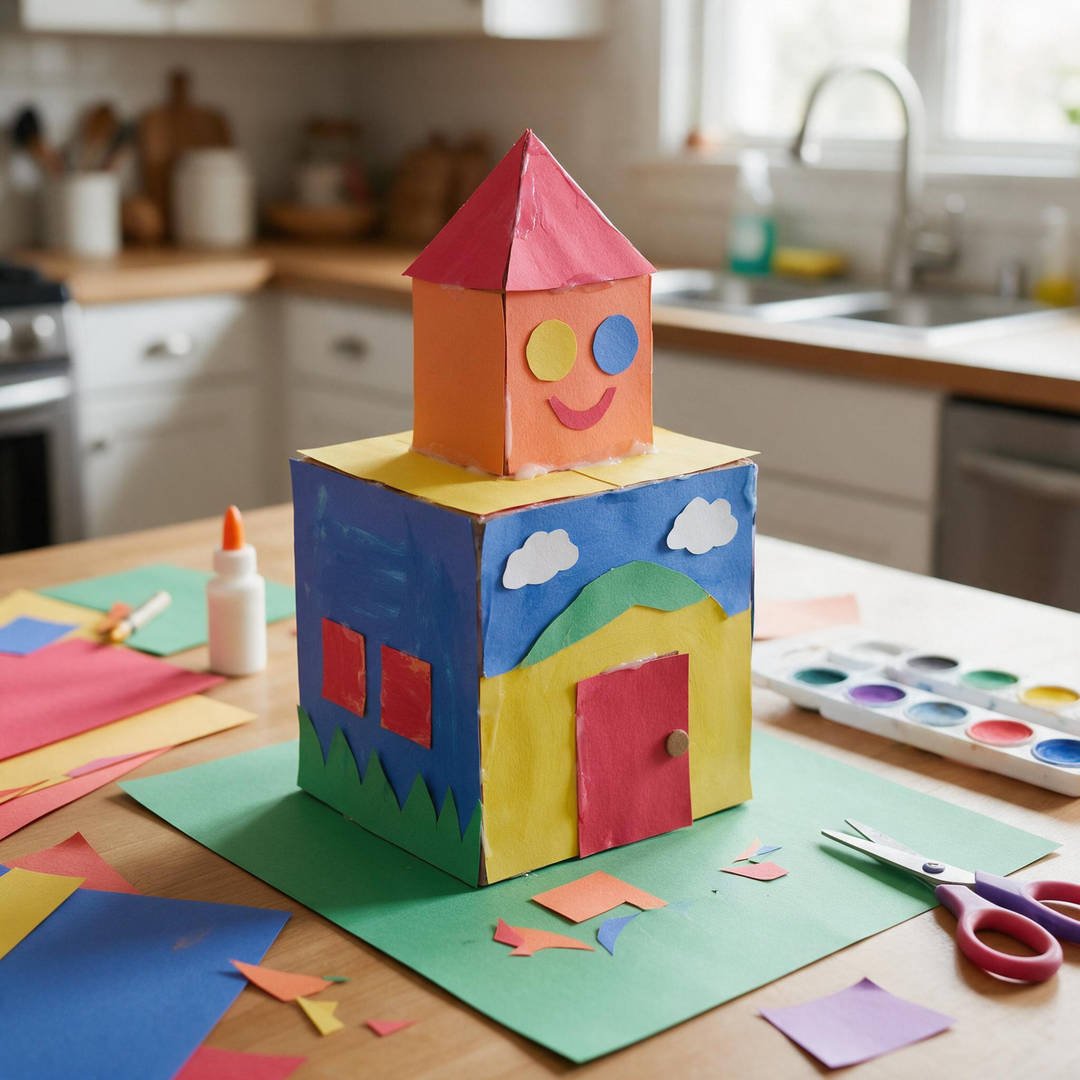
Nancy’s Fix: Clothespin stampers! Clip a wooden spring clothespin around a fluffy cotton ball. The clothespin acts as an ergonomic, clean wooden handle so toddlers can stamp paint all morning with spotless hands!
These cloud-like, feathery stamped ghosts have soft, misty edges that look wonderfully ethereal floating against dark navy or black cardstock.
Preschoolers love bouncing their cotton ball stampers up and down to create an entire friendly ghost family across the page.
How to Craft It:
- Pinch a wooden clothespin around a jumbo cotton ball to create an easy-grip stamper.
- Pour washable white tempera paint into a shallow plate.
- Dip the cotton ball into the paint and bounce it rhythmically across navy blue or black construction paper to stamp fluffy ghost clusters.
- Encourage your child to drag the cotton ball slightly at the bottom to form flowing, wispy ghost tails.
- Once dry, stick on tiny peel-and-stick wiggle eyes and draw silly smiling mouths with a black pen!
Amazon Craft Materials You Should Buy:
| Material Name | Where to Buy |
|---|---|
| Crayola Washable Kids Paint Set (12 Count) | Buy on Amazon ➔ |
| FEBSNOW 200Pcs Googly Wiggle Eyes (Self-Adhesive) | Buy on Amazon ➔ |
👉 Watch the DIY Cotton Ball Ghost Craft on YouTube
9. Fast-Drying Tempera Stick Frankenstein Canvas
⏱️ Active & Dry Time: 15 mins active | 🧼 Mess Level: 1/5 (dries in 90 seconds) | 👶 Age Adaptation: Ages 3+ | 💰 Est. Cost: ~$0.65 per plate
💬 Real Mom Question (from Reddit’s r/Parenting): “What is the best craft for when you only have 15 minutes before bedtime and cannot wait for wet paint to dry?”
Nancy’s Fix: Kwik Stix solid tempera paint sticks! They twist up like glue sticks, glide like silky soft butter with intense rich color, and dry completely touch-proof in 90 seconds flat!
Solid tempera sticks are a miracle invention for busy parents: all the rich, saturated color of wet paint with zero water cups, brushes, or messy drips.
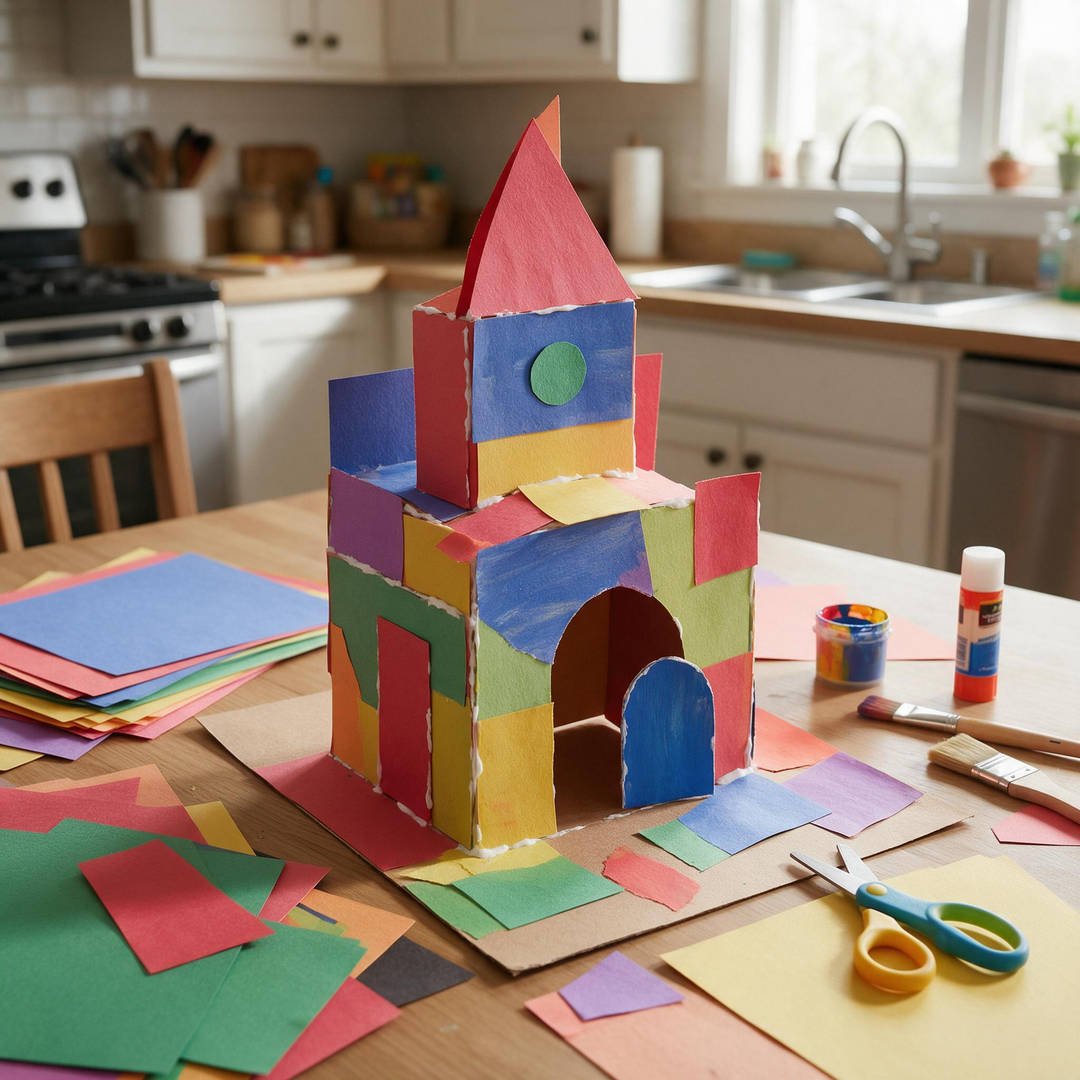
Turning an inexpensive white paper plate upside-down provides a sturdy circular canvas that toddlers can color with intense lime green and black monster details.
How to Craft It:
- Take an uncoated white paper plate and turn it upside-down on your craft desk.
- Uncap a lime green Kwik Stix solid tempera stick and let your child color the entire plate face with smooth, rich green strokes.
- Use a black paint stick to draw jagged Frankenstein hair along the top rim and a crooked stitched smile across the bottom.
- Draw two silver or black neck bolts on the plate edges.
- Stick on two large self-adhesive googly eyes; by the time you’re done, the paint is 100% dry and ready to hang on the fridge!
Amazon Craft Materials You Should Buy:
| Material Name | Where to Buy |
|---|---|
| Kwik Stix Solid Tempera Paint Sticks (144pk or 12pk) | Buy on Amazon ➔ |
| Amazon Basics 9″ Uncoated White Paper Plates (100 Count) | Buy on Amazon ➔ |
👉 Watch the DIY Halloween Paper Decor on YouTube
10. Torn Paper Scrap Pumpkin Collage Mosaic
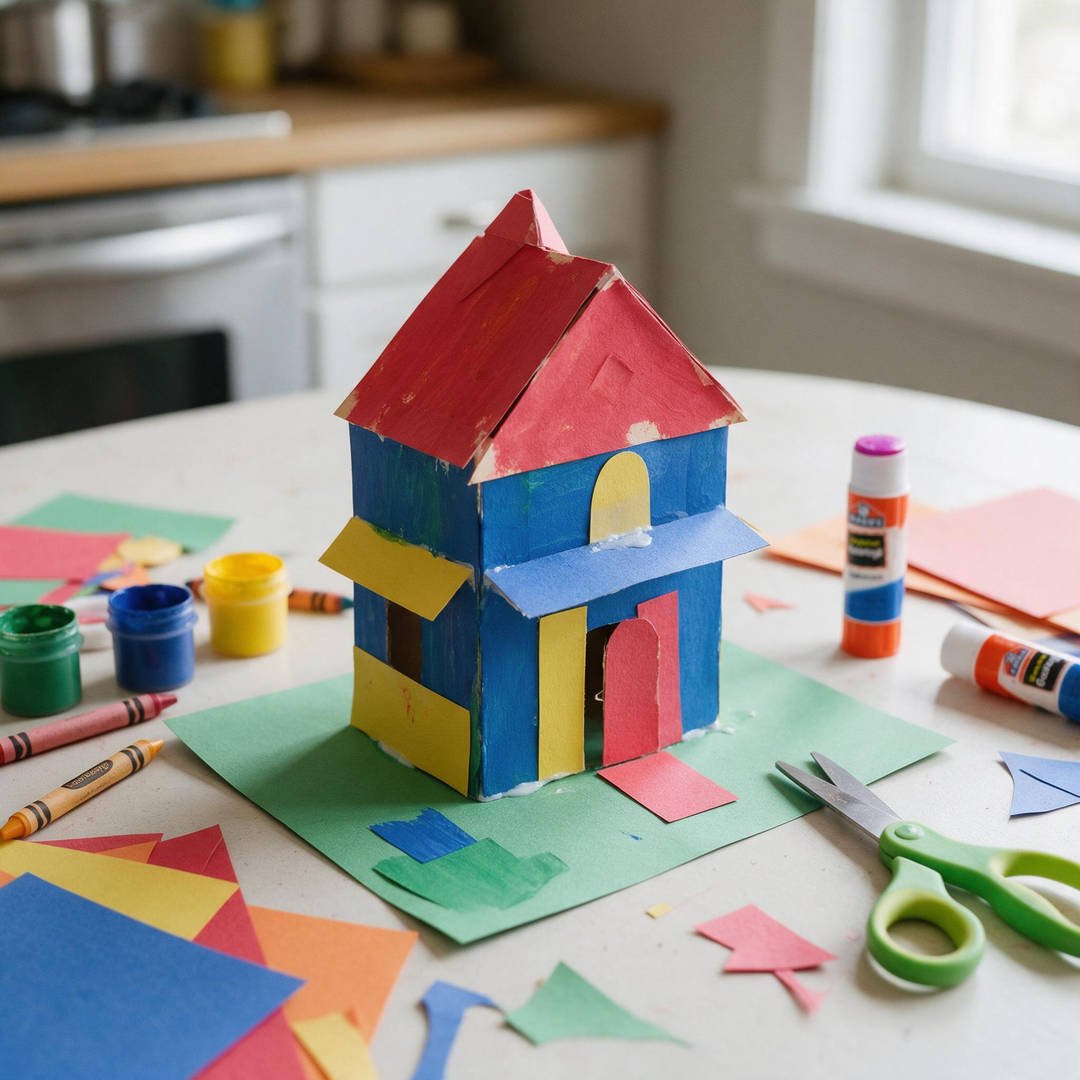
⏱️ Active & Dry Time: 20 mins active | 🧼 Mess Level: 1/5 | 👶 Age Adaptation: Ages 2+ | 💰 Est. Cost: ~$0.30 per mosaic
💬 Real Mom Question (from Reddit’s r/ECEProfessionals): “Why is paper tearing recommended over scissor cutting for younger preschoolers?”
Nancy’s Fix: Bilateral hand integration! Tearing paper requires one hand to pull toward the body while the other pushes away. This opposing motion strengthens intrinsic hand muscles and develops hand dominance far faster than early scissor practice!
Tearing paper is deeply satisfying for young children—the ripping sound, the rough white fiber edges, and the freedom to rip big or little pieces.
Assembling the colorful torn scraps inside a pumpkin outline turns scrap recycling into a gorgeous mosaic that looks like stained glass.
How to Craft It:
- Provide strips of orange, marigold yellow, and warm red construction paper.
- Show your child how to tear the paper into bite-sized 1-inch confetti scraps, collecting them in a little bowl.
- Draw a large pumpkin outline on a paper plate or cardstock sheet and coat the interior with an Elmer’s glue stick.
- Have your preschooler press and layer the torn paper scraps over the glue until the pumpkin is completely filled.
- Glue a green paper scrap stem at the top to complete this tactile, fine-motor holiday mosaic!
Amazon Craft Materials You Should Buy:
| Material Name | Where to Buy |
|---|---|
| Crayola Construction Paper Bulk Pack (480 Sheets) | Buy on Amazon ➔ |
| Amazon Basics 9″ Uncoated White Paper Plates (100 Count) | Buy on Amazon ➔ |
👉 Watch the Cute Halloween Drawing & Craft on YouTube
❓ Real Mom Questions Answered (From Reddit & Parenting Forums)
How do I encourage a toddler who gets frustrated when their art doesn’t look like a real pumpkin?
“My 4-year-old gets upset and crumbles up her paper if her drawing doesn’t look realistic.” — r/preschoolers
Shift language from praise of the product to praise of the process! Instead of saying “What a pretty pumpkin,” say: “Look at those fast, energetic orange strokes you made!” or “I love the way you layered yellow and red together!” When children realize art is about how it feels rather than a photographic copy, anxiety melts into joy.
What is the easiest way to display wet process art paintings without cluttering every counter?
“With three kids, we have 12 wet paintings drying on our kitchen island every afternoon.” — r/Parenting
String a simple indoor clothesline across your laundry room or play area using twine and wooden clothespins! Clip finished wet watercolor papers and painted paper plates to the line. They dry flat, stay out of reach of family pets and toddlers, and create an instant rotating art gallery in your home.
Can washable paint really come out of white school shirts?
“My preschooler got purple tempera paint all over her new shirt. Will it wash out in the laundry?” — r/Mommit
Yes, as long as it is certified washable kids paint (like Crayola Washable)! Never use hot water or put stained clothing in the dryer before the stain is gone, as heat permanently sets pigment. Rinse the spot with cold running tap water, rub with a squirt of dish soap or laundry pre-treater, and wash in cold water. It will release completely.
How do I set boundaries so process art doesn’t become furniture painting?
“How do you let kids explore freely without paint ending up on chairs and walls?” — r/toddlers
Define physical boundaries clearly before opening paint jars! Tape a large plastic shower curtain liner under the craft table, tape paper directly to the desk so it cannot slide, and establish a firm rule: “Paint stays on the paper.” If a toddler begins painting the table, gently take the brush and transition to water sensory play.
🧹 Real-Mom Cleanup & Storage Checklist
- The Shower Curtain Dropcloth: Keep a $2 clear plastic vinyl shower curtain folded in your craft closet. Spread it under highchairs or preschool art tables to catch runaway paint drips in seconds.
- Wet Washcloth Station: Always place a damp warm washcloth beside your child’s seat before starting. Wiping little hands before leaving the chair prevents colorful handprints on doorframes and walls.
- Clothesline Drying Gallery: Hang paintings with clothespins on a simple indoor twine line to dry safely out of the way of kitchen counters.
- Art Scrap Bin: Never throw away construction paper trimmings! Keep a plastic shoebox labeled ‘Collage Scraps’ for future torn-paper mosaic days.
🛡️ Healthy Play & Child Safety Guidelines
- Non-Toxic Certified Art Supplies: Always ensure all paints, glues, and markers used with preschoolers carry the AP (Approved Product) non-toxic seal complying with ASTM D-4236 standards.
- Utensil Supervision: When using household plastic forks or wooden clothespins for printmaking, supervise young toddlers closely to ensure tools are used exclusively for paper stamping.
- Choking Prevention: Keep small wiggle eyes, buttons, and tiny plastic spider rings out of reach of children under 3 years old. For babies, use paint sticks and paper collage exclusively.