10 Cute Popsicle Stick Halloween Crafts for Kids (Easy!)

Craft wooden monsters! Explore 10 popsicle stick halloween crafts with friendly Frankensteins, gauze mummies, and spooky haunted mansions. 🎃
💬 The Real Mom Question (from Reddit’s r/crafts):
“Whenever we try to glue popsicle sticks side-by-side with preschoolers, liquid glue takes 20 minutes to dry, and the sticks slide apart into a crooked mess every time little hands touch them. What is the easiest way to keep craft stick rafts sturdy?”Nancy’s Quick Reassurance: The secret is the ‘Backside Bridge’! Never try to glue popsicle sticks along their thin edges. Simply lay 6 or 7 sticks flat on your table, then glue two extra support sticks horizontally across the back using a dab of low-temp glue or a strip of masking tape. The wooden base locks instantly into a rock-solid craft canvas in under 30 seconds!
10 Cute Popsicle Stick Halloween Crafts for Kids (Easy!)
⚡ The Quick Mom Skim (TL;DR)
- Build the Backside Bridge: Glue horizontal bracing sticks across the back of your craft stick rafts so wooden bases never shift during toddler painting.
- Switch to Solid Paint Sticks: Use solid tempera paint sticks (like Kwik Stix) to coat birchwood with rich, lipstick-smooth color that dries smudge-free in 90 seconds.
- Go Magnetic: Back finished characters with heavy-duty adhesive magnetic tape strips to turn kids’ spooky wooden monsters into fridge magnets that won’t fall off.
- Opt for Low-Temp Tools: Use kid-safe cool-tool glue guns so children can assemble wooden frames without the blistering heat of traditional glue guns.
🏆 Nancy’s Top 3 Quick Picks for Popsicle Stick Halloween Crafts
| Pick Category | Recommended Supply & Link | Real-Mom Why |
|---|---|---|
| Best Wooden Stick Base | Perfect Stix Jumbo Craft Sticks (Natural Birchwood 6″) | Ultra-smooth, splinter-free 6-inch birchwood craft sticks that create sturdy rafts and frames for little hands. |
| Best 90-Second Paint Tool | Kwik Stix Solid Tempera Paint Sticks (144pk or 12pk) | Rich, vibrant solid tempera paint sticks that dry completely smudge-free in 90 seconds with zero water cups or brushes. |
| Best Child-Safe Glue Gun | AdTech Cool Tool Kit with Low-Temp Glue Gun | Operates at low heat to bond wood instantly and securely without blistering sensitive little fingers. |
🧺 Nancy’s Real-Mom Supply Swap Table
You don’t need a high-end craft haul to make spooky wooden critters. Raid your pantry and scrap drawers first!
| Recipe Craft Material | Pantry or Budget Swap | Nancy’s Trade-Off Tip |
|---|---|---|
| Jumbo Birchwood Sticks | Real backyard twigs or tongue depressors | Tongue depressors are extra wide for quick toddler coverage; nature twigs add charming rustic forest texture. |
| Solid Tempera Paint Sticks | Standard washable Crayola paint with 1 drop dish soap | Adding one drop of liquid dish soap to washable kids paint helps it adhere smoothly to raw wood without beading up! |
| Self-Adhesive Googly Eyes | Paper hole punch circles with black Sharpie dots | Hand-drawn paper circles let kids draw funny winking or sleepy expressions; googly eyes offer tactile rattle sounds. |
| Magnetic Strip Tape | Sticky poster putty or binder clips | Magnetic tape turns crafts into durable kitchen fridge art; binder clips allow crafts to stand upright on desks. |
| Black Pipe Cleaners | Black construction paper strips or twist-ties | Pipe cleaners bend easily into 3D springy spider legs; cut paper strips lay flat for clean scrapbook albums. |
1. Popsicle Stick Frankenstein Monster
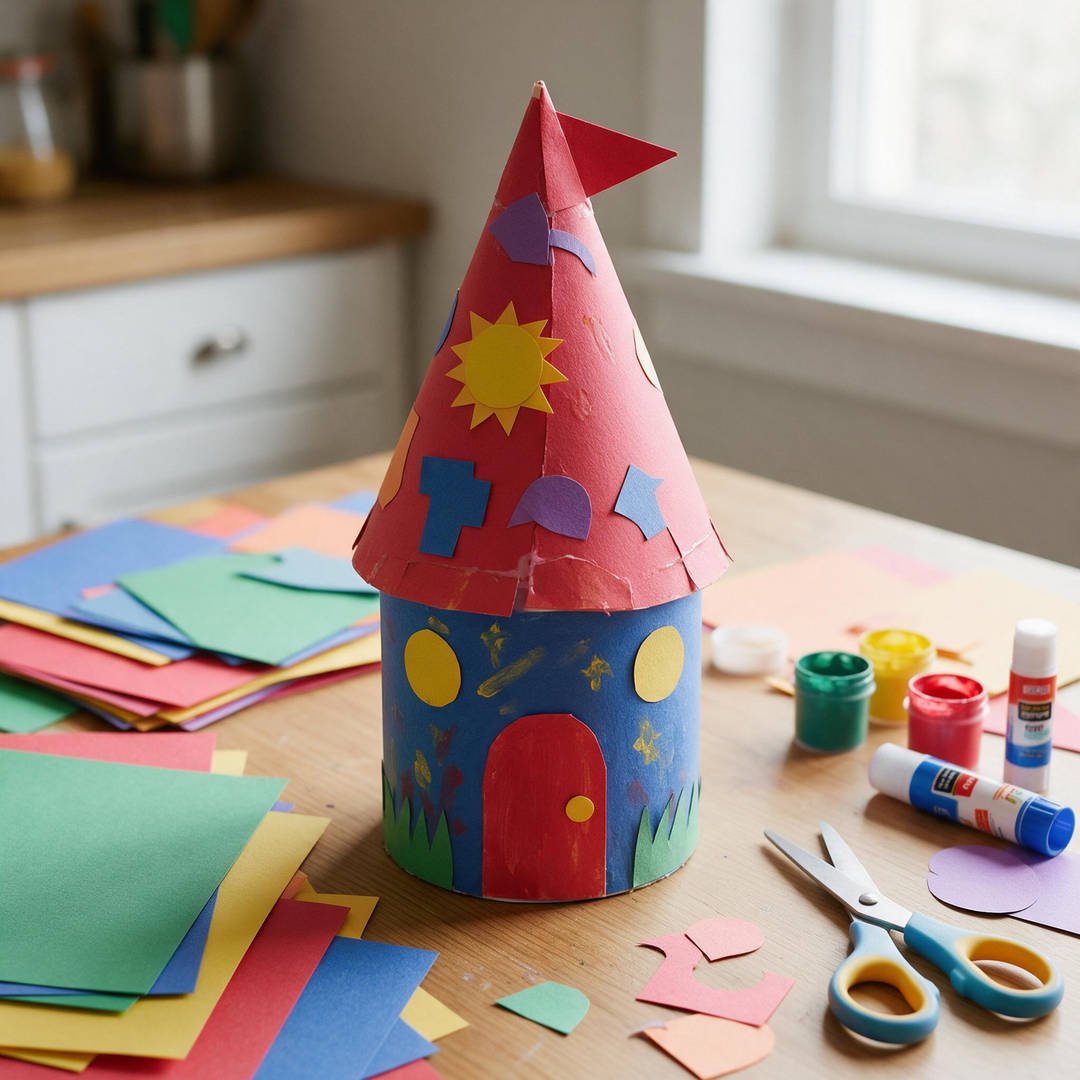
⏱️ Active & Dry Time: 15 mins active | 5 mins dry | 🧼 Mess Level: 1/5 | 👶 Age Adaptation: Ages 3+ (Classic preschool character craft) | 💰 Est. Cost: ~$0.35 per monster
💬 Real Mom Question (from Reddit’s r/ECEProfessionals): “Liquid paint always smears when preschoolers draw Frankenstein’s mouth with markers. How do you prevent smudges?”
Nancy’s Fix: Use solid tempera paint sticks for the green face! They dry rock-hard and smudge-free in 90 seconds, so kids can immediately draw stitches with black Sharpies without marker tips getting clogged with wet paint.
Frankenstein is always the crowd favorite in our household every October! The wide wooden canvas gives children plenty of room to arrange mismatched googly eyes, jagged paper hair, and goofy stitched smiles. Toddlers love twisting the little metallic neck bolts into place on the sides!
How to Craft It:
- Lay 7 jumbo craft sticks side by side and secure them by gluing two horizontal support sticks across the back.
- Paint the front of the wooden raft bright lime green using a solid tempera paint stick or washable paint.
- Cut a strip of black cardstock with jagged zig-zag bangs and glue it along the top edge for Frankie’s iconic hair.
- Stick two large mismatched googly eyes in the center, and draw a goofy stitched smile and scar using a black marker.
- Cut two 1-inch pieces of grey or black pipe cleaners and glue them behind the wooden raft on either side for neck bolts!
Amazon Craft Materials You Should Buy:
| Material Name | Buy Link |
|---|---|
| Perfect Stix Jumbo Craft Sticks (Natural Birchwood 6″) | Buy on Amazon ➔ |
| Kwik Stix Solid Tempera Paint Sticks (144pk or 12pk) | Buy on Amazon ➔ |
| FEBSNOW 200Pcs Googly Wiggle Eyes (Self-Adhesive) | Buy on Amazon ➔ |
👉 Watch the Popsicle Stick Monsters Tutorial on YouTube
2. Popsicle Stick Gauze Mummy with Googly Eyes
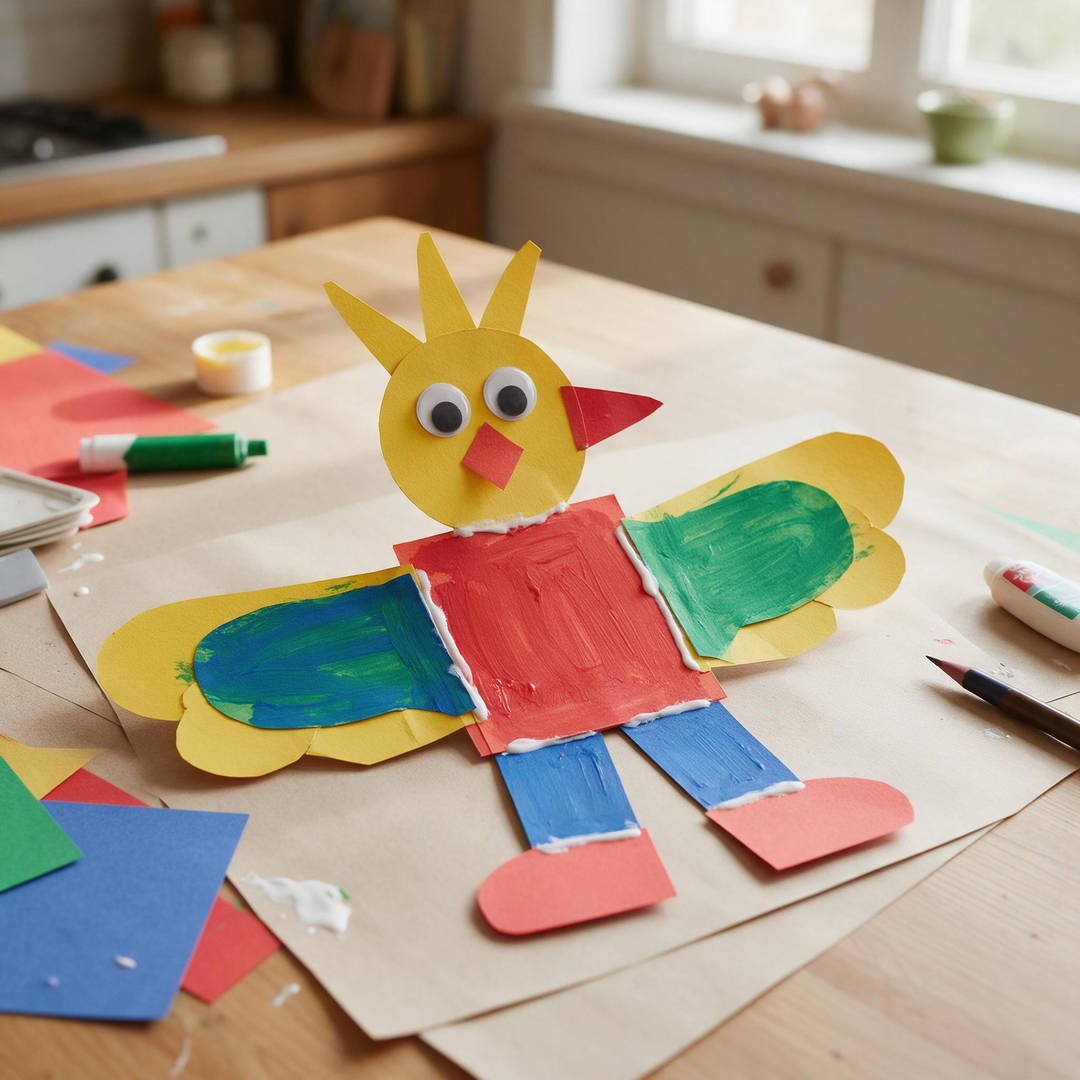
⏱️ Active & Dry Time: 10 mins active | 0 mins dry | 🧼 Mess Level: 1/5 | 👶 Age Adaptation: Ages 2+ (Zero-paint, pure tactile wrapping fun) | 💰 Est. Cost: ~$0.30 per mummy
💬 Real Mom Question (from Reddit’s r/toddlers): “My 2-year-old gets overwhelmed with messy paint. What is a clean, tactile Halloween craft?”
Nancy’s Fix: Gauze-wrapped popsicle stick mummies! There is zero liquid paint involved. Toddlers just wind soft medical gauze around a wooden stick frame, and self-adhesive googly eyes stick right to the cloth.
If you have a toddler who loves tearing, wrapping, and unrolling things, this gauze mummy is an absolute dream craft. Wrapping the textured gauze around the smooth wooden sticks builds fantastic hand-eye coordination, and because there is no wet paint, the craft is ready to display on the fridge the second it’s finished!
How to Craft It:
- Glue 6 jumbo popsicle sticks side by side with two horizontal brace sticks on the back to form a flat wooden raft.
- Stick a small adhesive glue dot on the bottom back corner and press the starting end of a cotton gauze bandage roll to it.
- Have your child wrap the gauze around and around the wooden raft in overlapping diagonal layers, leaving a small opening for the eyes.
- Press two large peel-and-stick wiggle eyes into the wooden gap between the gauze wraps.
- Wrap one more strand of gauze across the forehead of the mummy slightly covering the top of the eyes, and tuck the trailing end securely into the back!
Amazon Craft Materials You Should Buy:
| Material Name | Buy Link |
|---|---|
| CURAD Cotton Stretch Gauze Bandage Roll (4 in x 4.1 yds) | Buy on Amazon ➔ |
| Perfect Stix Jumbo Craft Sticks (Natural Birchwood 6″) | Buy on Amazon ➔ |
| FEBSNOW 200Pcs Googly Wiggle Eyes (Self-Adhesive) | Buy on Amazon ➔ |
👉 Watch the 3 Easy Popsicle Stick Crafts on YouTube
3. Popsicle Stick Jack-o’-Lantern Pumpkin Door Sign
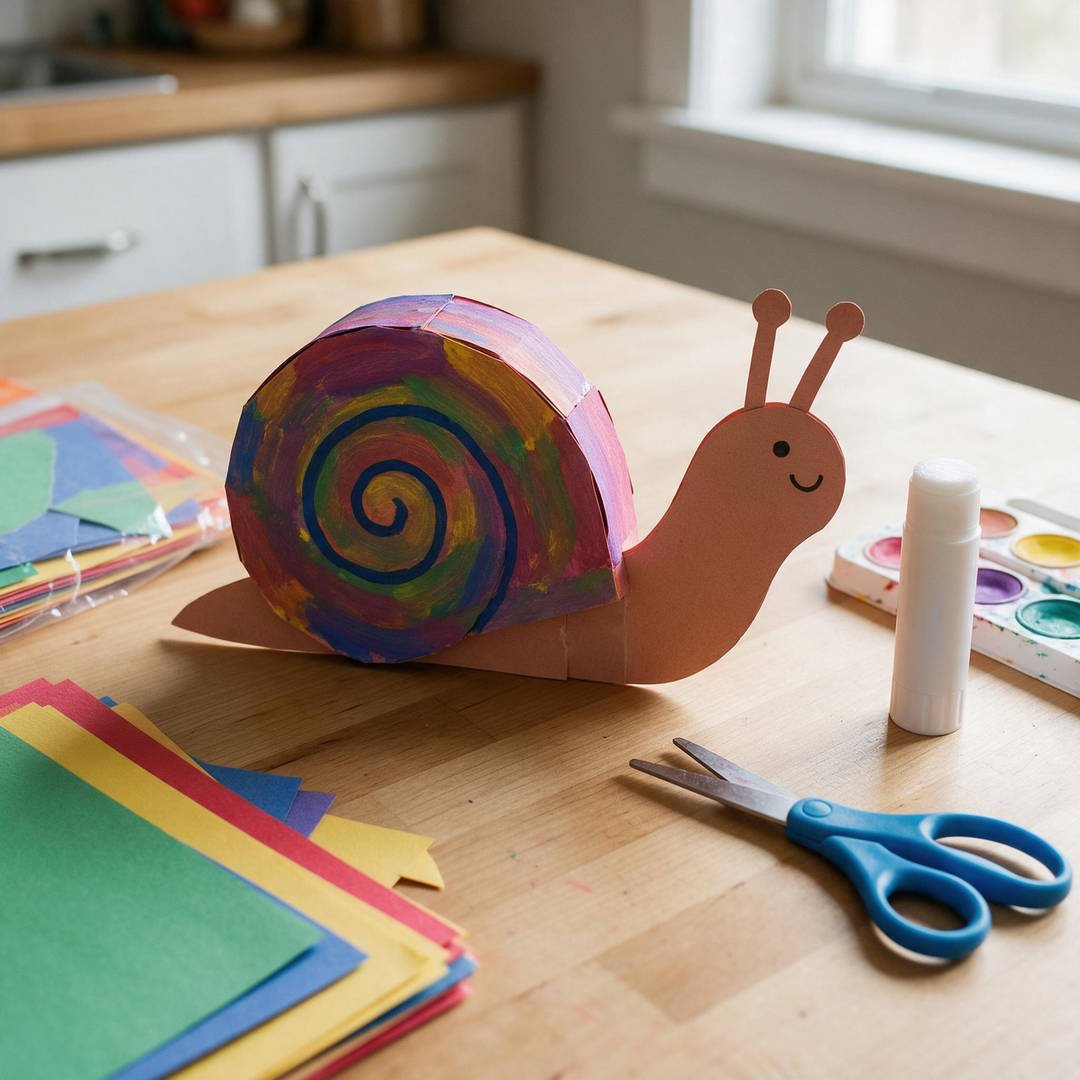
⏱️ Active & Dry Time: 20 mins active | 5 mins dry | 🧼 Mess Level: 2/5 | 👶 Age Adaptation: Ages 4+ (Great festive hanging door sign) | 💰 Est. Cost: ~$0.40 per pumpkin
💬 Real Mom Question (from Reddit’s r/Parenting): “How do you give a popsicle stick pumpkin a round shape instead of looking like a plain flat square?”
Nancy’s Fix: Stagger the craft sticks! Place the two center sticks slightly higher, the next two sticks slightly lower, and the outer sticks lower still. It creates a gentle rounded oval silhouette that looks just like a plump pumpkin!
This wooden pumpkin plaque looks wonderful hanging on a child’s bedroom door or displayed in a classroom cubby. Giving kids free rein to cut out their own triangular eyes and crooked toothy grins from black cardstock lets each child express their own unique sense of holiday humor!
How to Craft It:
- Arrange 8 jumbo craft sticks side by side, sliding the outer sticks slightly downward to create a rounded pumpkin silhouette.
- Secure the sticks together by gluing two support sticks diagonally across the back using low-temp craft glue.
- Paint the front of the wooden pumpkin with pumpkin orange paint or solid tempera sticks and let dry for 90 seconds.
- Cut triangular eyes, a triangle nose, and a goofy toothy smile from black cardstock and glue them onto the front face.
- Glue a small wooden twig or brown paper stem at the top, twist a green pipe cleaner into a curly vine around a pencil, and glue a loop of jute twine to hang!
Amazon Craft Materials You Should Buy:
| Material Name | Buy Link |
|---|---|
| Perfect Stix Jumbo Craft Sticks (Natural Birchwood 6″) | Buy on Amazon ➔ |
| AdTech Cool Tool Kit with Low-Temp Glue Gun | Buy on Amazon ➔ |
| Guakicae 40 Sheets Black Cardstock 8.5 x 11 | Buy on Amazon ➔ |
👉 Watch the DIY Popsicle Stick Pumpkin on YouTube
4. Popsicle Stick Flying Black Bat Silhouette
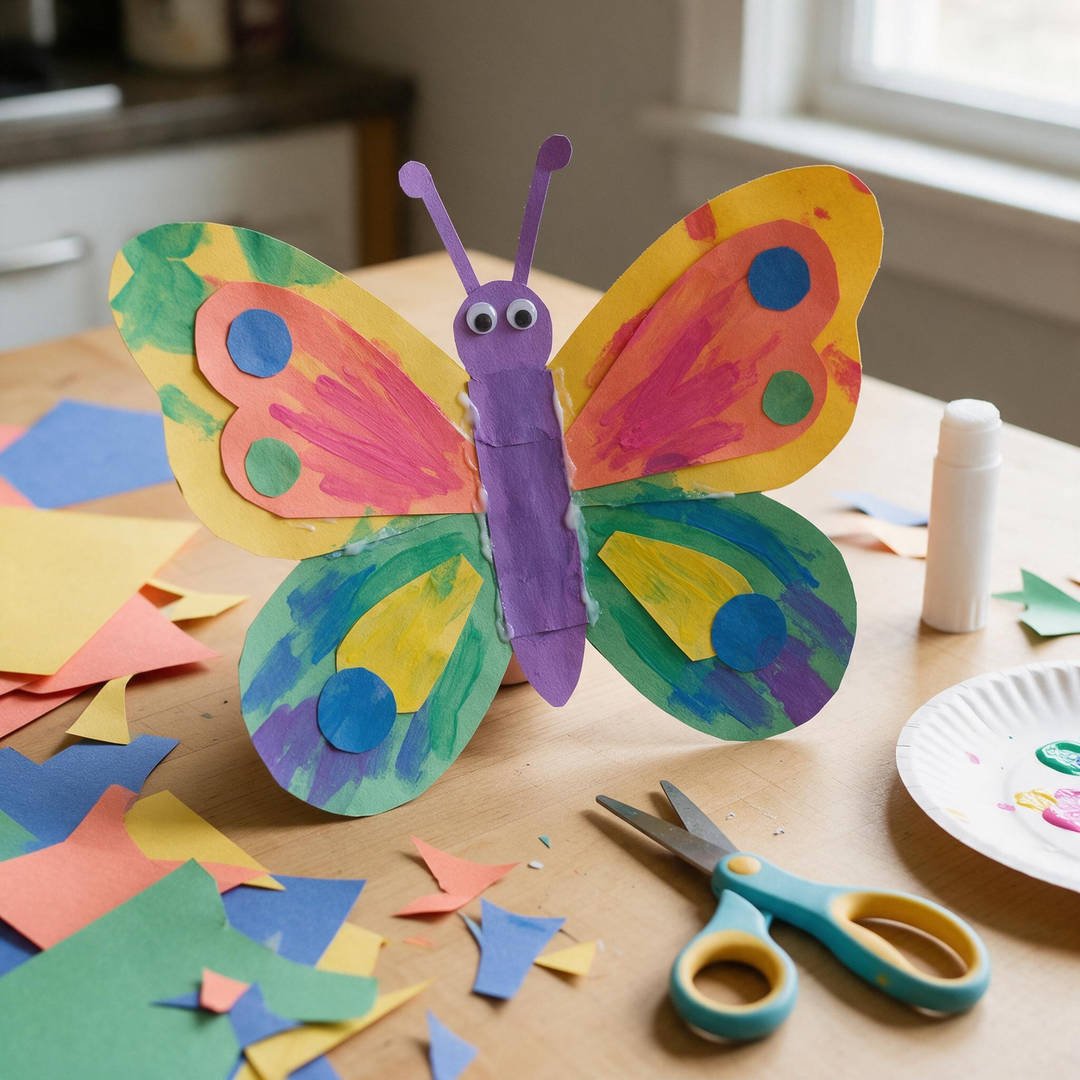
⏱️ Active & Dry Time: 15 mins active | 5 mins dry | 🧼 Mess Level: 1/5 | 👶 Age Adaptation: Ages 4+ (Fun geometric triangle building) | 💰 Est. Cost: ~$0.25 per bat
💬 Real Mom Question (from Reddit’s r/crafts): “Craft stick triangles often pop apart when kids cut out heavy wings. How do you reinforce the corners?”
Nancy’s Fix: Use an AdTech low-temp glue gun for the corner joints! Liquid school glue is too brittle, but low-temp glue creates a rubbery, shock-absorbing bond that withstands playful toddler flying.
Bats don’t have to be spooky—this triangular wooden bat craft is cute as a button! The triangular craft stick body gives little hands a comfortable handle to hold, turning the finished project into a fun flying puppet for imaginary Halloween play!
How to Craft It:
- Glue three jumbo craft sticks together at their ends to form a sturdy triangle frame.
- Paint the wooden triangle frame solid black using a black paint stick or acrylic paint.
- Trace and cut out two scalloped bat wings from a sheet of heavyweight black cardstock.
- Glue the cardstock wings to the back edges of the wooden triangle using craft glue dots.
- Stick two small googly eyes onto the top point of the triangle and glue two tiny white paper triangle fangs beneath the eyes!
Amazon Craft Materials You Should Buy:
| Material Name | Buy Link |
|---|---|
| Perfect Stix Jumbo Craft Sticks (Natural Birchwood 6″) | Buy on Amazon ➔ |
| Guakicae 40 Sheets Black Cardstock 8.5 x 11 | Buy on Amazon ➔ |
| FEBSNOW 200Pcs Googly Wiggle Eyes (Self-Adhesive) | Buy on Amazon ➔ |
👉 Watch the Spooky Popsicle Stick Crafts on YouTube
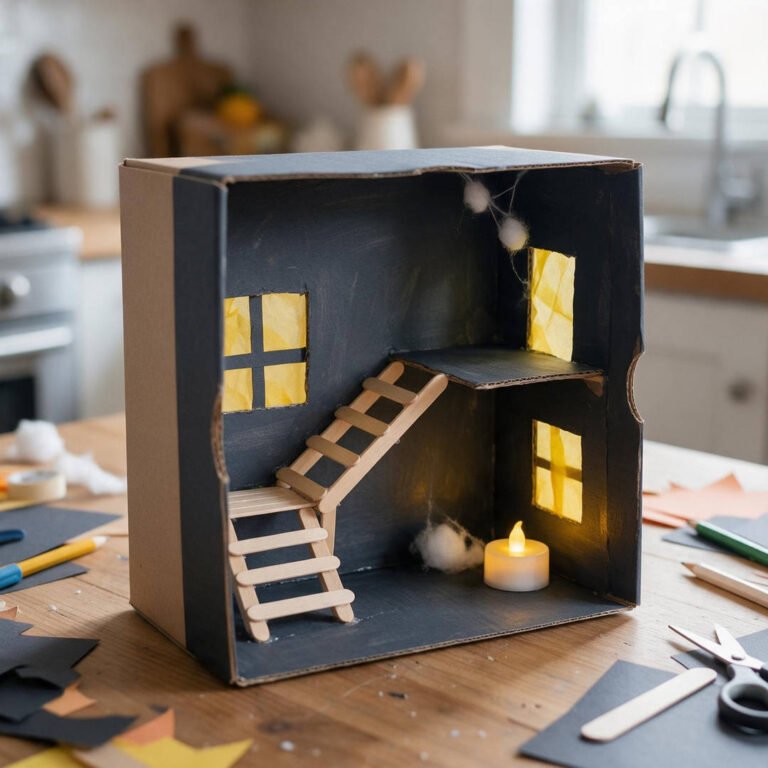
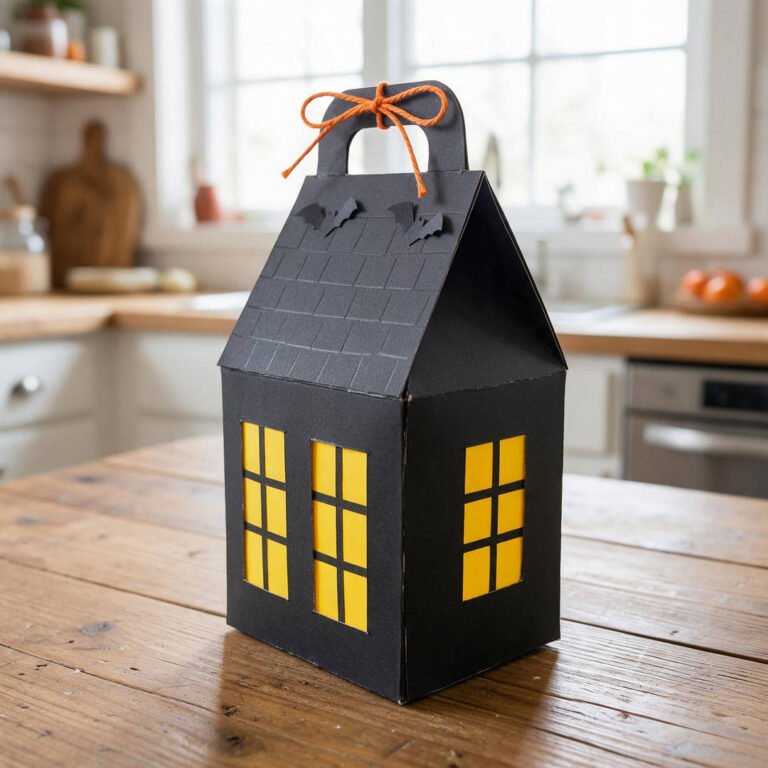
5. Miniature Popsicle Stick Haunted Mansion
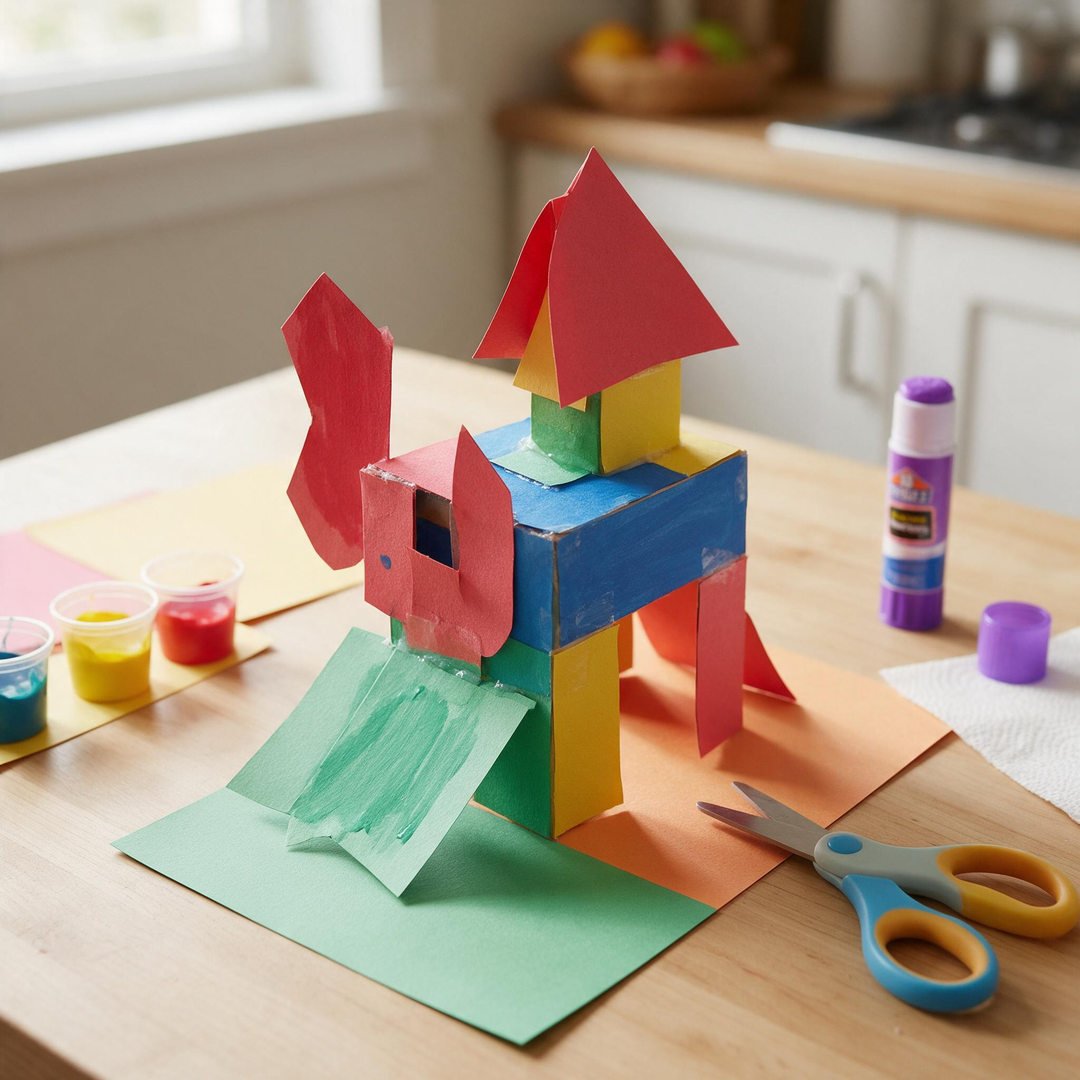
⏱️ Active & Dry Time: 30 mins active | 15 mins dry | 🧼 Mess Level: 2/5 | 👶 Age Adaptation: Ages 6+ (Great STEM architectural engineering craft) | 💰 Est. Cost: ~$0.60 per house
💬 Real Mom Question (from Reddit’s r/Mommit): “My second-grader wants a multi-step craft project that feels like real building. What is a good architectural project?”
Nancy’s Fix: A miniature haunted mansion! Kids get to engineer the wooden wall framing, pitch the angled roof trusses, and add backlit yellow tissue paper windows for a glowing spooky effect.
This tabletop haunted house project lets kids channel their inner architect. The crooked chimney, slanting roofline, and glowing canary-yellow windows look wonderfully gothic and mysterious resting on a windowsill or holiday dinner centerpiece!
How to Craft It:
- Assemble a solid square wooden base by gluing 8 jumbo craft sticks side by side with rear brace sticks.
- Build an asymmetrical peaked roof by gluing four craft sticks at sharp angles to the top of the house base.
- Paint the entire wooden mansion frame pitch black using black washable paint or tempera sticks.
- Cut two small 1.5-inch square window openings from black cardstock and glue yellow tissue paper behind them.
- Glue the glowing windows onto the house, add a crooked chimney stick at the roofline, and glue a plastic spider crawling up the wall!
Amazon Craft Materials You Should Buy:
| Material Name | Buy Link |
|---|---|
| Perfect Stix Jumbo Craft Sticks (Natural Birchwood 6″) | Buy on Amazon ➔ |
| AdTech Cool Tool Kit with Low-Temp Glue Gun | Buy on Amazon ➔ |
| Halloween Plastic Spiders (120 PCS) | Buy on Amazon ➔ |
👉 Watch the Spooky Haunted House with Popsicle Sticks on YouTube
6. Popsicle Stick Spooky Spider Web Ornament
⏱️ Active & Dry Time: 15 mins active | 5 mins dry | 🧼 Mess Level: 1/5 | 👶 Age Adaptation: Ages 4+ (Calming repetitive fine-motor weaving) | 💰 Est. Cost: ~$0.25 per web
💬 Real Mom Question (from Reddit’s r/Parenting): “How do I keep the center craft sticks from twisting while my child weaves the yarn?”
Nancy’s Fix: Pre-glue the sticks in advance! A single dot of low-temperature craft glue in the center joins three sticks into a six-pointed asterisk star that stays completely rigid while little fingers weave.
Spider web weaving is the ultimate mindfulness craft for young kids. The rhythmic motion of wrapping the white yarn around each wooden spoke sequentially keeps energetic crafters focused and quiet, and the finished web makes a gorgeous hanging tree or window ornament!
How to Craft It:
- Glue three jumbo birchwood craft sticks together at their centers to form a 6-pointed asterisk star.
- Use safety scissors to snip tiny 1/8-inch notches into the outer tip of each wooden spoke.
- Tie one end of a 3-foot length of white acrylic yarn around the center intersection with a double knot.
- Guide your child to wrap the yarn once around each wooden spoke, spiraling outward in concentric loops toward the stick tips.
- Knot the yarn at the final spoke notch, and press a black plastic spider into the center using an adhesive glue dot!
Amazon Craft Materials You Should Buy:
| Material Name | Buy Link |
|---|---|
| Perfect Stix Jumbo Craft Sticks (Natural Birchwood 6″) | Buy on Amazon ➔ |
| Red Heart Super Saver Jumbo Yarn (White Acrylic Skein) | Buy on Amazon ➔ |
| Halloween Plastic Spiders (120 PCS) | Buy on Amazon ➔ |
👉 Watch the Popsicle Stick Spider Art on YouTube
7. Popsicle Stick Wicked Witch with Yarn Hair
⏱️ Active & Dry Time: 20 mins active | 5 mins dry | 🧼 Mess Level: 2/5 | 👶 Age Adaptation: Ages 4+ (Fun character storytelling craft) | 💰 Est. Cost: ~$0.35 per witch
💬 Real Mom Question (from Reddit’s r/crafts): “Yarn hair always falls off when kids play with stick puppets. How do you anchor it securely?”
Nancy’s Fix: Sandwich the yarn hair between the wooden frame and the paper witch hat! Glue the yarn strands down first, then press the black hat firmly over the glue joint. The hat acts as a protective clamp!
With wild purple yarn hair and a crooked orange paper nose, this friendly witch puppet is pure Halloween delight. Kids love choosing whether their witch will have emerald green skin or vibrant chartreuse, and acting out spooky spells with their wooden puppets afterwards!
How to Craft It:
- Glue three craft sticks together at the tips to form a triangle face frame, painting the wood bright chartreuse green.
- Cut a tall pointed witch hat from black cardstock and an orange buckle band from construction paper.
- Cut 10 strands of purple or black acrylic yarn roughly 6 inches long for the witch’s hair.
- Glue the yarn hair strands along the upper edges of the green triangle, then glue the black witch hat down firmly over the hair.
- Add two wiggle eyes, a crooked orange paper nose, and draw a toothy cackling smile with a black marker!
Amazon Craft Materials You Should Buy:
| Material Name | Buy Link |
|---|---|
| Perfect Stix Jumbo Craft Sticks (Natural Birchwood 6″) | Buy on Amazon ➔ |
| Guakicae 40 Sheets Black Cardstock 8.5 x 11 | Buy on Amazon ➔ |
| FEBSNOW 200Pcs Googly Wiggle Eyes (Self-Adhesive) | Buy on Amazon ➔ |
👉 Watch the Cute Room Decor Wall Hanging on YouTube
8. Popsicle Stick Dracula Vampire with Paper Cape
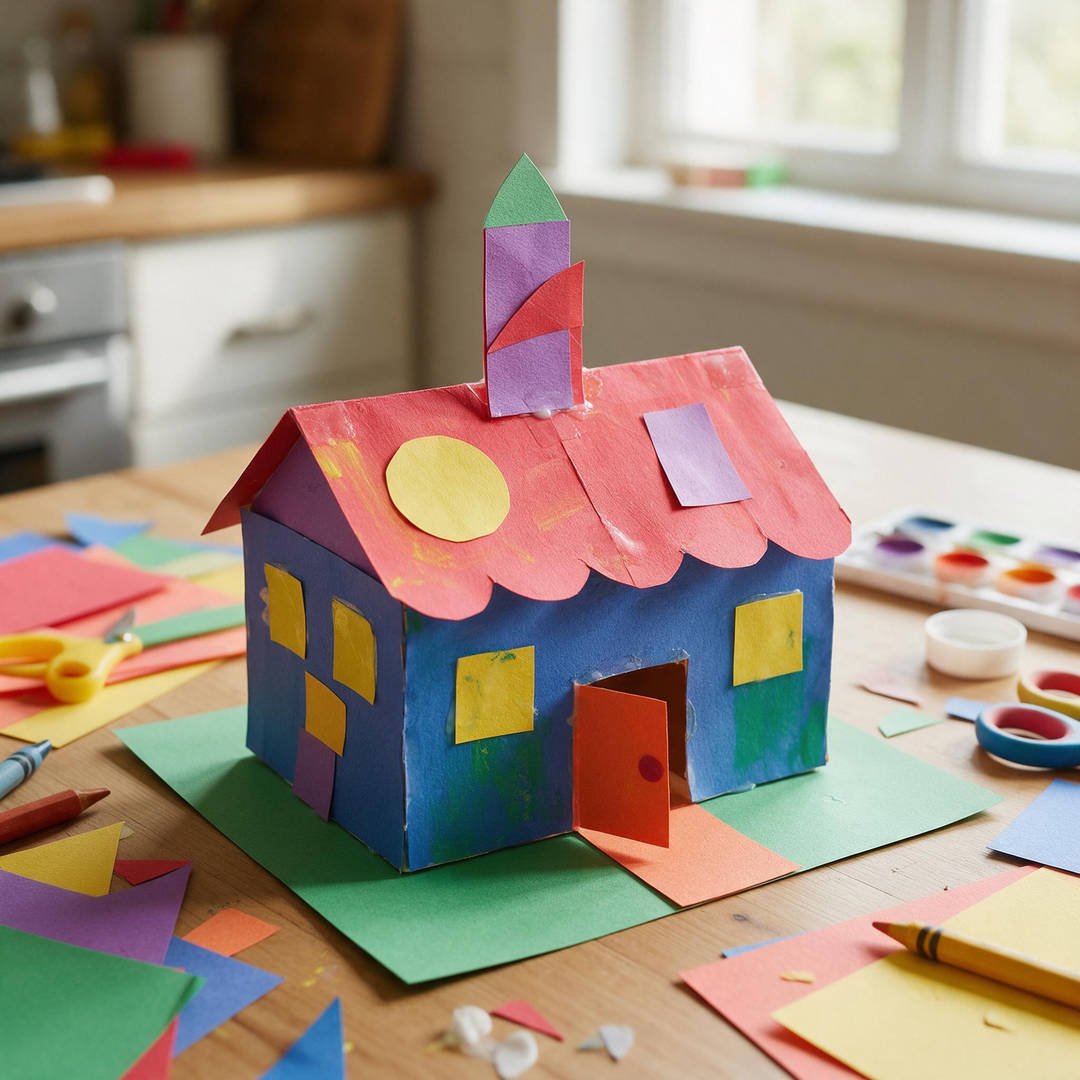
⏱️ Active & Dry Time: 20 mins active | 5 mins dry | 🧼 Mess Level: 1/5 | 👶 Age Adaptation: Ages 5+ (Delightful classic monster character) | 💰 Est. Cost: ~$0.35 per vampire
💬 Real Mom Question (from Reddit’s r/Parenting): “How can I help my kindergartener cut out Dracula’s tricky widow’s peak hairline?”
Nancy’s Fix: Cut a small black paper heart in half! The rounded lobes of the heart naturally create the perfect widow’s peak hairline when inverted on the forehead.
Count Dracula gets a kid-friendly makeover with this charming wooden craft stick figure. Complete with a slick widow’s peak hairline, a dapper crimson paper bowtie, and two harmless tiny white fangs, he looks much more ready to share candy than to bite!
How to Craft It:
- Assemble a wooden raft of 6 jumbo craft sticks with rear horizontal bracing sticks.
- Paint the front surface pale peach or ivory flesh tone and let dry completely.
- Cut a distinctive scalloped widow’s peak hairline from black cardstock and glue it along the top rim.
- Cut a flared Dracula cape from black cardstock with a high stand-up collar and glue it behind the wooden raft.
- Glue two googly eyes, a small red paper bowtie at the chin, and draw a smile with two tiny white paper fangs!
Amazon Craft Materials You Should Buy:
| Material Name | Buy Link |
|---|---|
| Perfect Stix Jumbo Craft Sticks (Natural Birchwood 6″) | Buy on Amazon ➔ |
| Crayola Construction Paper Bulk Pack (480 Sheets) | Buy on Amazon ➔ |
| FEBSNOW 200Pcs Googly Wiggle Eyes (Self-Adhesive) | Buy on Amazon ➔ |
👉 Watch the 9 Easy Halloween Crafts for Kids on YouTube
9. Popsicle Stick White Ghost Trio Refrigerator Magnets
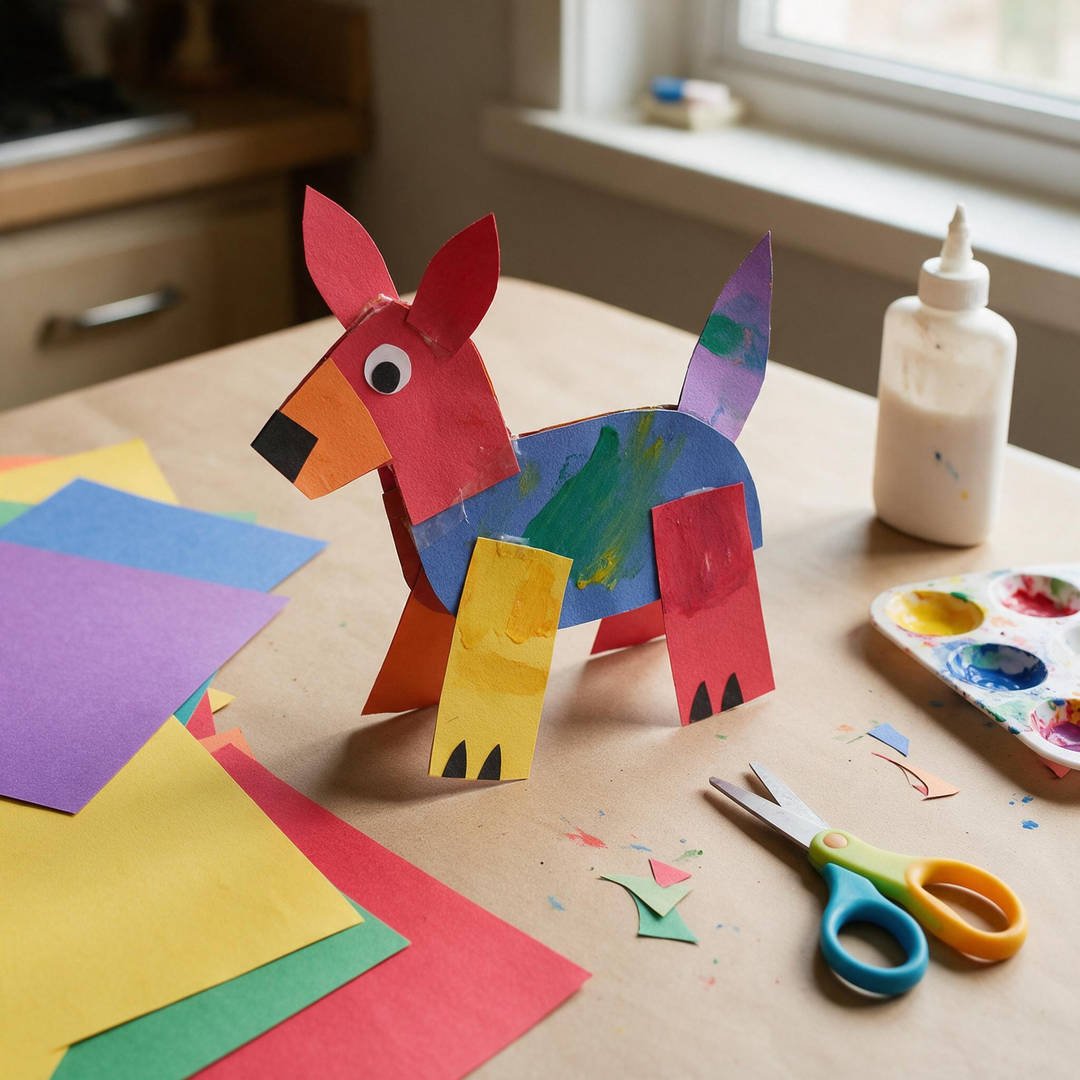
⏱️ Active & Dry Time: 15 mins active | 5 mins dry | 🧼 Mess Level: 1/5 | 👶 Age Adaptation: Ages 3+ (Super quick and adorable fridge magnets) | 💰 Est. Cost: ~$0.45 for all 3
💬 Real Mom Question (from Reddit’s r/crafts): “Glue-on button magnets always fall off wooden crafts. What magnet adhesive actually lasts?”
Nancy’s Fix: Use continuous peel-and-stick flexible magnetic tape strips! Cut a 2-inch strip and press it firmly along the back support stick. The wide adhesive contact area holds fast indefinitely.
These mini ghost magnets bring playful Halloween cheer to your kitchen refrigerator all October long! Kids love giving each little ghost in the trio a totally different personality: one winking, one shouting ‘BOO!’, and one making a silly surprised face!
How to Craft It:
- Create three small ghost rafts using four standard-sized craft sticks each, joined with a rear support stick.
- Paint all three wooden rafts solid opaque white using white paint sticks or tempera paint.
- Snip the bottom edge of white cardstock in a ragged wavy hem and glue to the bottom back of each ghost.
- Draw three distinct funny ghost expressions (smiling, winking, surprised) using a black Sharpie marker.
- Peel the backing off a 2-inch strip of heavy-duty magnetic tape and press firmly across the back of each ghost!
Amazon Craft Materials You Should Buy:
| Material Name | Buy Link |
|---|---|
| Super Sticky Magnetic Tape for DIY & Crafts (10ft x 1.5in) | Buy on Amazon ➔ |
| Perfect Stix Jumbo Craft Sticks (Natural Birchwood 6″) | Buy on Amazon ➔ |
| Kwik Stix Solid Tempera Paint Sticks (144pk or 12pk) | Buy on Amazon ➔ |
👉 Watch the Best Halloween Crafts for Kids on YouTube
10. Popsicle Stick Halloween Candy Treat Caddy Box
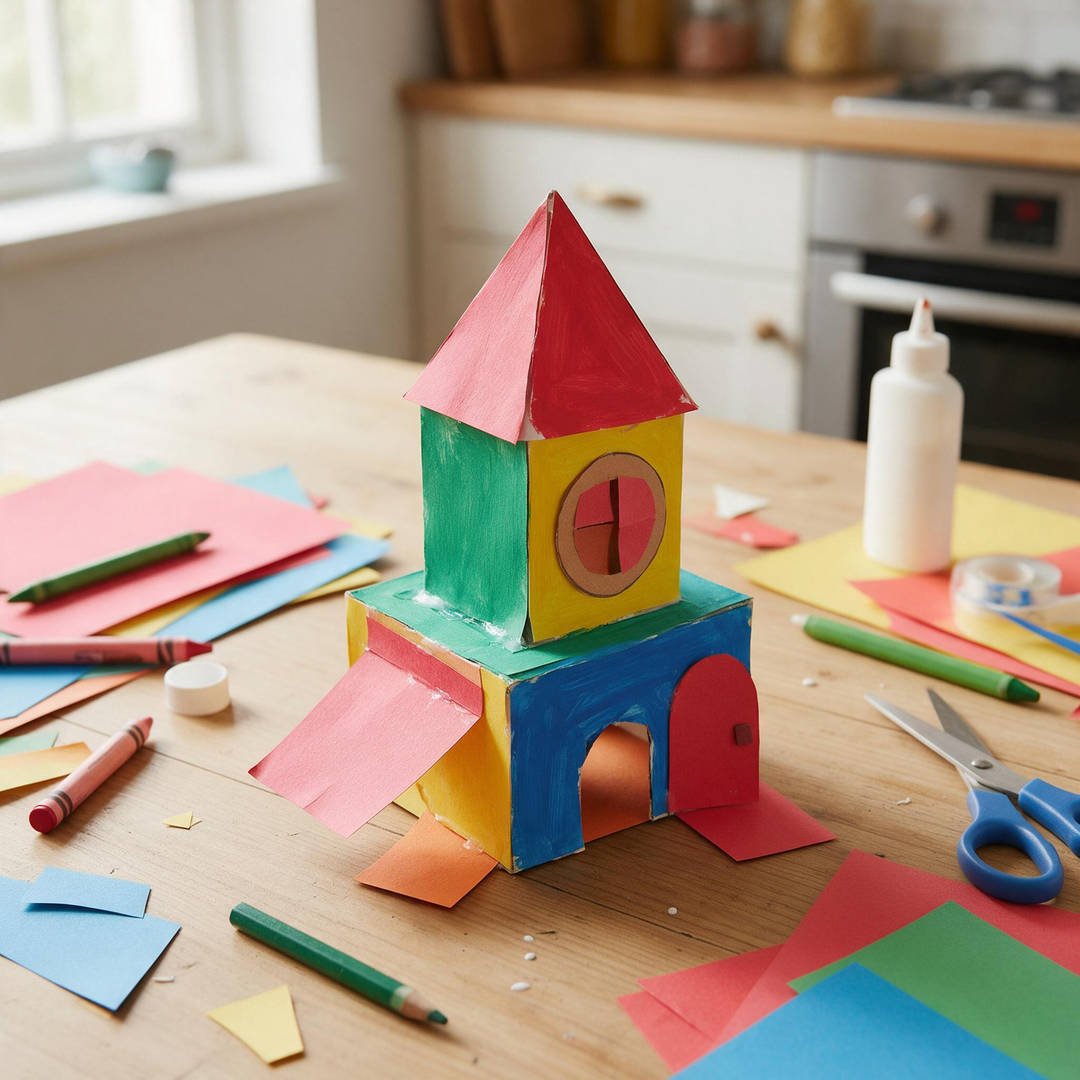
⏱️ Active & Dry Time: 35 mins active | 10 mins dry | 🧼 Mess Level: 1/5 | 👶 Age Adaptation: Ages 7+ (Great 3D engineering and stacking craft) | 💰 Est. Cost: ~$0.95 per box
💬 Real Mom Question (from Reddit’s r/Mommit): “My older kids get bored with flat paper crafts. What is a functional 3D Halloween craft they can actually use?”
Nancy’s Fix: A log-cabin style popsicle stick candy caddy! Stacking the sticks in alternating perpendicular layers builds a sturdy wooden keepsake box that holds wrapped Halloween treats on their study desk.
This interlocking wooden candy box feels like real woodworking for elementary crafters! By alternating painted orange and purple sticks like miniature log-cabin timbers, kids build a sturdy 3-inch high container that holds Halloween stickers, treats, and trinkets!
How to Craft It:
- Build a solid square base by gluing 10 jumbo craft sticks side by side, secured with two cross brace sticks.
- Paint a bundle of 30 craft sticks in alternating Halloween colors: half pumpkin orange and half amethyst purple.
- Glue two orange sticks along opposite edges of the base, then glue two purple sticks perpendicularly across the ends to form the first tier.
- Continue stacking and gluing alternating pairs of sticks log-cabin style until your wooden box reaches 10 to 12 tiers high.
- Allow the low-temp glue to set completely for 10 minutes, then fill your handmade wooden caddy with wrapped candies!
Amazon Craft Materials You Should Buy:
| Material Name | Buy Link |
|---|---|
| Perfect Stix Jumbo Craft Sticks (Natural Birchwood 6″) | Buy on Amazon ➔ |
| AdTech Cool Tool Kit with Low-Temp Glue Gun | Buy on Amazon ➔ |
| Kwik Stix Solid Tempera Paint Sticks (144pk or 12pk) | Buy on Amazon ➔ |
👉 Watch the Easy DIY Halloween Box on YouTube
❓ Real Mom Questions Answered (From Reddit & Parenting Forums)
r/ECEProfessionals Question: “What is the best way to paint 100+ popsicle sticks for a large preschool classroom without chaos?”
💬 Reddit User Question: “I teach 22 preschoolers and painting individual craft sticks with liquid paint always results in a massive mess and stuck-together sticks. Any teacher hacks?”
Nancy’s Answer: The Ziploc bag dye method! Place 30 jumbo craft sticks inside a gallon freezer Ziploc bag, squirt in 2 tablespoons of liquid washable paint (or food coloring) and 1 tablespoon of rubbing alcohol. Seal the bag tightly, let the children shake and squish the bag like a musical maraca for two minutes, then dump the evenly coated sticks onto newspaper to dry. They dry in 15 minutes flat with zero paint brushes or messy hands!
r/parenting Question: “My child gets frustrated when wooden craft sticks warp or bend after painting. How do you keep them flat?”
💬 Reddit User Question: “Our painted craft stick monsters always warp into bowed curves when the paint dries. How do you prevent warping?”
Nancy’s Answer: Warping happens when excess water in liquid paint soaks into only one side of the wood, causing unequal expansion of the cellulose fibers. To prevent warping: either use solid tempera paint sticks (Kwik Stix) which contain almost zero water, or paint both sides of the wood with a thin, even coat. If a stick does start bowing, place it under a heavy hardcover book for 30 minutes while still slightly damp to press it flat!
r/crafts Question: “How do you cut wooden craft sticks without them splintering into sharp jagged points?”
💬 Reddit User Question: “Whenever I try to cut popsicle sticks in half with scissors, the wood snaps and splinters dangerously. What is the trick to a clean cut?”
Nancy’s Answer: Garden pruners or wire cutters! Regular household craft scissors pinch the wood fibers and shatter them. Standard bypass garden pruning shears (or floral snips) slice through birchwood cleanly in one smooth clip without a single splinter. Alternatively, soak the ends of the sticks in warm water for 5 minutes before cutting—the softened wood cuts smoothly with regular scissors!
🧹 Real-Mom Cleanup & Storage Checklist
Wrap up your wooden craft stick session quickly with these four sanity-preserving cleanup habits:
- [ ] Cap Paint Sticks Instantly: Twist solid tempera paint sticks down and snap caps on firmly so the creamy paint sticks don’t dry out before your next craft session.
- [ ] Store Sticks Flat in Ziplocs: Keep unused craft sticks sealed in a gallon freezer bag with a silica gel packet to prevent humidity from bowing the birchwood.
- [ ] Wipe Down Low-Temp Glue Nozzles: Unplug your low-temp glue gun and wipe away soft glue drips from the nozzle with a silicone basting brush before it cools.
- [ ] Stack Wooden Crafts with Wax Paper: Layer finished wooden Frankenstein and mummy plaques between sheets of wax paper inside a plastic tote to prevent googly eyes from popping off.
🛡️ Healthy Play & Child Safety Guidelines
Crafting builds confidence, sequencing skills, and bilateral dexterity when paired with mindful safety practices:
- Splinter Prevention & Wood Selection: Inspect craft sticks before handing them to young children. Always choose grade-A smooth birchwood sticks with rounded edges (like Perfect Stix) to eliminate splinter risks.
- Cool-Tool Temperature Standards: Pediatric safety guidelines advise against standard 380°F high-temp glue guns around children under 12. Always use certified cool-tool low-temperature guns (operating around 200°F) and guide toddlers’ hands during gluing steps.
- Non-Toxic Adhesive Standards: Ensure all paints and adhesives comply with ASTM D-4236 safety protocols, certifying them as safe and non-toxic for children.