10 Easy Cricut Halloween Crafts for Kids and Beginners

Craft with smart vinyl! Explore 10 cricut halloween crafts with custom trick-or-treat bags, 3D paper shadow boxes, and zero-tear weeding tricks. 🎃
💬 The Real Mom Question (from Reddit’s r/cricut):
“Every time I try to cut intricate spiderwebs or shadow boxes from cardstock for Halloween, the paper curls into a tube or rips as I peel it off the cutting mat. How do you keep cardstock completely flat and intact?”
Nancy’s Quick Reassurance: The secret is flipping your perspective! Never pull the paper up off the sticky mat. Turn your cutting mat face-down on your table, hold the cardstock flat against the work surface, and gently peel the flexible mat backward away from the paper. Your intricate spiderwebs will release pristine, crisp, and 100% flat every single time!
10 Easy Cricut Halloween Crafts for Kids and Beginners
⚡ The Quick Mom Skim (TL;DR)
- Flip and Peel: Always peel the cutting mat away from your cardstock to prevent tearing and paper curling.
- Reverse Weeding Magic: For fine vinyl spiderwebs and lettering, apply transfer tape over the un-weeded cut design first, then weed the negative space directly on the tape.
- Pre-Press Canvas Bags: Eliminate hidden fabric moisture by pressing trick-or-treat tote bags with heat for 10 seconds before applying heat transfer vinyl (HTV).
- Dimension with Foam Dots: Elevate layered papercraft haunted houses into true 3D shadow boxes by sandwiching adhesive foam dots between cardstock tiers.
🏆 Nancy’s Top 3 Quick Picks for Cricut Halloween Crafts
| Pick Category | Recommended Supply & Link | Real-Mom Why |
|---|---|---|
| Best Permanent Vinyl | Cricut Value Permanent Vinyl, Black (12 in x 10 ft) | Weather-resistant, ultra-durable adhesive vinyl that cuts cleanly and sticks firmly to porch signs, windows, and potion jars. |
| Best Precision Tool Set | Cricut Basic Tool Set (5-Piece Precision Tool Kit) | Essential weeding hooks, spatulas, and precision tweezers that make removing tiny negative vinyl pieces effortless. |
| Best Heavyweight Cardstock | YINUOYOUJIA 12 x 12″ Heavyweight Cardstock (300gsm/110lb) | Sturdy 110lb thick cardstock that holds crisp edges without bending, perfect for 3D shadow boxes and cardstock lanterns. |
🧺 Nancy’s Real-Mom Supply Swap Table
| Craft Requirement | If You Don’t Have It | Use This Pantry / Household Swap | What Happens / Nancy’s Take |
|---|---|---|---|
| Cricut Scraper Tool | Missing plastic scraper | Plastic gift card or credit card | Works wonderfully! Firmly burnishes transfer tape and smooths vinyl without scratching. |
| Cricut Weeding Hook | Weeding hook misplaced | Clean sewing needle or dental pick | Ultra-sharp tip lifts micro vinyl corners cleanly out of delicate lettering. |
| Adhesive Foam Tape | Standard flat glue | Stacked tiny squares of cardboard with glue stick | Adds authentic 1/8-inch elevation between paper layers for shadow box depth. |
| Heat Press Machine | Specialty EasyPress | Standard household clothing iron on Cotton setting (no steam) | Apply firm two-handed downward body pressure for 30 seconds for a durable HTV bond. |
10 Fun & Easy Cricut Halloween Crafts
1. Custom Iron-On Trick-or-Treat Canvas Tote Bag
⏱️ Active & Dry Time: 20 mins active | 🧼 Mess Level: 1/5 | 👶 Age Adaptation: Ages 6+ (with adult iron support) | 💰 Est. Cost: ~$3.20 per tote
💬 Real Mom Question (from Reddit’s r/cricut): “Why does my heat transfer vinyl peel off canvas trick-or-treat bags as soon as my kids put heavy candy inside?”
Nancy’s Fix: Canvas totes hold factory moisture and sizing! Pre-press your empty tote for 10 seconds to bake out all humidity. Apply Everyday Iron-On at 315°F with heavy pressure for 30 seconds, flip the tote inside-out, press for 15 seconds from behind, and allow the clear liner to cool slightly before peeling!
Nothing beats seeing your kids sprint down the street carrying customized canvas trick-or-treat bags bearing their own names and silly cartoon ghost faces.
Kids love helping choose their favorite spooky fonts and weeding the large vinyl pieces while mom operates the warm heat press.
How to Craft It:
- Open Cricut Design Space, type your child’s name, add a cute ghost SVG outline, and remember to toggle ‘Mirror’ ON before cutting on Everyday Iron-On vinyl.
- Place the black HTV shiny-liner-side down on your standard green cutting mat and send the job to your Cricut machine.
- Weed away the excess vinyl using your weeding hook, leaving only the mirrored lettering and ghost on the clear plastic carrier sheet.
- Pre-heat your canvas tote bag with an iron for 10 seconds, place the vinyl design centered on the bag, and press firmly at 315°F for 30 seconds.
- Flip the tote inside-out, press the backside for 15 seconds, let cool for two minutes, and peel away the clear carrier sheet at a 45-degree angle.
Amazon Craft Materials You Should Buy:
| Material Name | Where to Buy |
|---|---|
| Cricut Everyday Iron-On HTV Vinyl Roll, Black (6ft) | Buy on Amazon ➔ |
| Cricut Basic Tool Set (5-Piece Precision Tool Kit) | Buy on Amazon ➔ |
👉 Watch the Easy Cricut Halloween Crafts Tutorial on YouTube
2. 3D Layered Haunted House Papercraft Shadow Box
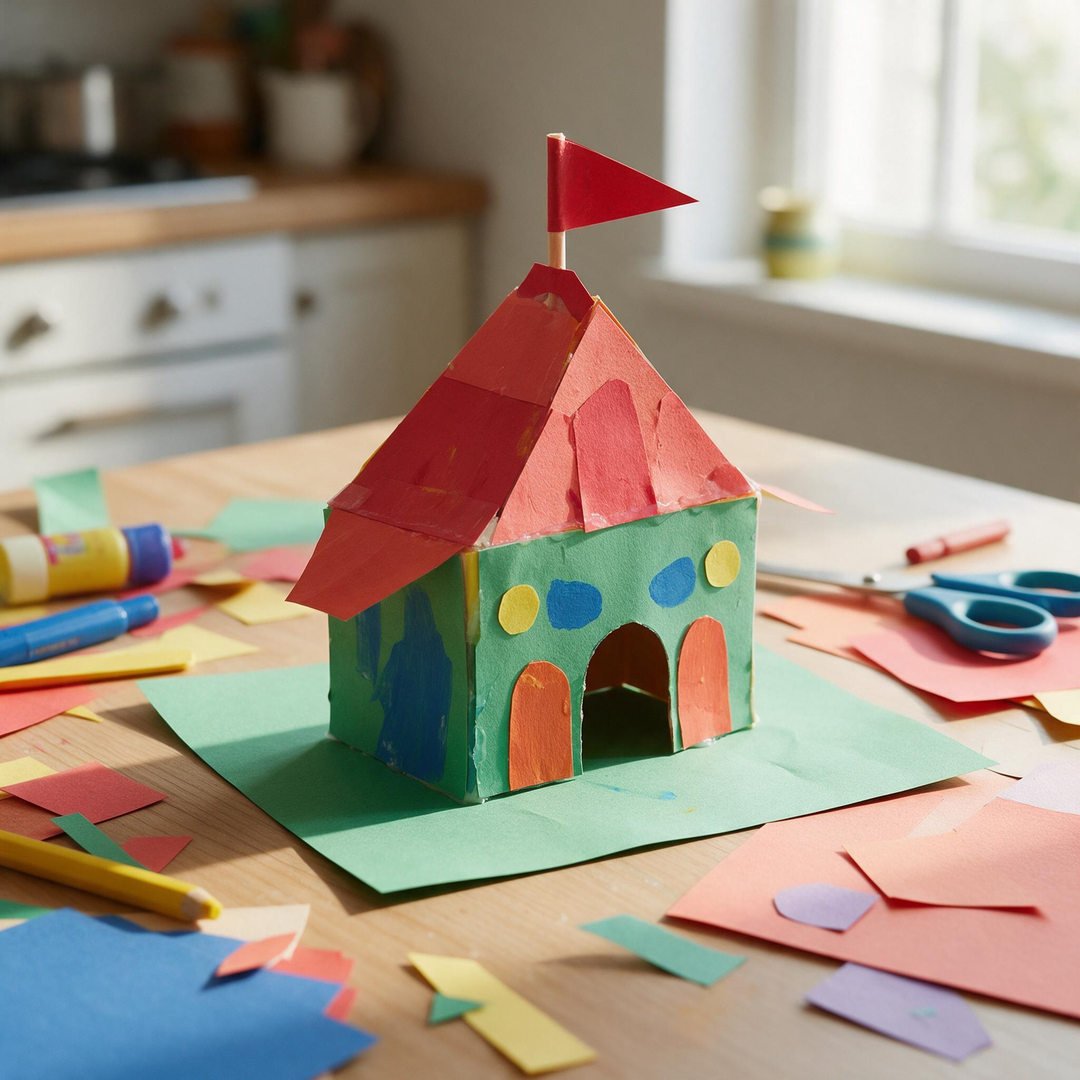
⏱️ Active & Dry Time: 30 mins active | 🧼 Mess Level: 1/5 | 👶 Age Adaptation: Ages 7+ | 💰 Est. Cost: ~$2.80 per box
💬 Real Mom Question (from Reddit’s r/Crafts): “When assembling a layered paper shadow box, liquid glue made my cardstock warp and buckle. What adhesive keeps layers flat?”
Nancy’s Fix: Never use liquid glue between shadow box layers! Use double-sided foam adhesive squares or micro glue dots. The foam squares create a crisp 1/8-inch physical gap between each layer, which creates dramatic real shadows when backlit!
This layered haunted mansion shadow box looks like an artisan boutique centerpiece when illuminated from behind by warm LED fairy lights on your holiday mantel.
Children love stacking the layers like a 3D puzzle—watching the graveyard fence, spooky trees, and glowing moon magically fall into alignment.
How to Craft It:
- Cut four sequential layers of 12×12 heavyweight cardstock on your Cricut: Layer 1 (cemetery gate), Layer 2 (gnarled trees and bats), Layer 3 (Victorian mansion), and Layer 4 (full moon background).
- Use the ‘Flip and Peel’ technique to remove each cardstock sheet cleanly from the cutting mat without curling.
- Apply adhesive foam dots to the four corners and key structural pillars on the backside of each cardstock layer.
- Stack the layers consecutively into a square 8×8 shadow box frame, pressing firmly to secure the foam spacers.
- Coil a strand of battery-operated micro LED fairy lights behind the final yellow moon layer and switch on the magical glow.
Amazon Craft Materials You Should Buy:
| Material Name | Where to Buy |
|---|---|
| YINUOYOUJIA 12 x 12″ Heavyweight Cardstock (300gsm/110lb) | Buy on Amazon ➔ |
| Brightown 12 Pack Battery Operated LED Fairy Lights | Buy on Amazon ➔ |
👉 Watch the Layered Halloween Shadow Box Tutorial on YouTube
3. Intricate Kirigami Spiderweb Vinyl Window Clings
⏱️ Active & Dry Time: 15 mins active | 🧼 Mess Level: 1/5 | 👶 Age Adaptation: Ages 5+ | 💰 Est. Cost: ~$1.10 per window set
💬 Real Mom Question (from Reddit’s r/cricut): “How do I transfer ultra-fine spiderweb lines onto glass without getting giant air bubbles or tearing the delicate vinyl strings?”
Nancy’s Fix: Use the ‘Hinge Method’! Tape the top edge of your transfer tape to the window pane with painter’s tape. Peel back the paper liner from behind, and slowly smooth the vinyl down with a felt scraper from top to bottom. Zero bubbles, guaranteed!
These precision-cut glossy black spiderwebs transform living room windows into a spooky spider sanctuary that catches the autumn sunlight by day and casts eerie silhouettes by night.
Because permanent or removable vinyl peels cleanly off glass with a razor blade or warm soapy water in November, cleanup is effortless.
How to Craft It:
- Cut an intricate spiderweb SVG sized to 10×10 inches on Cricut black permanent adhesive vinyl.
- Weed out the negative gaps between the spiderweb spokes using a fine-point weeding tool.
- Burnish clear transfer tape over the cut web using your scraper card, pressing firmly along each delicate spoke.
- Clean your window glass thoroughly with rubbing alcohol to remove dust and fingerprint oils.
- Align the transfer tape on the glass corner, burnish firmly with your scraper, and peel the transfer tape back flat against itself at a 180-degree angle.
Amazon Craft Materials You Should Buy:
| Material Name | Where to Buy |
|---|---|
| Cricut Value Permanent Vinyl, Black (12 in x 10 ft) | Buy on Amazon ➔ |
| Cricut Value Transfer Tape (12in x 15ft Roll) | Buy on Amazon ➔ |
👉 Watch the Spooky Cricut Projects Tutorial on YouTube
4. Floating Paper Bat Wall Swarm
⏱️ Active & Dry Time: 15 mins active | 🧼 Mess Level: 1/5 | 👶 Age Adaptation: All ages | 💰 Est. Cost: ~$0.80 for 30 bats
💬 Real Mom Question (from Reddit’s r/Mommit): “What is the fastest way to stick paper bats to walls without ripping off our drywall paint when taking them down in November?”
Nancy’s Fix: Never use heavy mounting foam tape on painted drywall! Use removable painter’s tape rolled into loops or clear removable glue dots. They hold lightweight cardstock bats firmly all month and release with zero wall damage!
A swirling swarm of 3D black paper bats soaring across a fireplace mantel or staircase wall creates one of the most dramatic, viral Halloween photo backdrops you can make.
Toddlers love folding the bat wings along the center crease while older kids help arrange the swirling flight path up the wall.
How to Craft It:
- Place a sheet of 12×12 black cardstock on your cutting mat and cut 25 to 30 bats in three graduated sizes (large 6-inch, medium 4-inch, and mini 2-inch).
- Remove the sheet from the cutting mat using the reverse peel technique to keep wing tips straight.
- Fold each bat sharply down its center body spine, curling the wings upward to create authentic 3D flight angles.
- Press a removable glue dot or rolled loop of painter’s tape onto the flat belly of each bat.
- Adhere to your wall in a dynamic curving wave, clustering smaller bats tightly at the bottom and fanning larger bats out toward the ceiling.
Amazon Craft Materials You Should Buy:
| Material Name | Where to Buy |
|---|---|
| YINUOYOUJIA 12 x 12″ Heavyweight Cardstock (300gsm/110lb) | Buy on Amazon ➔ |
| ALLFUN 1000 Pieces Glue Point Dots Double Sided Adhesive | Buy on Amazon ➔ |
👉 Watch the Mini Halloween Silhouettes Tutorial on YouTube
5. Spooky Witch Apothecary Potion Bottle Labels
⏱️ Active & Dry Time: 20 mins active | 🧼 Mess Level: 1/5 | 👶 Age Adaptation: Ages 6+ | 💰 Est. Cost: ~$1.40 for 6 bottles
💬 Real Mom Question (from Reddit’s r/Crafts): “How do I keep vinyl labels straight when applying them onto curved glass bottles?”
Nancy’s Fix: Snip small 1/4-inch slits into the outer edges of your clear transfer tape around the design (without cutting the vinyl itself)! These slits allow the transfer tape to flex easily around curved glass contours without creasing.
Upcycling empty pasta sauce jars, kombucha bottles, or olive oil flasks into antique witch potion containers is an eco-friendly holiday craft kids adore.
Fill the bottles with water tinted with green food coloring, plastic spiders, and glitter for a mesmerizing apothecary look.
How to Craft It:
- Cut ornate vintage apothecary label frames and spooky text (‘Spider Venom’, ‘Witch’s Brew’) out of black permanent vinyl on your Cricut.
- Weed the delicate internal letters using your fine weeding stylus tool.
- Apply transfer tape over the labels, burnish with your scraper card, and peel away the paper backing.
- Press the vinyl label onto the center of clean, dry recycled glass bottles, burnishing from the center outward to push out air bubbles.
- Peel away the transfer tape, tie a loop of natural jute twine around the bottle neck, and display on a shelf!
Amazon Craft Materials You Should Buy:
| Material Name | Where to Buy |
|---|---|
| Cricut Value Permanent Vinyl, Black (12 in x 10 ft) | Buy on Amazon ➔ |
| Cricut Basic Tool Set (5-Piece Precision Tool Kit) | Buy on Amazon ➔ |
👉 Watch the 8 Easy Cricut Crafts Tutorial on YouTube
6. Cut-Out Cardstock Jack-O’-Lantern Luminary Lanterns
⏱️ Active & Dry Time: 20 mins active | 🧼 Mess Level: 1/5 | 👶 Age Adaptation: Ages 6+ | 💰 Est. Cost: ~$1.50 per lantern
💬 Real Mom Question (from Reddit’s r/Parenting): “How do you fold heavyweight cardstock lanterns without cracking the outer colored paper fibers?”
Nancy’s Fix: Use your Cricut scoring wheel or scoring stylus! It presses a crisp indented crease line into the paper fibers so the cardstock folds cleanly at 90-degree angles without splintering or splitting.
These four-sided folded paper lanterns cast dancing pumpkin face shadows across your front walkway, porch, or dining table.
Because they fold flat in seconds, you can slide them into an envelope and store them neatly for next Halloween!
How to Craft It:
- Load 12×12 rich orange 110lb cardstock onto your green StandardGrip mat, selecting ‘Cardstock with Scoring Stylus’ in Design Space.
- Let the Cricut score four fold lines and precision-cut smiling jack-o’-lantern faces and bat silhouettes on each panel.
- Carefully peel the cutting mat backward away from the cardstock to keep the delicate cutouts completely flat.
- Fold along all four vertical score lines, apply a strip of double-sided craft tape along the tab edge, and press closed into a square column.
- Place a battery-operated flameless LED tea light inside each lantern to cast glowing pumpkin silhouettes across the room.
Amazon Craft Materials You Should Buy:
| Material Name | Where to Buy |
|---|---|
| YINUOYOUJIA 12 x 12″ Heavyweight Cardstock (300gsm/110lb) | Buy on Amazon ➔ |
| Cricut StandardGrip Adhesive Cutting Mat (12×12, 3 Pack) | Buy on Amazon ➔ |
👉 Watch the DIY Halloween Paper Lantern SVG Tutorial on YouTube
7. Halloween Acrylic Keychain & Bookmark Charms
⏱️ Active & Dry Time: 15 mins active | 🧼 Mess Level: 1/5 | 👶 Age Adaptation: Ages 8+ | 💰 Est. Cost: ~$1.20 per keychain
💬 Real Mom Question (from Reddit’s r/cricut): “Why does my vinyl decal shift out of position when I try to stick it onto small 2-inch acrylic keychain blanks?”
Nancy’s Fix: The ‘Wet Application Trick’! Lightly mist the clear acrylic blank with a single drop of water mixed with dish soap. Lay the vinyl decal on top—it will slide smoothly so you can center it perfectly. Squeegee the water out, let dry for 30 minutes, and the bond is rock solid!
These chic acrylic keychains and bookmarks make delightful non-candy party favors, classroom gifts, or backpack zipper pulls for school friends.
Tweens love designing their own spooky initials surrounded by tiny vinyl bats and adding matching faux suede tassels.
How to Craft It:
- Measure your clear acrylic blank and size your ghost or monogram design to 1.8 inches in Cricut Design Space.
- Cut the design out of permanent outdoor adhesive vinyl and weed away the tiny background scraps.
- Peel the protective plastic film off both sides of the acrylic blank to reveal the crystal-clear surface.
- Apply transfer tape over your vinyl design, align centered on the acrylic blank, burnish with a scraper card, and peel back the tape.
- Attach a gold key ring and a burnt-orange suede tassel through the pre-drilled acrylic hole.
Amazon Craft Materials You Should Buy:
| Material Name | Where to Buy |
|---|---|
| Cricut Value Permanent Vinyl, Black (12 in x 10 ft) | Buy on Amazon ➔ |
| Cricut Value Transfer Tape (12in x 15ft Roll) | Buy on Amazon ➔ |
👉 Watch the Halloween Acrylic Keychain Tutorial on YouTube
8. 3D Haunted Forest Pop-Up Halloween Greeting Card
⏱️ Active & Dry Time: 25 mins active | 🧼 Mess Level: 1/5 | 👶 Age Adaptation: Ages 7+ | 💰 Est. Cost: ~$0.90 per card
💬 Real Mom Question (from Reddit’s r/Crafts): “How do you make internal pop-up card tabs fold cleanly without jamming the card when it shuts?”
Nancy’s Fix: Make sure your Cricut scores the mountain and valley folds precisely. Pre-fold all internal tabs with your bone folder or finger before gluing the insert into the outer card base!
Sending handmade pop-up greeting cards to grandparents or cousins brings old-school holiday pen-pal joy to October.
When opened, the tiered paper mechanics cause the eerie gnarled tree and floating ghost to leap forward in dynamic 3D relief!
How to Craft It:
- Cut the internal pop-up tree insert from black cardstock and the outer card base from rich purple cardstock on your Cricut.
- Use the reverse peel technique to free the intricate branches from the cutting mat without tearing.
- Gently pinch the internal score lines forward into pop-up steps while folding the card in half.
- Adhere a bright yellow cardstock moon to the back wall and attach a small white cardstock ghost to the front pop-up tab using glue dots.
- Apply double-sided craft tape to the outer tabs, press into the purple card cover, and write a sweet spooky message inside!
Amazon Craft Materials You Should Buy:
| Material Name | Where to Buy |
|---|---|
| YINUOYOUJIA 12 x 12″ Heavyweight Cardstock (300gsm/110lb) | Buy on Amazon ➔ |
| ALLFUN 1000 Pieces Glue Point Dots Double Sided Adhesive | Buy on Amazon ➔ |
👉 Watch the 3D Haunted House Pop-Up Card Tutorial on YouTube
9. Playful Frankenstein & Ghost Drink Cup Decals
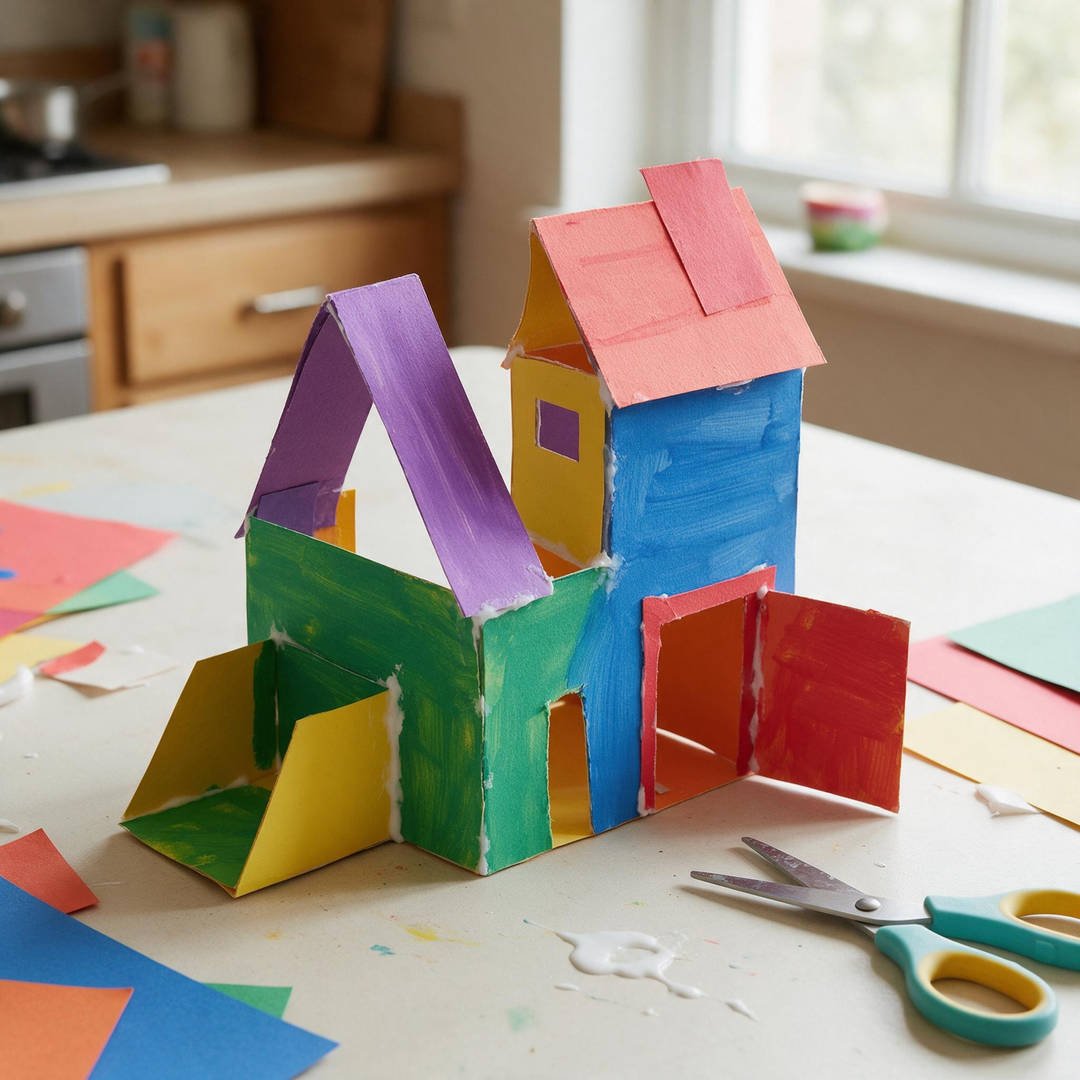
⏱️ Active & Dry Time: 15 mins active | 🧼 Mess Level: 1/5 | 👶 Age Adaptation: Ages 4+ | 💰 Est. Cost: ~$0.50 per cup
💬 Real Mom Question (from Reddit’s r/Mommit): “Can kids’ vinyl-decorated party cups go in the dishwasher?”
Nancy’s Fix: Permanent adhesive vinyl is water-resistant, but dishwasher heat dry cycles will melt the adhesive! Always hand-wash vinyl cups gently in warm water with mild soap, and the cute monster faces will last through countless refills!
Elevate ordinary disposable party cups or reusable plastic tumblers into memorable party souvenirs with playful monster facial expressions.
Toddlers can point out which face they want: a silly zigzag Frankenstein mouth or smiling ghost eyes, making party cup mix-ups impossible.
How to Craft It:
- Cut simple cartoon monster facial features (hair, eyes, bolt screws, and stitches) on black and green permanent vinyl.
- Weed the exterior vinyl borders; because the facial shapes are bold, kids can help weed easily.
- Pick up the facial decals with transfer tape and position them on smooth plastic party tumblers.
- Press firmly from the center outward using your thumb to smooth the vinyl across the curved cup wall.
- Peel off the transfer tape slowly, pop in a festive striped straw, and serve up spooky holiday punch!
Amazon Craft Materials You Should Buy:
| Material Name | Where to Buy |
|---|---|
| Cricut Value Permanent Vinyl, Black (12 in x 10 ft) | Buy on Amazon ➔ |
| Cricut Basic Tool Set (5-Piece Precision Tool Kit) | Buy on Amazon ➔ |
👉 Watch the Halloween Craft Ideas & Decor Tutorial on YouTube
10. Layered Cardstock Halloween Cupcake Toppers
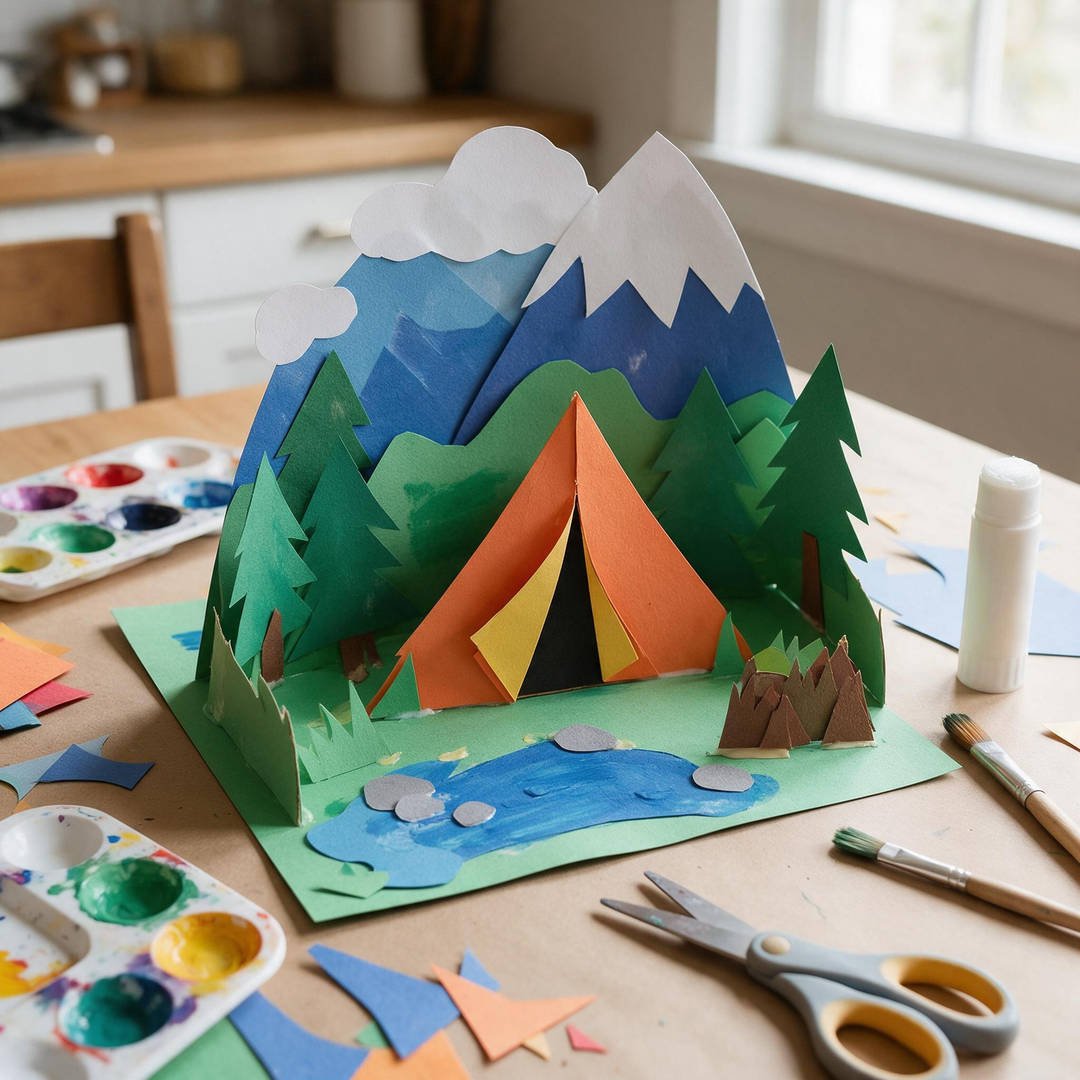
⏱️ Active & Dry Time: 20 mins active | 🧼 Mess Level: 1/5 | 👶 Age Adaptation: Ages 5+ | 💰 Est. Cost: ~$0.75 for 12 toppers
💬 Real Mom Question (from Reddit’s r/Crafts): “How do you sandwich toothpicks between cardstock toppers so the toothpick glue doesn’t show from the back?”
Nancy’s Fix: Cut duplicate backer shapes for every design! Sandwich the wooden pick between the detailed front cardstock cut and a solid black backer silhouette, securing with a glue dot. Both sides look clean and professional!
Transform homemade or store-bought cupcakes into showstopping Halloween bakery confections with these layered cardstock picks.
Kids love pressing the pre-cut witch hat bands and tiny pumpkin stems into place before inserting the picks into fluffy frosting.
How to Craft It:
- Cut 2-inch Halloween shapes (witch hats, jack-o’-lanterns, and bats) on your Cricut using colorful 110lb cardstock.
- For each topper, cut a matching solid backing silhouette.
- Layer accent pieces (like purple hat bands or green pumpkin stems) onto the front silhouettes with double-sided glue dots.
- Place a wooden toothpick or food pick along the bottom half of the backing silhouette.
- Sandwich the pick with the front decorative piece, press firmly to secure the bond, and insert into frosted holiday treats!
Amazon Craft Materials You Should Buy:
| Material Name | Where to Buy |
|---|---|
| YINUOYOUJIA 12 x 12″ Heavyweight Cardstock (300gsm/110lb) | Buy on Amazon ➔ |
| ALLFUN 1000 Pieces Glue Point Dots Double Sided Adhesive | Buy on Amazon ➔ |
👉 Watch the DIY Handmade Halloween Paper Decorations on YouTube
❓ Real Mom Questions Answered (From Reddit & Parenting Forums)
Why does my cardstock rip during cutting even with a new blade?
“My Cricut keeps tearing through my paper instead of making clean cuts, leaving frayed edges on my spiderwebs.” — r/cricut
Paper tearing is almost always caused by tiny paper fibers caught inside the blade housing or selecting the wrong material cut pressure. Press the silver plunger on top of your blade housing to eject the blade, poke the tip into a crumpled ball of aluminum foil 10 times to dislodge micro-fibers, and select ‘Cardstock (for intricate cuts)’ in Design Space. This setting commands the machine to cut in two lighter passes rather than one forceful drag.
How do I store leftover vinyl scraps without them getting creased?
“I have dozens of 3-inch vinyl scraps from Halloween projects that end up crushed at the bottom of my craft drawer.” — r/Crafts
Store your vinyl scraps inside a clear plastic photo album or 12×12 scrapbook sleeve binder! Slip remnants by color into each pocket. You can see your available scrap inventory at a glance, and the flat pages prevent vinyl backing from peeling or wrinkling.
What is the easiest way to remove old permanent vinyl decals from glass?
“We put vinyl ghosts on our front window last year. What takes them off easily without scratching the glass?” — r/Parenting
Warm air is your best friend! Wave a standard hair dryer on high heat over the vinyl decal for 15 seconds. The heat instantly softens the adhesive backing, allowing you to peel the vinyl off in one clean piece. Wipe away any remaining sticky residue with a paper towel dampened with rubbing alcohol or citrus adhesive remover.
Can kids use the weeding tools safely?
“My 6-year-old wants to help weed our Cricut Halloween projects, but the metal hook looks like a dental tool.” — r/Mommit
For young crafters under age 8, replace pointed metal dental-style weeding hooks with plastic clay stylus tools or kid-safe blunt tweezers. Children have incredible dexterity for peeling larger vinyl scrap borders, while adults handle the micro internal letter loops.
🧹 Real-Mom Cleanup & Storage Checklist
- Mat Scrap Scraper: Run your Cricut scraper tool across your cutting mat immediately after every cutting session to dislodge tiny paper lint and fibers before they degrade the mat adhesive.
- Clear Protective Film Habit: Never leave adhesive cutting mats exposed to room dust. Always reapply the clear plastic protective sheet over your mat the moment your craft session finishes.
- Scrap Sorting Bin: Keep a shallow tray beside your machine for weeded vinyl bits. Weeded vinyl static-clings to clothing and carpets; tossing scraps directly into a desktop bin prevents floor messes.
- Flat Project Storage: Store finished cardstock shadow box layers and paper bats inside a sturdy cardboard folder or 12×12 envelope so delicate wing tips and spiderwebs don’t bend before assembly.
🛡️ Healthy Play & Child Safety Guidelines
- Heat Press Supervision: Heat press platens and household irons reach temperatures over 300°F. Ensure an adult handles all heat pressing steps, keeping hot appliances out of reach of young children.
- Blade Housing Safety: Always teach children that the machine blade carriage is for adult hands. Never insert fingers into the cutting bay while the power light is active.
- Battery-Operated Luminary Safety: In compliance with AAP home safety guidelines, always use cool-burning battery-operated LED fairy lights or tea lights inside hollow paper lanterns and shadow boxes. Never place open flames near cardstock.